Swamp Oddity is one of the most collectible-dense missions in Mouse: P.I. for Hire, and it is easy to miss items if you rush through the Quagmire. This Mouse P.I. for Hire Swamp Oddity walkthrough covers every step of the mission in order, including all nine collectible locations — three Newspapers, one Comic Book, one Baseball Card, three Schematics, and one Optional Clue — so you can hit 100% completion in a single run without backtracking.
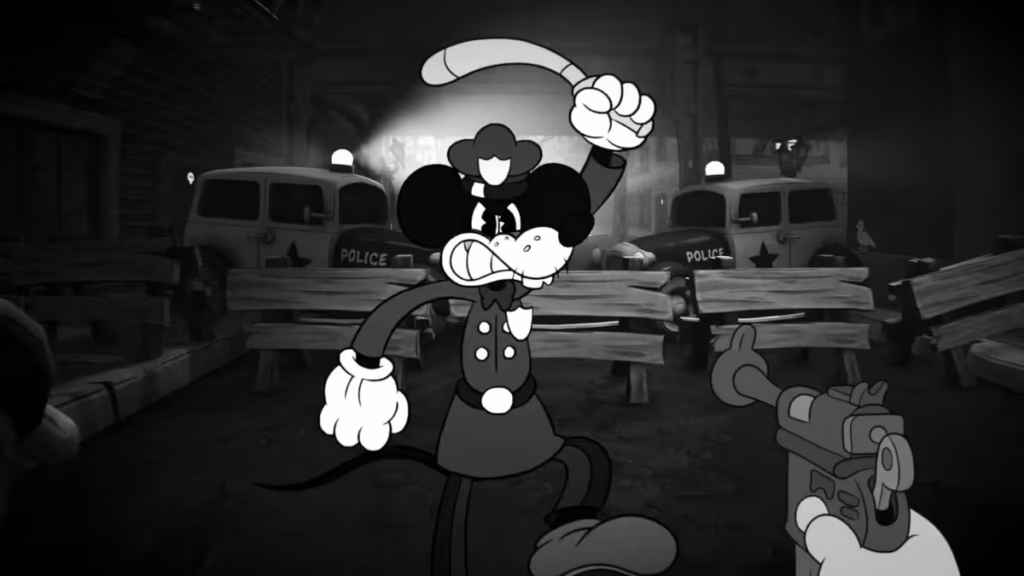
Table of Contents
Mouse P.I. for Hire Swamp Oddity – All Collectibles at a Glance
| Collectible | Count |
|---|---|
| Newspapers | 3 |
| Comic Books | 1 |
| Baseball Cards | 1 |
| Schematics | 3 |
| Optional Clues | 1 |
| Total | 9 |
Quick tip: You can collect all nine items in a single run without replaying the mission, but once Swamp Oddity ends you cannot return to the Quagmire. Missed Newspapers, Comic Books, and Baseball Cards can be purchased later from Soup to Nuts or any Roadhouse.
Key Objectives in the Swamp Oddity Walkthrough
- Find the Shanty Town Key, Dark Room Key, Dining Room Key, and Diamond Shape Key
- Solve the piano puzzle to earn a Baseball Card and a Schematic
- Escape the Strange Cabin
- Return to the P.I. Office and pin your clues
Step 1 – Deal With the Crooked Squad
The mission starts on the bridge. Multiple police cars and crooked cops block the road ahead. Defeat all enemies, then take the stairs to your left and head down to the swamp area.
Step 2 – Cross the Quagmire
Collectible 1: Newspaper
Interact with the boat to ride it across the swamp. Enemies attack during the crossing, so eliminate them before you reach the other side. Once you land, climb the ladder and enter the treehouse. Clear the enemies inside.
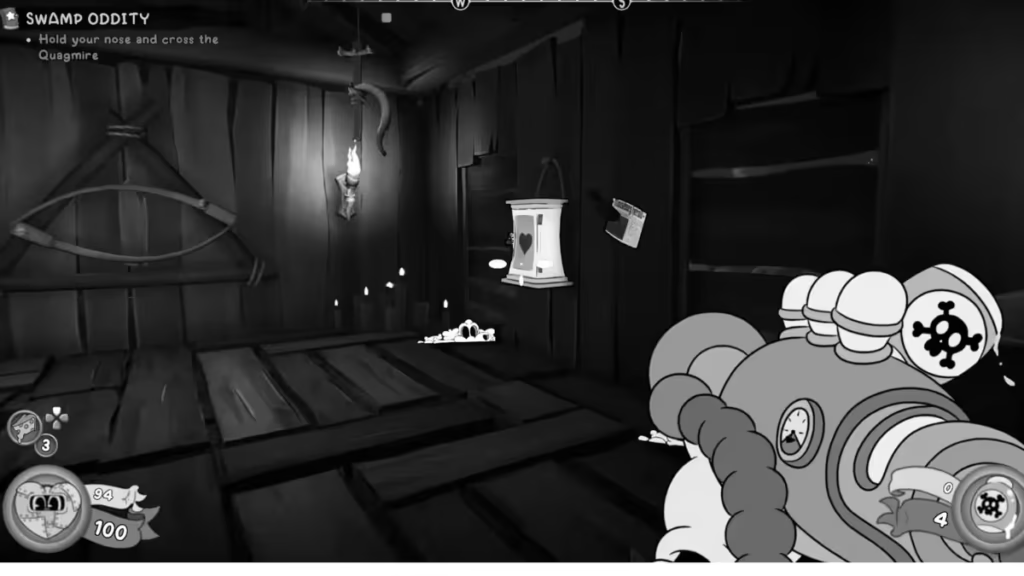
Grab the Shanty Town Key from the skeleton’s hand on the left wall. On the opposite wall, pick up the Newspaper pinned there before you leave.
Ride the boat back to your starting side and use the Shanty Town Key to unlock the gate. Head to the end of the dock and shoot the target on your left to drop the bridge. Cross it, defeat the enemies in the area, then run into the next bridge to continue forward.
Collectible 2: Schematic (Hidden Room)
Just past the second bridge, look to your right for a stack of cages. Climb them to reach a hidden room tucked under the road. Pick up the Schematic on the floor, then return to the main path.
Step 3 – The Strange Cabin
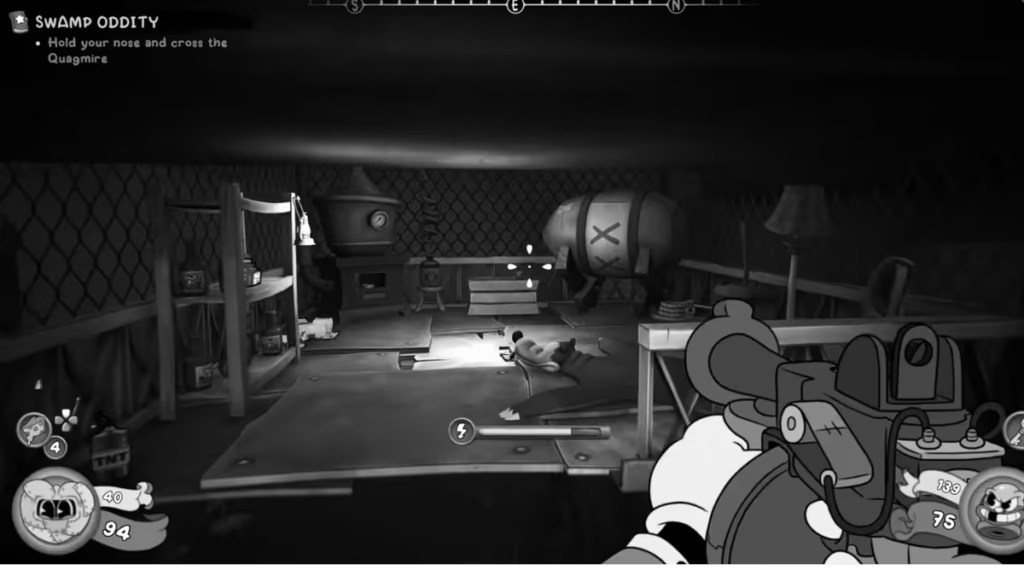
Head west along the path until you reach the cabin. Before going inside, check the left side of the building for a window that leads to a secret room containing a safe and a note — worth exploring for extra rewards.
Enter through the front door and speak with the Old Shrew Lady. She gives you cryptic hints and tells you to find a Diamond Shaped Key.
Collectible 3: Comic Book
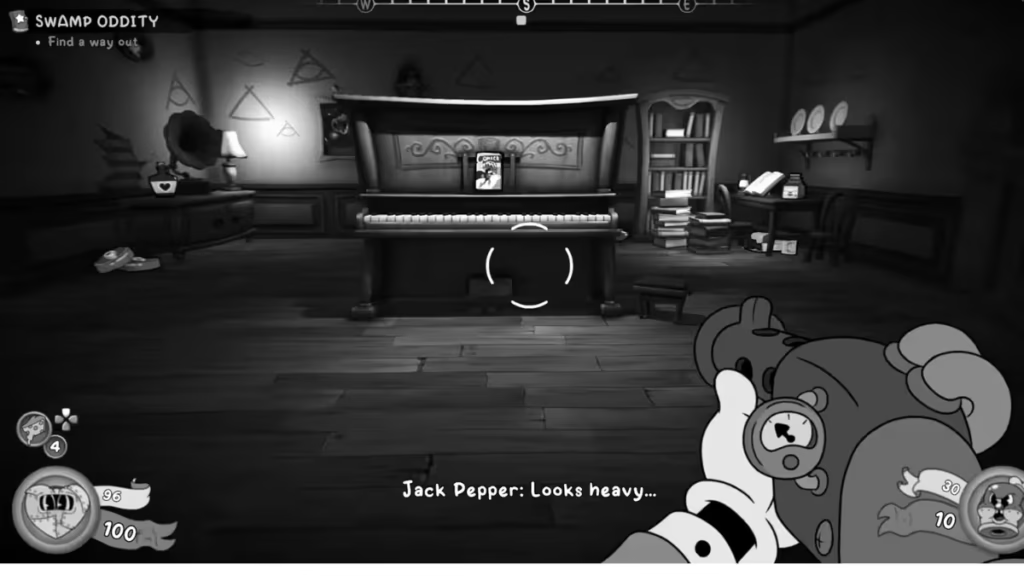
From the entrance, go through the door on your right into the main hall. Defeat the enemies, then pass through the door to the north to reach the Music Room. Grab the Comic Book sitting on top of the piano.
Collectible 4: Baseball Card and Collectible 5: Schematic (Piano Puzzle)
While you are still in the Music Room, interact with the piano keys. Press A, C, E, and G in that order. Jack will react when you get it right, and a hidden closet near the Old Shrew Lady’s position will unlock.
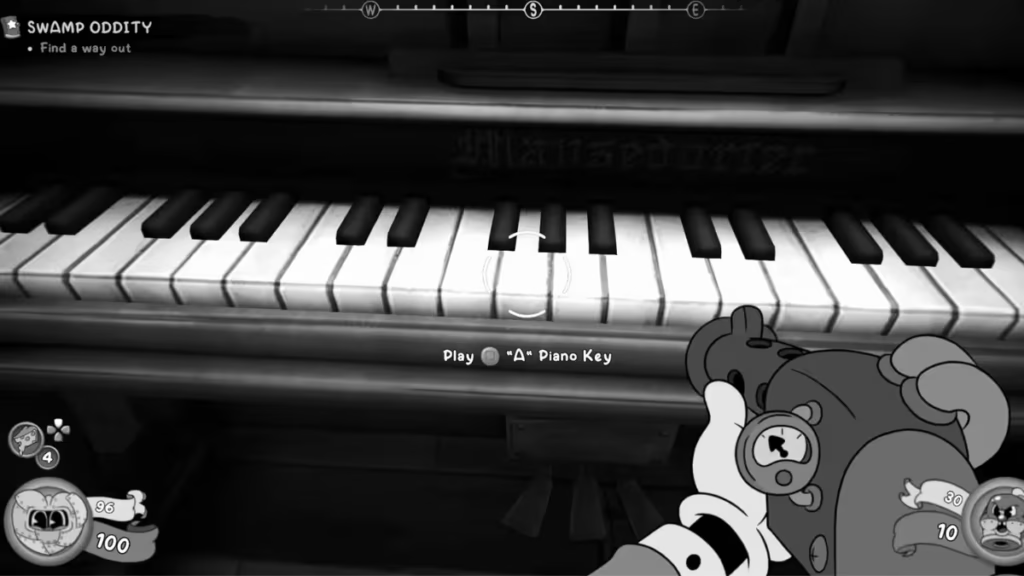
Go back through the door (it loops you to the entrance), then enter the newly opened closet. Inside you will find:
- A Baseball Card pinned to the left wall
- A Schematic inside the safe (use tailpick to open it)
Step 4 – The Office and Dark Room Keys
Collectible 6: Newspaper
Return to the main hall and go through the Office door. An enemy immediately breaks through the wall on your left — defeat him first. Grab the Dark Room Key from the desk. Behind that same desk, collect the Newspaper before moving on.
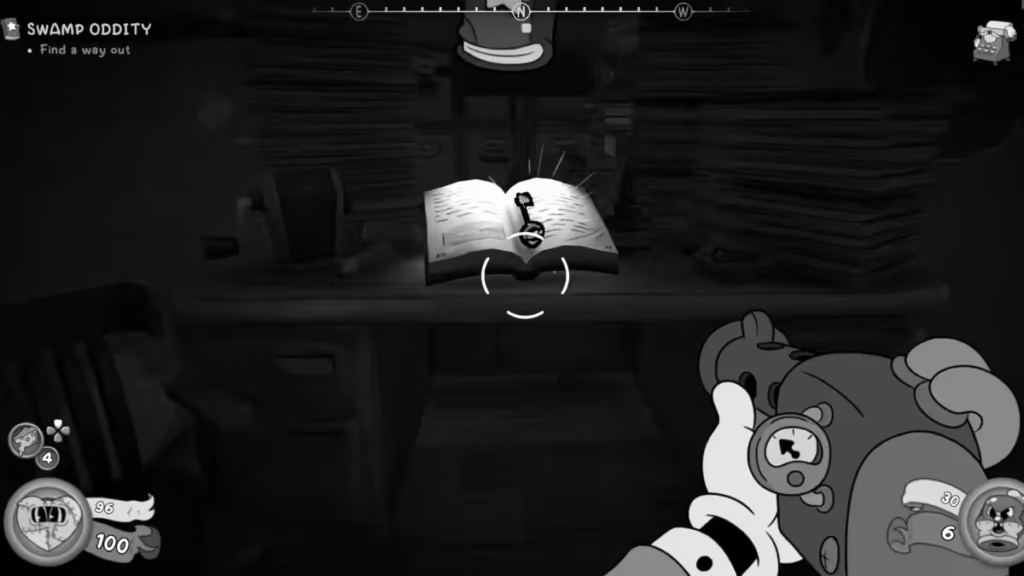
Collectible 7: Optional Clue
Use the Dark Room Key to unlock the Dark Room. Switch on your flashlight since the room is completely dark. In the northwest corner, find a mannequin holding the Dining Room Key — take it. On the desk nearby, pick up the Optional Clue (Bandel’s Snuffbox). There is also a safe to the northeast you can tailpick for extra money.
Step 5 – Dining Room and the Garden
Return to the previous room and unlock the Dining Room. Multiple enemies patrol the area. Shoot the chandelier on the ceiling to break the floor below, then drop through the hole. Go through the vent to reach the garden area outside.
Defeat all enemies in the garden.
Collectible 8: Schematic (Behind the Building)
Do not head straight for the statue yet. Walk around to the back of the building you just exited. Find the Schematic pinned to the rear wall — it is easy to walk past if you rush toward the objective.
Step 6 – Get the Diamond Shaped Key and Escape
Interact with the mouse statue in the garden to rotate it. It points the way west and opens the front door of the building. Head inside and grab the Diamond Shaped Key. Pass through the doors to return to the Old Shrew Lady’s room, and continue through the door that unlocks.
Use the Diamond Shaped Key to open the exit door and leave the cabin.
Step 7 – Clear the Area
A large group of crooked cops waits for you outside. A Hot Pepper power-up sits nearby — use it to make the fight easier. Eliminate all enemies and approach the Curdsville Nuthouse sign to confirm your lead on where the shrews are being taken.
Step 8 – Return to the P.I. Office
Collectible 9: Newspaper (Paperboy)
Hop in Jack’s car and drive back to Curdsville. Before heading inside the office, find the paperboy standing near the entrance and buy the final Newspaper from him.
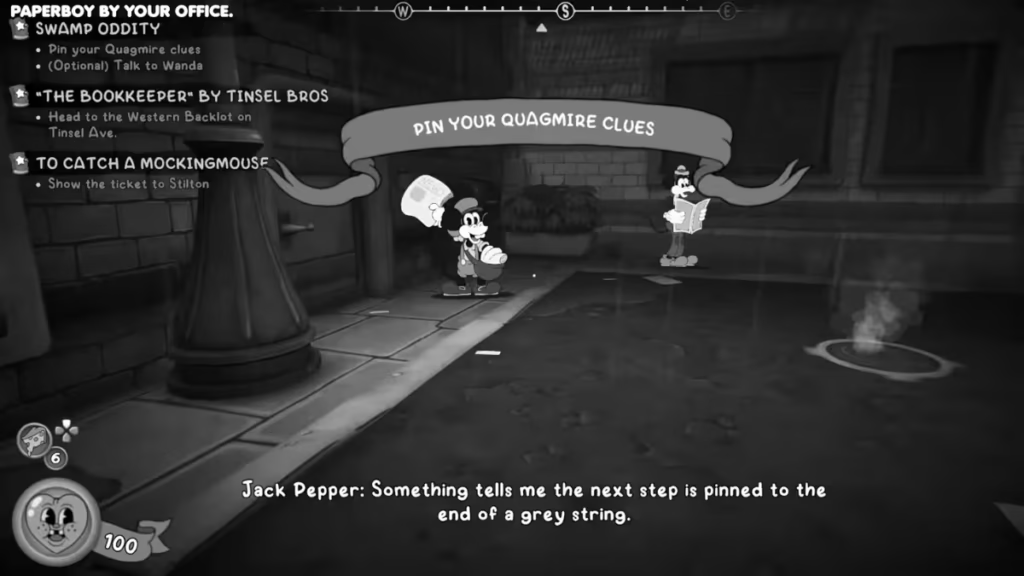
Now go inside and interact with the crime wall to pin all your Quagmire clues. Pinning the clues completes Swamp Oddity. Jack now holds a keycard bearing the old Curdsville Nuthouse crest — the investigation is closing in. Play Now!
Complete Swamp Oddity Collectibles List
- Newspaper 1 – Inside the treehouse shack across the swamp (on the wall opposite the skeleton)
- Schematic 1 – Hidden room under the road (climb the cages just past the second bridge)
- Comic Book – On the piano in the cabin’s Music Room
- Baseball Card – In the unlocked closet after solving the piano puzzle
- Schematic 2 – Inside the closet safe (use tailpick)
- Newspaper 2 – Behind the desk in the Office room (same desk as the Dark Room Key)
- Optional Clue – On the desk inside the Dark Room
- Schematic 3 – Pinned to the back wall of the cabin building (after exiting via the vent)
- Newspaper 3 – Buy from the paperboy outside the P.I. Office at the end of the mission
FAQs
How do you solve the piano puzzle in Mouse P.I. for Hire Swamp Oddity?
Press the piano keys in this order: A, C, E, and G. Getting the sequence right unlocks a hidden closet near the Old Shrew Lady’s room, giving you access to a Baseball Card and a Schematic inside the safe.
How many collectibles are in Swamp Oddity?
Swamp Oddity has nine collectibles in total — three Newspapers, one Comic Book, one Baseball Card, three Schematics, and one Optional Clue. You can grab all nine in a single run without backtracking.
Can you miss collectibles in the Quagmire?
Yes. Once you complete Swamp Oddity, the game locks you out of the Quagmire permanently. However, missed Newspapers, Comic Books, and Baseball Cards are available for purchase later at Soup to Nuts or any Roadhouse in the game.
Where is the hidden Schematic under the road in Swamp Oddity?
Just past the second bridge, climb the stack of cages on your right. Jump across to the small hidden room tucked under the road. The Schematic sits on the floor inside.
Where do you buy the last Newspaper in Swamp Oddity?
After returning to Curdsville, find the paperboy standing just outside the P.I. Office and buy the Newspaper from him before you go inside to pin your clues on the crime wall.

