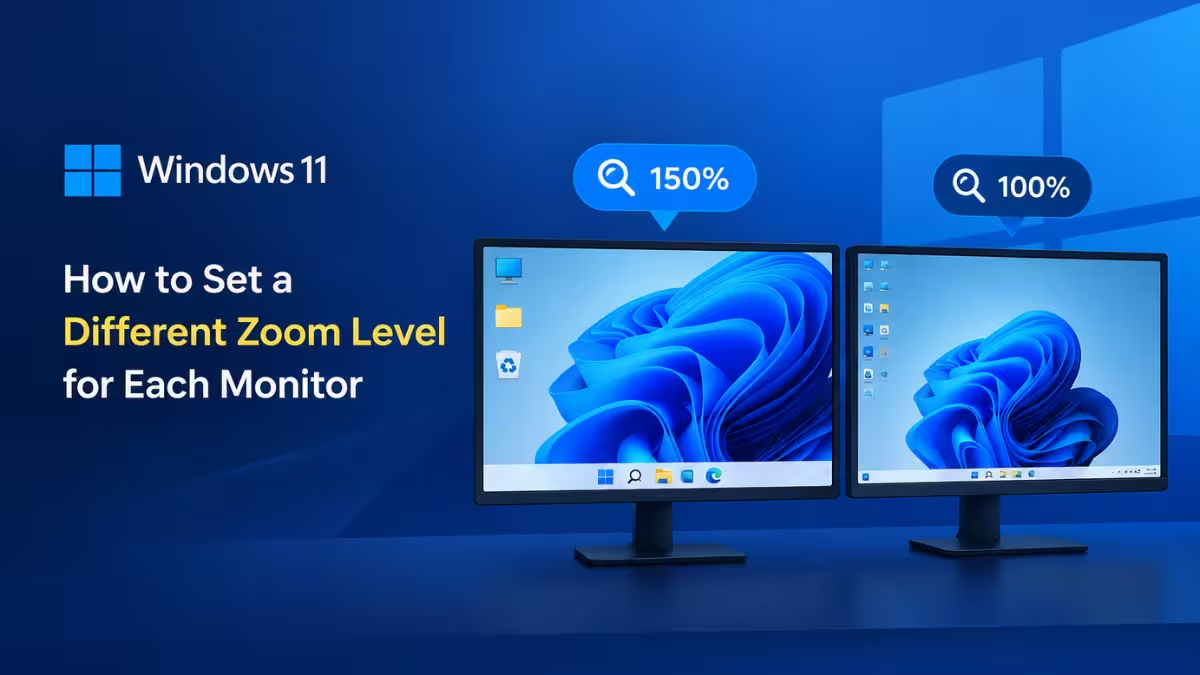
If you run multiple monitors with different resolutions or sizes, one zoom level rarely works for all of them. Windows 11 now supports per monitor zoom through Magnifier, letting each screen keep its own magnification setting.
This feature is currently rolling out to Windows Insiders in the Experimental Channel (build 26340.9354) and is turned on by default for testers on that build. It has not yet reached the general release of Windows 11.
What Per Monitor Zoom Does
Per monitor zoom lets you set independent magnification levels across connected displays instead of forcing one zoom setting on every screen.
Before this update, changing zoom on one monitor affected all of them, and the magnified view could spill over from one display onto the next. Now each screen holds its own zoom percentage, so you can run a 4K display at 125% while keeping a secondary monitor at 150% for easier reading.
Per monitor zoom only works when your displays are set to Extend, not Duplicate. Go to Settings > System > Display and confirm the Multiple displays option is set to Extend these displays. If your monitors are set to Duplicate, Windows treats them as one screen and applies the same zoom level to both, regardless of the steps below.
Method 1: Use Keyboard Shortcuts
This is the fastest way to adjust zoom on whichever screen your mouse pointer is currently on.
- Move your mouse pointer onto the monitor you want to adjust.
- Press
Windows key + Plus (+)to zoom in. If Magnifier is not already open, this shortcut starts it on that screen at its default zoom level. - Press
Windows key + Plus (+)again to zoom in further, orWindows key + Minus (-)to zoom out. - Alternatively, hold
Ctrl + Altand rotate your mouse wheel to change the zoom level on that screen.
The zoom change applies only to the display your pointer is on, leaving other monitors untouched.
Method 2: Set Zoom Percentages in Settings
Use this method when you want to type an exact zoom percentage instead of scrolling to it. Make sure your displays are set to Extend, as noted above, before you start.
- Open Settings and go to Accessibility > Magnifier.
- Turn on Magnifier from this page if it is not already on.
- This page shows a separate zoom setting for each connected display, since per monitor zoom is on by default. Enter the exact percentage you want for the display you are adjusting.
This gives you precise control if you need a specific magnification level rather than an approximate one.
Method 3: Drag the Magnifier Toolbar to a Screen
This method is useful when you want to adjust a screen using Magnifier's on-screen controls instead of a keyboard shortcut or Settings.
- Open Magnifier by pressing
Windows key + Plus (+), or search for Magnifier from the Start menu. - Drag the Magnifier toolbar onto the monitor you want to change.
- Use the toolbar's on-screen controls to set the zoom level for that specific screen.
The toolbar's controls always apply to the display it currently sits on.
How to Turn Per Monitor Zoom Off
Per monitor zoom is enabled by default, but you can switch back to the classic behavior where one zoom level spans every connected display.
Open Accessibility > Magnifier in Settings, or open the Magnifier toolbar itself, and turn off the toggle labeled for per monitor zoom. You can turn it back on at any time from the same location.
Bonus: Lock a Screen's Magnified View
Once you have set separate zoom levels for each monitor, you may also want a screen to stay on the exact view you set instead of following your pointer elsewhere. That is what viewport locking does. It keeps a screen's magnified view fixed in place even as you move your mouse pointer to another monitor.
This is useful when you are referencing content on one screen while typing on another, since the magnified view would otherwise follow your pointer away from what you are reading.
- Point your mouse at the screen whose view you want to hold in place.
- Press
Ctrl + Windows key + Kto lock that screen's view. - Move your pointer to another screen and continue working. The locked screen stays live and interactive, so you can still click or copy from it.
- Press
Ctrl + Windows key + Kagain while pointing at that screen to unlock it.
To release every locked screen at once, press Windows key + Esc.
If you prefer a different key combination, you can change the lock shortcut to Ctrl + Alt + P from Accessibility > Magnifier.
Frequently Asked Questions
Does per monitor zoom work with any number of displays?
Yes. Each connected display gets its own independent zoom setting, regardless of how many monitors you have connected.
Can I use per monitor zoom without joining the Windows Insider Program?
Not yet. The feature is currently available only on Windows 11 Insider Preview build 26340.9354 in the Experimental Channel. It has not been released to the general public build of Windows 11.
What happens if I turn off per monitor zoom while using different levels on each screen?
Windows reverts to a single zoom level that applies across all connected displays, and the individual per screen settings are no longer used until you turn the feature back on.
Why isn't per monitor zoom working even though I followed the steps?
Check that your displays are set to Extend in Settings > System > Display. If they are set to Duplicate, Windows treats both screens as one, so the same zoom level applies to both regardless of the method you use.
Does locking a screen's view stop me from using that screen?
No. A locked screen stays fully live and interactive. You can still click, type, or copy from it while its magnified view stays fixed in place, until you unlock it or release all locks with Windows key + Esc.
Read More
- Unable to Upload PST Files to OneDrive: 8 Ways to Fix It
- Hinge App Not Working: Why It Happens and How to Fix It Fast
- How to Access a GPT Protective Partition Without Losing Data
- Twitch Not Working on Opera GX? Here’s How to Fix It Fast
- Voice Isolation Not Working in Voice Access on Windows 11: 7 Fixes
- Google Discover Not Working on Android? 11 Fixes That Work