Windows 11 can automatically lower other system and app sounds while you are on a call, so background noise does not drown out the conversation. This feature is called Adaptive Communication Sound Levels, sometimes referred to as audio ducking.
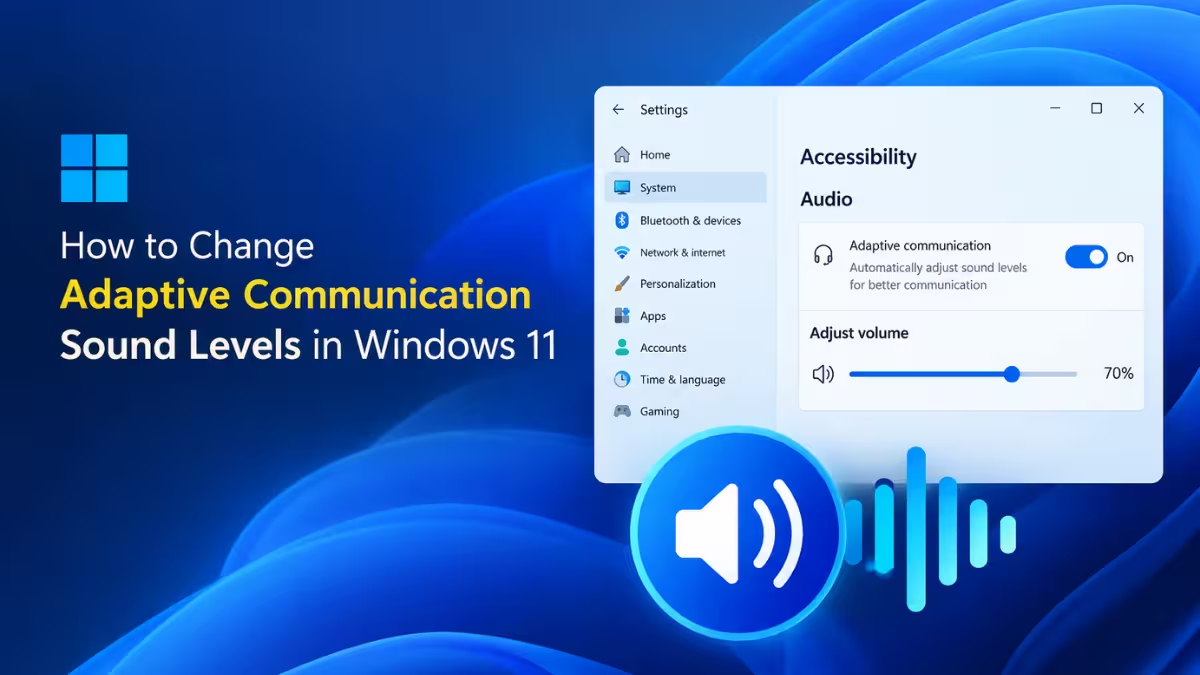
If you use apps like Discord, Teams, Zoom, or Slack for voice or video calls, this setting controls how much Windows reduces everything else while you talk. This guide covers three ways to change it, depending on which option is visible on your system.
This option is currently rolling out to Windows Insiders on build 29576.1000 and later in the Experimental (Future Platforms) Channel. It has not yet reached the general release of Windows 11, so it may not appear on your system unless you are enrolled in that channel.
What Adaptive Communication Sound Levels Does
This setting controls how much Windows lowers other sounds, such as music or game audio, whenever it detects an active call.
You can choose from four behaviors: mute all other sounds completely, reduce them by 80%, reduce them by 50%, or leave them untouched with the Do nothing option. Reduce by 80% is the default setting on systems where this feature is available.
Method 1: Change It in Settings
This is the main way to adjust the setting and works for most users.
- Press
Windows key + Ito open Settings. - Click System in the left sidebar, then select Sound on the right.
- Scroll to the Output section and find Adaptive communication sound levels.
- Open the dropdown and choose one of the following:
- Mute all: silences all other sounds during a call.
- Reduce by 80%: lowers other sounds significantly during a call.
- Reduce by 50%: lowers other sounds by half during a call.
- Do nothing: leaves other sounds at their normal volume during a call.
- Close Settings once you have made your choice.
The change applies immediately, with no restart needed.
Method 2: Change It in Control Panel
Use this method if the Adaptive communication sound levels option does not appear in Settings on your system.
- Click the Start button and search for Control Panel, then open it.
- Set View by to Large icons in the top right corner.
- Click Sound.
- Go to the Communications tab.
- Choose one of the following:
- Mute all: silences all other sounds during a call.
- Reduce by 80%: lowers other sounds significantly during a call.
- Reduce by 50%: lowers other sounds by half during a call.
- Click OK to apply the change.
Control Panel only offers these three options. It does not include a Do nothing choice the way the Settings app does.
If neither Settings nor Control Panel shows this option on your system, it likely has not rolled out to your build yet. The Registry Editor method below lets you set the same preference manually.
Method 3: Change It in Registry Editor
Use this method only if the option is unavailable in both Settings and Control Panel. Registry Editor changes core Windows settings directly, so only edit the value described below and avoid changing anything else in this key.
- Press
Windows key, typeregedit, and open Registry Editor. Approve the administrator prompt if it appears. - Paste this path into the address bar at the top and press
Enter:HKEY_CURRENT_USER\Software\Microsoft\Multimedia\Audio - Look for a value named
UserDuckingPreference. If it does not exist, right click the Audio key, select New > DWORD (32-bit) Value, and name it exactly that. This is the value type used for similar Windows preference entries in this same registry area. - Double click
UserDuckingPreferenceand enter one of the following values:0: mute all other sounds.1: reduce other sounds by 80%.2: reduce other sounds by 50%.3: do nothing.
- Click OK, then close Registry Editor.
The change usually takes effect right away, though a restart can help it fully apply if you do not see the new behavior immediately.
Frequently Asked Questions
What does the Do nothing option do?
It stops Windows from reducing any other sounds while you are on a call, so your music, games, and system sounds stay at their normal volume throughout.
Does this setting apply to every calling app, or only specific ones?
It applies system wide. Windows detects communications activity generally, so the reduction applies regardless of which app you are using for the call.
Do I need to restart my PC after changing the Registry Editor value?
Not always, but it can help if the new setting does not seem to apply right away.
Is it safe to edit the Audio registry key?
Yes, as long as you only add or change the UserDuckingPreference value described above. Avoid deleting the Audio key itself or editing any other values inside it.
Why don't I see the Adaptive communication sound levels option in Settings?
This option is only available on Windows 11 Insider Preview build 29576.1000 and later in the Experimental Channel. If you are not enrolled in that channel, it will not appear in Settings yet.
Can I turn this feature off completely?
Yes. Select Do nothing in Settings, or set the Registry Editor value to 3, if the Settings option is not available on your system.
Read More
- How to Set a Different Zoom Level for Each Monitor in Windows 11
- Unable to Upload PST Files to OneDrive: 8 Ways to Fix It
- Hinge App Not Working: Why It Happens and How to Fix It Fast
- How to Access a GPT Protective Partition Without Losing Data
- Twitch Not Working on Opera GX? Here’s How to Fix It Fast
- Voice Isolation Not Working in Voice Access on Windows 11: 7 Fixes