The error “The trust relationship between this workstation and the primary domain failed” blocks domain users from logging into a Windows PC, even though local accounts still work. The underlying cause is a broken secure channel between the workstation and the domain controller.
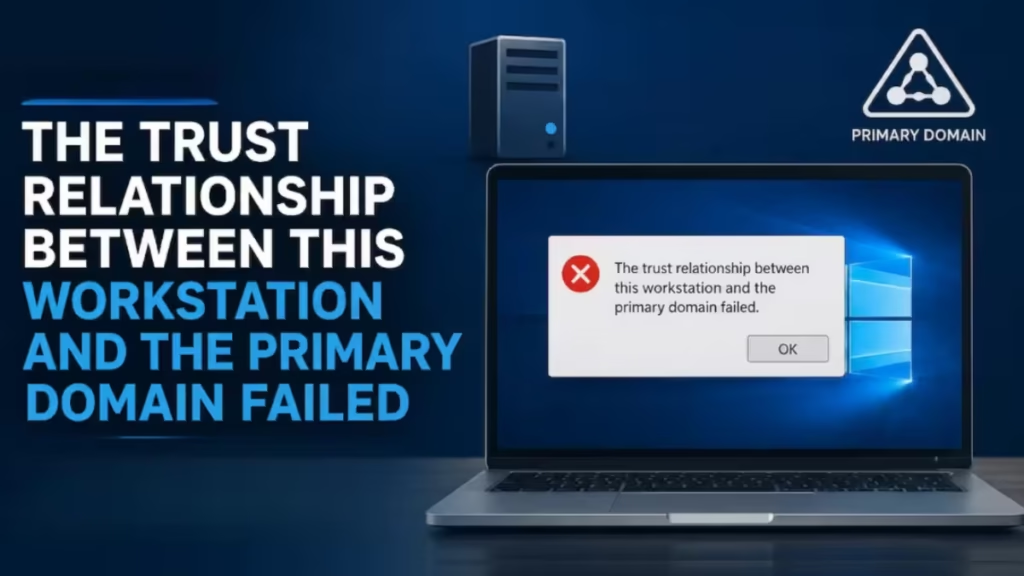
This guide walks through every working fix in order, starting with the fastest non-destructive repairs and ending with a full domain rejoin as a last resort.
What Causes the Trust Relationship Between This Workstation and the Primary Domain to Fail
Every domain-joined computer holds a machine account password that it shares with Active Directory. Windows rotates this password automatically every 30 days. Both the workstation and the domain controller must agree on the current password to establish a secure channel.
The channel breaks when those passwords fall out of sync. Common triggers include:
- Restored snapshots or old images: Rolling back a VM or restoring a system image gives the workstation an older password than the DC expects
- Long offline periods: A laptop that misses multiple VPN connections can miss several password rotation cycles
- Corrupted or deleted AD computer objects: The workstation exists in Windows but its object in Active Directory is missing, disabled, or duplicated
- DNS misconfiguration: Pointing the workstation at a public DNS server like 8.8.8.8 instead of internal domain DNS breaks DC discovery
- Clock skew: Kerberos rejects authentication when the client and DC clocks differ by more than five minutes
- Cloned machines without Sysprep: Duplicate SIDs from imaging cause AD to confuse multiple machines for one
Before You Start: Three Checks
Run these checks before attempting any repair. Skipping them leads to fix attempts that fail for unrelated reasons.
1. Log In with a Local Account
You need local administrator access to run the repair commands. Sign in with:
.\AdministratorOr any other local admin account on the machine. If you only know domain credentials, use cached credentials if they appear at the lock screen.
2. Fix DNS and Network First
Open an elevated Command Prompt and run:
ipconfig /allConfirm the DNS Servers listed are your internal domain controllers, not public addresses. Then test DC reachability:
ping your-dc-name
nslookup your-domain.local
If either command fails, fix your network connection and DNS settings before proceeding. All repair methods require the workstation to reach the DC.
3. Correct the System Clock
Kerberos authentication fails silently when the clock is off. Check the time in the taskbar against a reliable source. If it is wrong by more than a few minutes, run:
w32tm /resyncIf the clock resets after every reboot, the CMOS battery is likely failing and needs replacement. A drifting clock causes Kerberos errors that mimic trust failures.
Fix 1: Repair the Secure Channel with PowerShell
This is the fastest fix and works in most cases where the computer object still exists in AD and is healthy.
Step 1. Open PowerShell as Administrator.
Step 2. Test the current secure channel state:
Test-ComputerSecureChannel -VerboseIf this returns False, the channel is broken and repair is needed.
Step 3. Repair the secure channel:
Test-ComputerSecureChannel -Repair -Credential (Get-Credential)Enter domain administrator credentials when prompted.
Step 4. Confirm the repair succeeded:
Test-ComputerSecureChannel -VerboseThe output should read: The secure channel between the local computer and the domain is in good condition.
Step 5. Restart the machine and test a domain logon.
Note:
Test-ComputerSecureChannel -Repairfails in the following situations: the computer account is missing or disabled in AD, the DC is unreachable, or the computer object was deleted and recreated (SID mismatch). If it fails, move to Fix 2 or Fix 3.
Fix 2: Reset the Machine Password Directly
Reset-ComputerMachinePassword forces the workstation to push a new machine account password to AD without testing the existing channel first. This works in cases where Test-ComputerSecureChannel -Repair returns an error.
Step 1. Open PowerShell as Administrator.
Step 2. Run:
$credential = Get-Credential
Reset-ComputerMachinePassword -Credential $credential
Restart-Computer -Force
Enter domain admin credentials when prompted.
Note: On PowerShell 5.1 and earlier, you can also use
netdom resetpwd. See Fix 3 below.
Fix 3: Use Netdom to Reset the Secure Channel
Netdom works from an elevated Command Prompt and is the classic method for Windows Server environments and older systems.
Step 1. Verify the secure channel status:
netdom verify ComputerName /domain:YourDomainNameStep 2. Reset the machine account password:
netdom resetpwd /server:YourDCName /userd:YourDomain\AdminUser /passwordd:*Replace YourDCName with the name of a reachable domain controller and YourDomain\AdminUser with a domain admin account. Enter the password when prompted.
Step 3. Reset the secure channel:
netdom reset /domain:YourDomainName /userd:DomainUsername /passwordd:*Step 4. Restart the machine and test a domain logon.
You can also validate the secure channel state with nltest:
nltest /sc_verify:your-domain.localA healthy result shows ERROR_SUCCESS. An ERROR_ACCESS_DENIED result confirms the channel is still broken.
Fix 4: Verify the Computer Object in Active Directory
If all three repair methods above fail, check the computer account in AD before attempting a rejoin.
Step 1. On a domain controller or admin workstation, open Active Directory Users and Computers (ADUC).
Step 2. Search for the affected computer by name.
Step 3. Check for:
- The account is enabled (no down-arrow icon)
- No duplicate objects with the same name
- The object has not been recently recreated (a new object gets a new SID, breaking any existing secure channel)
Step 4. If the object is disabled, right-click and select Enable Account. If duplicates exist, remove the stale one.
Step 5. Right-click the computer object and select Reset Account, then retry Fix 1 or Fix 2 from the workstation.
Fix 5: Rejoin the Domain (Last Resort)
Use this fix when secure channel repair consistently fails, the computer object was deleted and recreated, or there is a confirmed SID mismatch.
Part A: Remove the Computer from the Domain
Step 1. Log in with the local administrator account.
Step 2. Press Win + R, type sysdm.cpl, and press Enter.
Step 3. On the Computer Name tab, click Change.
Step 4. Under “Member of”, select Workgroup and enter WORKGROUP.
Step 5. Click OK and enter domain admin credentials to remove the machine.
Step 6. Restart when prompted.
Alternatively, run this in PowerShell:
Remove-Computer -UnjoinDomainCredential YourDomain\AdminUser -PassThru -Verbose -RestartNote:
Remove-ComputerandAdd-Computerare available only in PowerShell 5.1. PowerShell 7 requiresdjoin.exeor the System Properties GUI.
Part B: Clean the AD Computer Object
On a domain controller or admin workstation:
- Open Active Directory Users and Computers.
- Find the computer object.
- Delete it if it is stale or reset it by right-clicking and selecting Reset Account.
Part C: Rejoin the Computer to the Domain
Step 1. Log in with the local administrator account on the now-workgroup machine.
Step 2. Open sysdm.cpl, go to the Computer Name tab, and click Change.
Step 3. Under “Member of”, select Domain and enter your domain name (for example, YOURDOMAIN.local).
Step 4. Enter domain admin credentials when prompted.
Step 5. Restart when prompted, then test domain logons.
Or use PowerShell:
Add-Computer -DomainName YourDomain -PassThru -Verbose -RestartSpecial Cases
VM Snapshots and Restored Images
If the machine was restored from a snapshot or backup taken weeks ago, the DC now holds a newer machine account password than the workstation. Repair with PowerShell or netdom usually succeeds here. If the snapshot is very old, rejoining is faster and cleaner.
Cloned Machines Without Sysprep
Machines imaged without Sysprep share identical SIDs. AD treats them as the same computer, which causes persistent and repeating trust failures across all affected devices. The fix is to run Sysprep on your reference image, redeploy clean machines, and recreate their AD computer objects.
How to Prevent the Trust Relationship Error in Windows
- Use Sysprep for all reference images: Never deploy a domain-joined image directly
- Configure DNS to point only at internal domain controllers: Do not use public DNS on domain-joined machines
- Keep clocks synced: Use the domain time hierarchy and replace failing CMOS batteries promptly
- Ensure regular VPN or DC connectivity for remote laptops so password changes and time sync complete on schedule
- Clean up stale computer objects in AD regularly to avoid duplicate name conflicts
- Avoid restoring from very old snapshots in production domain environments
Start with PowerShell’s Test-ComputerSecureChannel -Repair in most cases, as it fixes the broken secure channel without touching the domain join. If that fails, use Reset-ComputerMachinePassword or netdom to force a password reset. Reserve the full domain rejoin for SID mismatches and deleted computer objects. Once the trust is restored, fix the root cause, whether that is DNS, clock sync, or a stale snapshot policy, to stop the error from coming back.

