You open VirtualBox to resize a disk or detach an old ISO, you click the File menu, and the Virtual Media Manager is gone. Nothing is broken. VirtualBox 7.x moved the tool to a new spot, and a few interface quirks can hide it even after you know where to look.
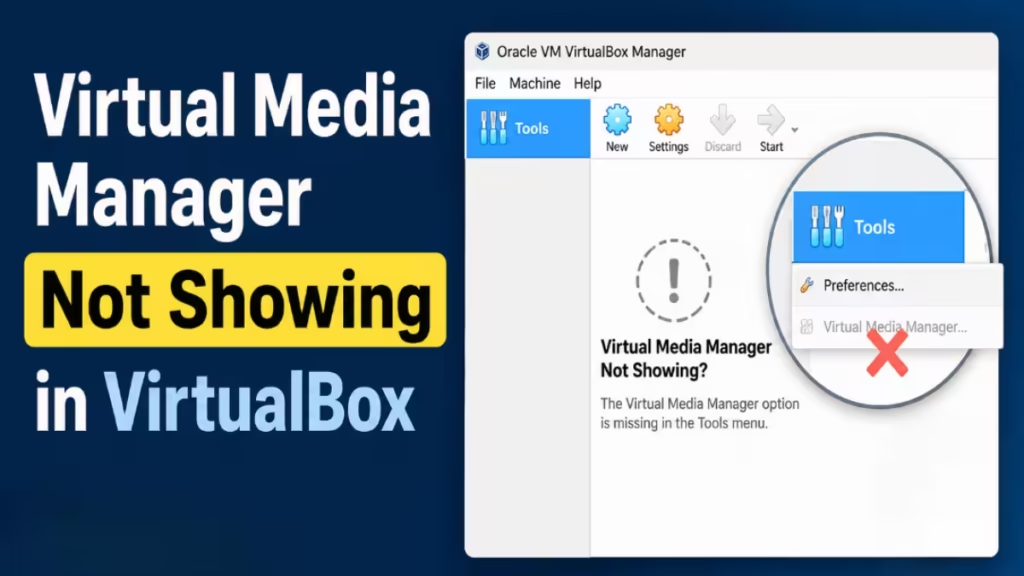
This guide walks through every reason the Virtual Media Manager not showing in VirtualBox happens, starting with the one that fixes it for most people in ten seconds.
Why the Virtual Media Manager Disappears
VirtualBox 7.0 redesigned the Manager window. Oracle pulled the Virtual Media Manager out of the File menu and placed it inside a new Tools area on the left sidebar. Older tutorials still point to the File menu, so the option looks missing when it simply relocated.
A handful of other situations hide it too:
- The sidebar sits collapsed, so the Tools entries never appear.
- The window runs in Basic experience mode instead of Expert mode.
- You launched a single VM directly, so only the VM console opened instead of the full Manager.
- A corrupted configuration file blocks part of the interface from loading.
- An outdated or partially installed build is missing newer UI elements.
Work through the fixes in order and stop once the Media Manager appears.
Fix 1: Open Tools > Media in the Sidebar
This solves the problem in most cases. The Virtual Media Manager now lives under Tools, not File.
- Open Oracle VM VirtualBox Manager from your Start menu or applications list.
- Look at the top of the left sidebar for the Tools entry.
- Click Tools, then click Media.
The Virtual Media Manager opens as its own panel and lists your hard disks, optical disks, and floppy images.
Fix 2: Use the Keyboard Shortcut Ctrl + D
VirtualBox has a built-in shortcut that opens the Virtual Media Manager directly, bypassing the sidebar and menu entirely. This works even when the Tools panel looks blank or collapsed.
- Open Oracle VM VirtualBox Manager (not a VM console window).
- Press Ctrl + D.
The Virtual Media Manager dialog opens immediately. If it does, you can manage all your disks and ISO images from there without touching the sidebar at all. If Ctrl + D does nothing, a deeper profile or mode issue blocks it, so continue to the next fix.
Fix 3: Expand a Collapsed Sidebar
If you click Tools and see no Media option, the sidebar may have shrunk so far that it cuts off the entries.
- Make sure the Manager window is open and not maximized.
- Move your cursor to the thin vertical divider on the far left of the window.
- When the cursor turns into a drag handle, click and drag the divider to the right.
- Keep dragging until Machines, Media, and the other Tools entries become visible.
Once the full sidebar shows, click Media to open the manager.
Fix 4: Switch to Expert Mode
VirtualBox hides some advanced widgets in Basic mode. Expert mode exposes the complete media management interface.
- Open the File menu and click Preferences.
- Go to the Expert tab and click OK.
- Now click File > Tools > Media.
Some builds expose this through an experience toggle in the bottom corner of the Manager. Switch it from Basic to Expert and the Media options return.
Fix 5: Open the Manager, Not Just a VM
When you start a virtual machine from a desktop shortcut or by double-clicking a .vbox file, VirtualBox opens only that VM’s console window. The console has no access to the Virtual Media Manager because the main Manager never launched.
- Close any running virtual machines.
- Press Win + S and type VirtualBox.
- Select Oracle VM VirtualBox Manager to open the full interface.
- Go to Tools > Media.
Always open the Manager first when you need to work with disks or images.
Fix 6: Manage Disks Directly from VM Storage Settings
If the standalone Virtual Media Manager still refuses to appear, you can perform every essential media task through an individual VM’s Storage settings. This bypasses the missing manager entirely and gives you full control over attaching, detaching, and creating disks.
- Select any virtual machine in the VirtualBox Manager and click Settings.
- Go to the Storage tab.
- Under the Storage Devices tree, click the empty disk icon next to the controller.
- Select Choose a disk file to attach an ISO, or click the Add Hard Disk icon and select Add to attach an existing VDI or VMDK file.
- To detach a disk, select it and click the minus icon.
- Click OK to save the changes.
This approach covers most real-world disk management tasks even when the Media Manager panel never loads.
Fix 7: Update VirtualBox to the Latest Version
An old or buggy build can render the interface incorrectly. A current release restores the expected menus.
- In the Manager, open File > Check for Updates to see if a newer version exists.
- Download the latest build from the official Oracle VirtualBox site.
- Close VirtualBox completely, then install the update over your existing version.
- Reopen the Manager and check Tools > Media again.
Updating also keeps the matching Extension Pack in sync, which prevents related display glitches.
Fix 8: Repair a Corrupted Configuration File
If the option still refuses to appear, a damaged settings file may block the interface. VirtualBox stores its global settings in VirtualBox.xml inside your user profile.
- Close VirtualBox fully and confirm no VM processes keep running.
- On Windows, press Win + R, type
%HOMEPATH%\.VirtualBox, and press Enter. On Linux, open~/.config/VirtualBox/. - Rename
VirtualBox.xmltoVirtualBox.xml.bakso VirtualBox builds a fresh copy on the next launch. - Reopen the Manager.
VirtualBox generates a clean configuration automatically. Your VMs may unregister, so re-add each .vbox file through Machine > Add if needed. Keep the backup until everything works again.
Fix 9: Reinstall VirtualBox
A reinstall replaces every missing or broken component when nothing else works.
- Back up your
.vboxfiles and disk images first. - Uninstall VirtualBox through Settings > Apps, search for VirtualBox, and click Uninstall.
- Restart the computer.
- Download the latest installer from the official Oracle VirtualBox site, right-click it, and select Run as administrator.
- Follow the installation wizard, then reopen the Manager and check Tools > Media.
Your virtual machines and disks stay on disk during this process, so you reconnect them afterward through the Manager.
When to Use the Command Line Instead
If you only need the disk data and the interface keeps fighting you, the VBoxManage tool reads the same media registry. Run VBoxManage list hdds to view every registered hard disk, or VBoxManage list dvds for optical images. This confirms your media is intact even while the graphical manager misbehaves.
Related Guides
- How to Install and Set Up VirtualBox on Windows 11
- How to Install Azure Linux on Azure Virtual Machines
- How to Migrate Retiring Azure Virtual Machines to Latest-Generation VMs
The Virtual Media Manager not showing in VirtualBox almost always traces back to the VirtualBox 7.x layout change, so check Tools > Media and press Ctrl + D before anything else. If those fail, widen the sidebar, switch to Expert mode, open the full Manager, or use VM Storage Settings as a workaround. Then update or reset your configuration if the issue persists. One of these steps brings the tool back so you can manage your virtual disks again.
Got stuck on a specific step? Drop a comment with your VirtualBox version and host OS, and we will help you track it down.

