Moving a virtual machine from VMware Workstation to an ESX/ESXi host lets you run the same VM on a production hypervisor instead of a desktop. This is a common step when a VM built for testing or development on a local machine needs to move into a server environment for stable, always-on operation.
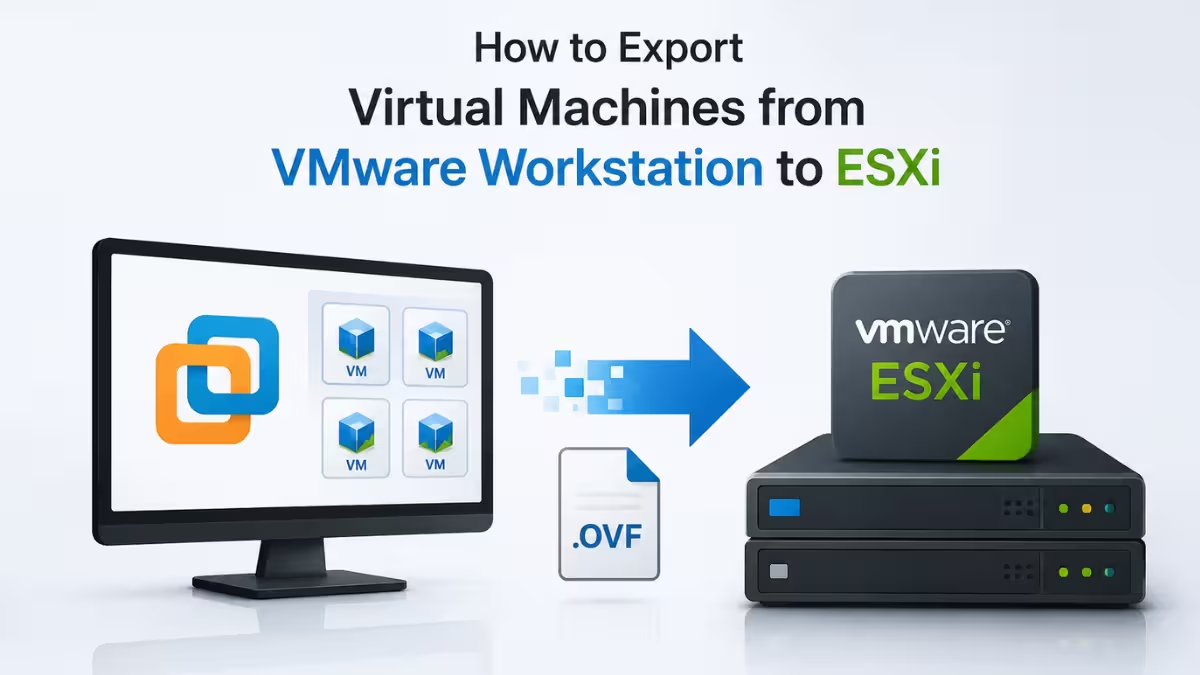
Workstation and ESXi share the same underlying VMX and VMDK file structure, so the migration does not require converting between disk formats. What it does require is packaging the VM correctly so ESXi can register it, since Workstation and ESXi handle virtual hardware versions and export formats slightly differently. This process uses either the built in export feature or the standalone OVF Tool, depending on your Workstation version and whether you want a direct transfer or a portable file.
ESXi Compatibility Checklist Before Exporting
Checking these compatibility points before you export helps the VM boot correctly on ESXi the first time, instead of failing partway through import.
- Confirm the ESXi version supports the virtual hardware version used by the Workstation VM.
- Remove or disconnect any USB, sound, or printer devices that ESXi does not support.
- Snapshots are not preserved during OVF export, so consolidate or delete them first.
- Verify enough free space exists on the ESXi datastore for the VM’s full disk size.
Method 1: Export the VM Using VMware Workstation’s OVF Export
Workstation includes a native export option that packages the VM for ESXi deployment.
- Open VMware Workstation and power off the VM you want to export.
- Go to File > Export to OVF.
- Choose a destination folder and enter a file name for the exported package.
- Select OVF or OVA as the output format. OVA bundles everything into a single file, which is easier to transfer.
- Click Export and wait for the process to complete.
Method 2: Export Directly to ESXi Using OVF Tool
The OVF Tool gives more control over the export, including direct deployment to an ESXi host without creating an intermediate file.
- Download and install the OVF Tool from the VMware download portal if it is not already bundled with Workstation.
- Open a command prompt or terminal and navigate to the OVF Tool installation directory.
- Run a command in this format to export directly to ESXi:
ovftool "C:\VMs\MyVM\MyVM.vmx" vi://root@esxi-host-ip/MyVM- Enter the ESXi root password when prompted.
- Wait for the transfer to finish. Progress is shown as a percentage in the terminal.
This method deploys and registers the VM on ESXi in one step, so no separate upload or registration is needed. You can skip ahead to Post-Migration Steps once the transfer completes.
Upload the VM Files to the ESXi Datastore
If you exported using Method 1, the OVF/OVA file needs to be uploaded to the host’s datastore before it can be registered. Skip this step if you used OVF Tool.
- Install ESXi on the physical server if it is not already set up, using the installer from the VMware download portal.
- Type the server’s IP address into a web browser to open the ESXi management interface.
- Go to Storage, select your datastore, and open the Datastore browser.
- Click Create directory and name it something identifiable, such as “import,” to keep the migration files organized.
- Open that directory and use the Upload button to move the OVF and VMDK files exported from Workstation onto the server.
Register the VM on ESXi (Web Client Import)
If you already have an OVF or OVA file from the Workstation export step, you can upload it directly through the ESXi host UI to complete the transfer.
- Log in to the ESXi web client using the host IP address in a browser.
- Go to Virtual Machines and click Create/Register VM.
- Select Deploy a virtual machine from an OVF or OVA file.
- Enter a name for the VM and upload the exported OVF/OVA file along with its associated VMDK files.
- Choose the datastore and network mapping, then click Finish.
Post-Migration Steps After Moving the VM to ESXi
A few adjustments after the VM boots on ESXi help it run reliably in its new environment.
- Update VMware Tools in the guest OS so graphics, network, and storage drivers match the ESXi hypervisor version.
- Remove unsupported virtual hardware, such as sound cards and USB controllers, since these can cause boot errors on ESXi.
- Reconfigure network settings, including IP address, VLAN tags, and gateway, as the guest OS may reset these on the new host.
Frequently Asked Questions
Can I export a running VM from Workstation to ESXi?
No. The VM must be powered off before exporting, since OVF export and OVF Tool both require a consistent, non-running disk state.
Does exporting to OVF preserve snapshots?
No. OVF export flattens the VM to its current state and does not carry over snapshot history.
Is OVF Tool free to use?
Yes. OVF Tool is distributed by VMware at no additional cost and works independently of Workstation once installed.
Why does ESXi reject my exported OVF file?
This usually happens when the VM uses a virtual hardware version newer than what the target ESXi build supports. Check the ESXi host’s maximum supported hardware version and, if needed, lower the VM’s hardware version in Workstation before exporting.
How long does exporting to ESXi typically take?
It depends on the VM’s disk size and the network speed between the Workstation machine and the ESXi host. A VM with a 40 to 60 GB disk over a standard local network usually takes between 10 and 30 minutes using OVF Tool.
Related Virtualization Guides
- How to Install VMware Workstation Pro 25H2 on Windows 11 (Free)
- Windows 11 Requirements for VMware and Hyper-V (Complete Setup Guide)
- How to Install and Set Up VirtualBox on Windows 11
VM Error Fixes

