Your iPhone flashes “Cannot Get Mail: The Connection to the Server Failed” right when you need an email the most. This alert means the Mail app tried to reach your email provider’s server and could not complete the handshake. It does not mean your emails are gone or your account is broken.
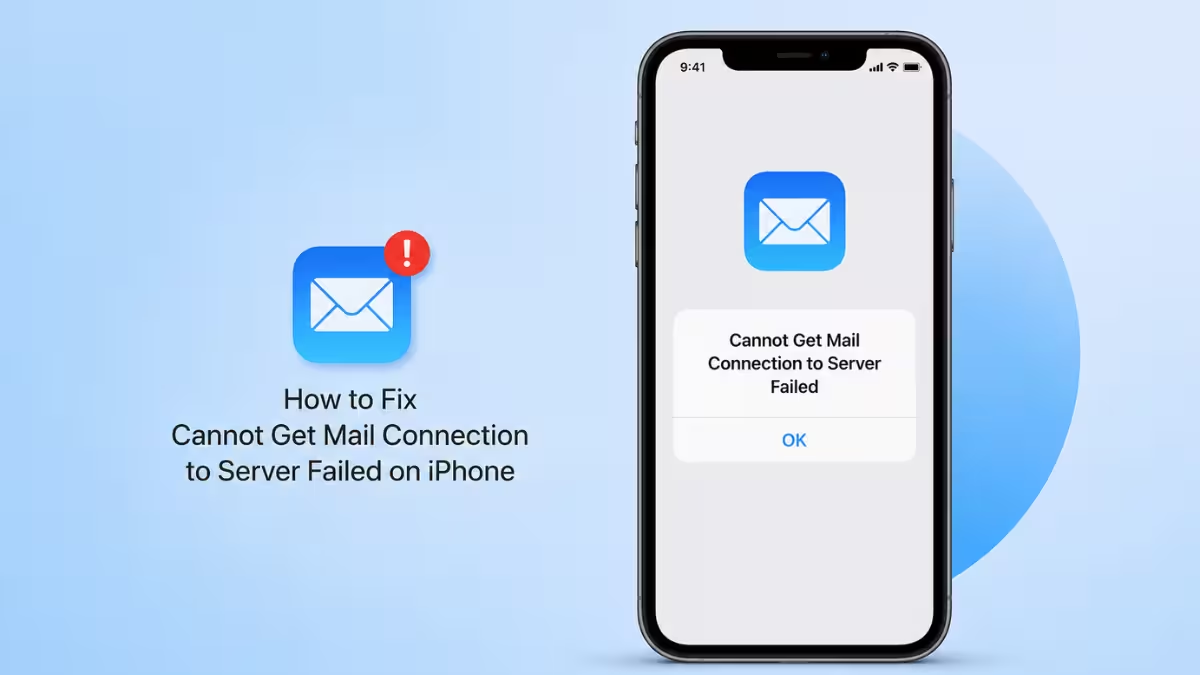
The error usually traces back to a handful of causes: an unstable connection, wrong device time, an expired password, or server settings that no longer match what your provider expects. Below are fixes ordered by how often each cause turns out to be the real one, starting with the checks that take the least effort to rule out.
What Causes the Cannot Get Mail Connection to Server Failed Error on iPhone
- A weak or dropped Wi-Fi or cellular connection prevents the Mail app from reaching the server.
- An incorrect date, time, or time zone breaks the secure handshake mail servers require.
- An expired or recently changed password blocks authentication.
- Outdated or mismatched IMAP, POP, or SMTP settings stop the Mail app from connecting.
- A temporary outage on your provider’s side, such as iCloud, Gmail, or Outlook, halts syncing until the provider fixes it.
Fix 1: Check for a Server Outage on Your Provider’s End
Rule this out before touching any settings, since no fix on your iPhone will help if the problem sits with your provider.
- Check Apple’s System Status page for iCloud Mail, or your provider’s own status page for Gmail or Outlook.
- Wait it out if there’s a listed outage.
- Try again once the provider confirms service is restored.
Fix 2: Re-enter Your Email Password
An expired or recently changed password is the single most common trigger for this error, so check it early.
- Open Settings > Apps > Mail > Mail Accounts.
- Select the account showing the error.
- If a Re-enter Password prompt appears, tap it and type in your current password.
- Toggle Mail back on for that account once the password is accepted, to resume syncing.
Fix 3: Check Incoming and Outgoing Server Settings
Custom domains and work email accounts often need manual server configuration, and a single wrong port or disabled setting is enough to trigger this error.
- Open the account’s settings and tap SMTP for the outgoing server.
- Make sure SMTP is switched on and the server port is set to 465 or 587.
- Go to Advanced under the same account for the incoming server.
- Check that Use SSL is enabled and the port reads 993 for IMAP or 995 for POP.
- Check your provider’s support documentation or contact your email host if you’re unsure which values apply, since these numbers vary by service.
Fix 4: Confirm Your Internet Connection Is Working
Mail depends entirely on an active connection, so a shaky signal will produce this same error regardless of your account settings.
- Open Settings > Wi-Fi and check that you’re connected to a working network.
- If the connection looks unstable, tap the network name, choose Forget This Network, then reconnect and enter the password again.
- If you’re on cellular data instead, go to Settings > Cellular, scroll to the app list, and confirm Mail is toggled on.
- Turn on Airplane Mode for about 10 seconds, then turn it off, to force a quick refresh on either connection type.
Fix 5: Set the Correct Date and Time
Mail servers use secure certificates that depend on accurate device time. If your iPhone’s clock drifts, the handshake fails and triggers this exact error.
- Go to Settings > General > Date & Time.
- Toggle on Set Automatically.
- If the time zone still looks wrong, turn the toggle off, tap Time Zone, and select your actual location manually.
Fix 6: Restart Your iPhone
A restart clears background processes that may be holding a broken connection open after you’ve adjusted settings above.
- Press and hold the Side button along with either Volume button until the power-off slider appears.
- Slide to turn the phone off and wait a few seconds.
- Hold the Side button again to boot back up.
- Open Mail and check if the error clears.
Fix 7: Remove and Re-add the Email Account
When none of the account-level checks above resolve it, the stored configuration itself is likely corrupted. Removing and re-adding it forces a clean setup.
- Go to Settings > Apps > Mail > Mail Accounts.
- Select the problem account and tap Delete Account.
- Confirm with Delete from My iPhone. This only removes the account from your device; nothing is deleted from the mail server itself.
- Return to Mail Accounts and tap Add Account.
- Enter your email address and follow the sign-in prompts. For providers like Gmail or Yahoo, you’ll be redirected to a browser login screen.
- Wait a few minutes after setup before checking your inbox.
Fix 8: Update iOS to the Latest Version
Apple regularly patches Mail syncing bugs in iOS updates, so this is worth ruling out last if the account rebuild above didn’t help.
- Go to Settings > General > Software Update.
- Install any update that’s available.
- Restart the device afterward.
- Reopen Mail to confirm the fix took effect.
Frequently Asked Questions
Why does my iPhone keep showing Cannot Get Mail even after I reset my password?
This usually means the account configuration itself is corrupted rather than the credentials. Remove the account from Mail Accounts and add it back from scratch to force a fresh setup.
Does this error delete my existing emails?
No. The error only affects the connection between your iPhone and the mail server. Your messages remain safely stored on the provider’s server even if the account is removed and re-added on your device.
Can a VPN cause the Cannot Get Mail error?
Yes. Some VPNs block the ports Mail uses for IMAP, POP, or SMTP. Try disconnecting the VPN temporarily and checking if Mail connects normally.
Why does this happen only with one email account and not others?
If only one account fails, the issue is tied to that provider’s authentication or server settings rather than your iPhone’s network or system settings. Recheck the SMTP and IMAP details for that specific account.
Will resetting network settings on my iPhone fix this error?
It can, since it clears saved Wi-Fi passwords and cellular configurations that might be corrupted. Treat it as a later step rather than a first try, since you’ll need to re-enter your Wi-Fi passwords afterward.
