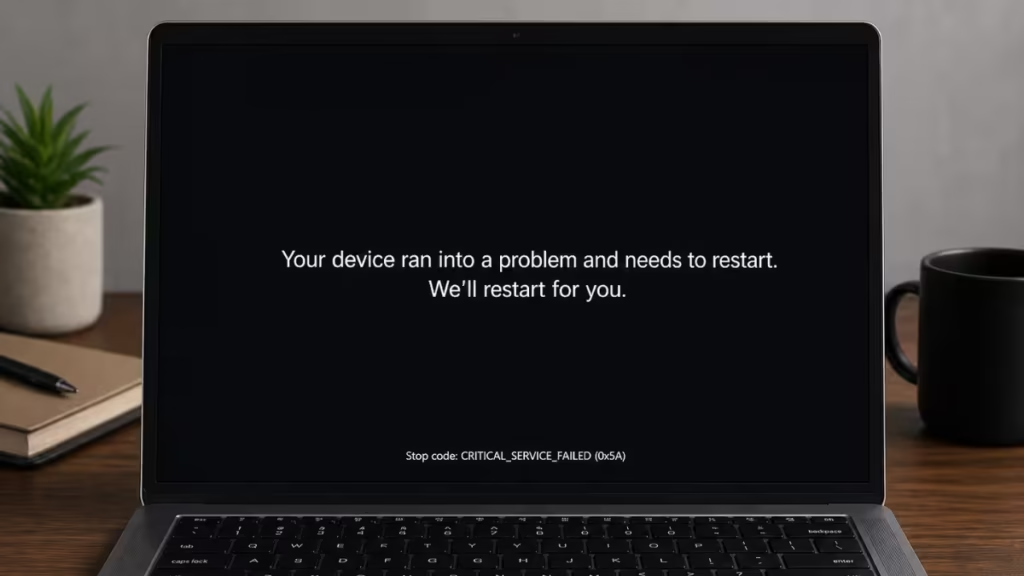
The CRITICAL_SERVICE_FAILED blue screen error (stop code 0x5A) crashes Windows 11 before it finishes loading. A broken Windows update is the most common trigger. What makes this error especially frustrating is that Safe Mode often fails too, dropping you back to a black screen instead of a recovery menu.
You do not need Safe Mode to fix this. Windows 11 includes a built-in recovery environment that gives you access to repair tools, update rollback, and system restore, all without booting normally. This guide walks you through every fix, starting with the easiest options.
Table of Contents
What Causes CRITICAL_SERVICE_FAILED (0x5A)?
Windows throws this stop code when a critical system service fails to start during boot. The most frequent causes are:
- A faulty Windows Update that corrupts system files or drivers
- A third-party driver (antivirus, GPU, chipset) that conflicts with Windows
- Corrupted system files from an incomplete installation
- Hardware issues with RAM or storage
Since you see this right after an update, a bad Windows patch is the most likely culprit.
Step 1: Force Windows into the Recovery Environment
You cannot enter the recovery environment normally because Windows crashes before reaching the desktop. Instead, you need to trigger it by interrupting the boot sequence three times in a row.
- Press your PC’s power button to start it.
- As soon as you see the Windows loading circle (or within 2 seconds of POST), hold the power button for 5 seconds to force a hard shutdown.
- Repeat this two more times (three total interrupted boots).
- On the fourth attempt, Windows automatically launches the Automatic Repair screen instead of trying to boot normally.
- Click Advanced options to enter the Windows Recovery Environment (WinRE).
Once you are inside WinRE, you have access to all the tools below.
Note: If the Automatic Repair screen says “Startup Repair couldn’t repair your PC,” click Advanced options rather than closing the window.
Step 2: Run Startup Repair
Startup Repair is the quickest first attempt. It scans boot files and fixes common issues automatically.
- In WinRE, go to Troubleshoot > Advanced options > Startup Repair.
- Select your Windows account if prompted.
- Wait for the scan to complete. This can take 10 to 15 minutes.
- Restart and test if Windows boots normally.
If Startup Repair says it cannot fix the issue, move to the next step.
Step 3: Uninstall the Problematic Windows Update
Since your crash started after an update, rolling back that update is the most targeted fix.
- Return to WinRE via the same three-interrupted-boots method if needed.
- Go to Troubleshoot > Advanced options > Uninstall Updates.
- You will see two options:
- Uninstall latest quality update (for security/patch updates)
- Uninstall latest feature update (for major version upgrades)
- Start with Uninstall latest quality update and click Uninstall Quality Update.
- Restart your PC.
If the blue screen returns, repeat the process and choose Uninstall latest feature update instead.
Step 4: Use System Restore
If update removal does not work, System Restore rolls Windows back to a point before the corruption occurred.
- Boot back into WinRE.
- Go to Troubleshoot > Advanced options > System Restore.
- Click Next and select a restore point dated before the BSOD started.
- Confirm the restore and click Finish.
System Restore does not delete your personal files, but it removes programs and driver changes made after the selected restore point.
Important: System Restore only works if Windows created restore points before the issue. If no restore points appear, skip to Step 5.
Step 5: Repair System Files from Command Prompt
Corrupted Windows system files can block boot even after you remove the update. Running SFC and DISM from WinRE repairs those files without needing a working Windows desktop.
- In WinRE, go to Troubleshoot > Advanced options > Command Prompt.
- Run DISM first to repair the Windows image:
DISM /Online /Cleanup-Image /RestoreHealth- Wait for DISM to complete. It may take 15 to 20 minutes.
- Then run the System File Checker:
sfc /scannow- Once both finish, type
exitand restart.
If the commands report that they fixed corrupted files, your PC should boot normally after the restart.
Step 6: Disable the Failing Service via Command Prompt
When a specific service triggers the crash, you can disable it directly from the WinRE command prompt by editing the registry offline.
- Open Command Prompt from WinRE (as above).
- Type the following to load the registry editor:
regedit- Navigate to:
HKEY_LOCAL_MACHINE\SYSTEM\CurrentControlSet\Services - Look for recently installed services related to your last update or a third-party application.
- Set the Start value of the suspected service to
4(disabled). - Close regedit, type
exit, and restart.
This method works best if you know which driver or service changed recently. Check any antivirus, GPU driver, or chipset driver you installed close to when the problem started.
Step 7: Boot from a Windows 11 USB Drive
If your PC’s built-in recovery environment cannot fix the issue, booting from a Windows 11 installation USB gives you a fresh copy of WinRE with additional repair options.
Create the USB on another PC:
- Download the Windows 11 Media Creation Tool from Microsoft.
- Run it and select Create installation media.
- Choose a USB drive (8 GB or larger). The tool wipes the drive and loads Windows 11 onto it.
Boot from the USB:
- Plug the USB into your broken PC.
- Restart and press your BIOS boot menu key (usually F11, F12, or Esc at startup, depending on your motherboard).
- Select the USB drive from the boot menu.
- On the Windows Setup screen, click Next, then Repair your computer (bottom-left corner).
- This brings you into WinRE with all the options from the steps above.
From here, you can also run Startup Repair, Command Prompt, or System Restore from the USB environment, which is sometimes more reliable than the built-in WinRE.
Step 8: Reset Windows 11 (Keep Your Files)
If none of the above fixes work, resetting Windows reinstalls the operating system while keeping your personal files intact.
- In WinRE, go to Troubleshoot > Reset this PC.
- Select Keep my files.
- Choose Cloud download if you have a stable internet connection, or Local reinstall if not.
- Follow the prompts to complete the reset.
This removes installed apps and settings but keeps documents, photos, and other personal files in your user folder.
Which Fix Should You Try First?
| Fix | Data Loss Risk | Requires USB |
|---|---|---|
| Startup Repair | None | No |
| Uninstall Update | None | No |
| System Restore | Apps only | No |
| SFC / DISM | None | No |
| Disable Service | None | No |
| USB Repair Tools | None | Yes |
| Reset (Keep Files) | Apps only | No |
Work through the steps in order. Most users with an update-caused CRITICAL_SERVICE_FAILED error fix it at Step 3 (uninstalling the update) or Step 5 (running SFC and DISM). A factory reset is the last resort, and even then Windows 11 lets you keep your personal files.
FAQs: CRITICAL_SERVICE_FAILED Windows 11
What causes CRITICAL_SERVICE_FAILED (0x5A) on Windows 11?
A faulty Windows update, a corrupted driver, or damaged system files prevent a critical service from starting during boot.
Can I fix CRITICAL_SERVICE_FAILED without Safe Mode?
Yes. Force Windows into the Recovery Environment (WinRE) by interrupting the boot three times, then use Startup Repair or uninstall the recent update from there.
Will fixing this error delete my files?
No. Startup Repair, SFC/DISM, and update removal do not touch personal files. Even a full Reset has a “Keep my files” option.
How do I enter WinRE if my PC keeps crashing?
Hard-shutdown your PC three times during the Windows loading screen. On the fourth boot, Windows automatically opens the recovery environment.
What if the blue screen comes back after the fix?
Pause Windows Updates for 5 weeks via Settings > Windows Update > Advanced options while Microsoft releases a corrected patch.

