Running low on disk space is one of the most common problems Mac users face. Whether you want to install a macOS update, download a large app, or figure out why your Mac is slowing down, checking your storage is the first step. macOS requires at least 35 GB of free space to install major updates, and performance starts to degrade when less than 10 to 15 percent of your SSD remains free.
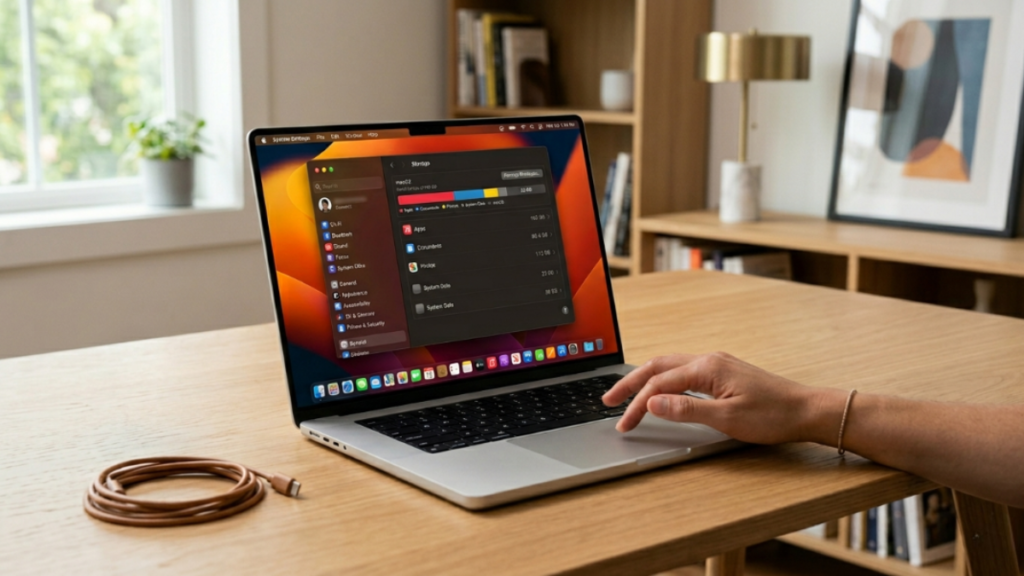
This guide covers five built-in methods to check storage on Mac, explains what each storage category actually means, and shows you how to reclaim gigabytes of wasted space. Every method works on macOS Sequoia (15), Sonoma (14), and Ventura (13), with notes for Monterey and earlier.
Method 1: Check Storage via System Settings (macOS Ventura, Sonoma, and Sequoia)
System Settings is the recommended method on macOS Ventura 13 and later. It gives you a color-coded breakdown of exactly what is using your drive.
- Click the Apple menu () in the top-left corner of your screen.
- Select System Settings.
- Click General in the left sidebar.
- Click Storage on the right.
- Wait a few seconds for macOS to calculate your storage usage.
You will see a horizontal color-coded bar divided into categories like Apps, Documents, macOS, System Data, and Other. The empty space on the right represents your available storage. The bar may take 10 to 30 seconds to fully load on Macs with large drives.
Method 2: Check Storage via About This Mac
This method works on all macOS versions, though the path changes slightly depending on your version.
On macOS Ventura, Sonoma, and Sequoia:
- Click the Apple menu () in the top-left corner.
- Select About This Mac.
- Click More Info.
- Scroll down and click Storage Settings.
On macOS Monterey and earlier:
- Click the Apple menu > About This Mac.
- Click the Storage tab at the top of the window.
- Click Manage to dig into specific categories.
On Ventura and later, the About This Mac window no longer shows a direct Storage tab. It redirects you to System Settings via the More Info button.
Method 3: Check Storage via Disk Utility
Disk Utility shows raw disk capacity without the category breakdown. It is most useful when you need to verify drive health, manage APFS volumes, or check partition sizes.
- Open Finder and navigate to Applications > Utilities.
- Launch Disk Utility.
- Select your startup disk, usually called Macintosh HD, in the left sidebar.
- Look at the capacity, used space, and available space shown at the bottom of the window.
Disk Utility reports exact bytes used with no rounding, which makes it accurate for technical troubleshooting.
Method 4: Check Storage via Finder Get Info
This is the quickest option when you just need to see total versus available space without opening System Settings.
- Open Finder and click Macintosh HD in the left sidebar.
- Press Command + I to open Get Info (or right-click and select Get Info).
- Look at the Capacity, Available, and Used fields.
You can also enable a permanent storage display at the bottom of every Finder window. Open Finder, click View in the menu bar, and select Show Status Bar. The remaining available storage will appear at the bottom edge of every Finder window from that point on.
Method 5: Check Storage via Terminal
Terminal gives you precise storage data without loading a graphical interface. Power users and developers prefer this method for scripting and exact byte counts.
Check all mounted volumes:
- Open Terminal from Applications > Utilities, or use Spotlight with Command + Space and type “Terminal.”
- Type the following command and press Return:
df -h /Look at the Size, Used, Avail, and Capacity columns for your main disk. Terminal calculates sizes in gibibytes (GiB), so the numbers appear slightly smaller than what Finder reports.
Check a specific folder’s size:
du -sh ~This calculates and displays the total disk usage of your home directory. Replace ~ with any folder path to check a specific directory.
What Do Mac Storage Categories Mean on macOS?
When you check storage in System Settings, macOS groups files into color-coded categories. Here is what each one means and whether you can reduce it.
| Category | What It Includes | Reducible? |
|---|---|---|
| Apps | All installed applications including their bundles. Typically 10 to 30 GB. | Yes |
| Documents | Files in your Documents, Desktop, and Downloads folders. | Yes |
| Photos | Your Photos library stored locally. Can be massive if iCloud optimization is off. | Yes |
| Messages | iMessage texts and all media shared via iMessage, including videos and high-res images. | Yes |
| Locally stored emails and their attachments. | Yes | |
| System Data | Caches, logs, temporary files, Spotlight indexes, swap files, and Time Machine local snapshots. Often 20 to 50 GB. | Partially |
| macOS | Core operating system files. Usually 12 to 15 GB. | No |
| iCloud Drive | Files synced or stored locally from iCloud. | Yes, via Optimize Storage |
| Other | Plugins, extensions, archives, and miscellaneous data macOS cannot categorize. Can be 5 to 20 GB. | Yes |
System Data Explained
System Data is the most misunderstood category. Previously called “Other” on older macOS versions, it contains app caches, local Time Machine snapshots, temporary system files, and browser caches. It commonly accounts for 30 to 60 percent of a Mac’s used storage, and a large portion of it is recoverable cache and log data you can safely clean.
What Takes Up the Most Space on Mac?
These are the biggest hidden storage consumers on most Macs:
- Application caches: Xcode caches alone can reach 10 to 30 GB. Docker containers commonly consume 20 to 50 GB. Chrome, Slack, and other Electron apps add another several gigabytes.
- iOS and iPadOS backups: Old device backups stored in
~/Library/Application Support/MobileSynccan consume 10 to 50 GB each. - Time Machine local snapshots: macOS accumulates local snapshots automatically, which can reach 20 to 100 GB on Macs that have not completed a recent backup to an external drive.
- Downloads folder: Most users have 5 to 15 GB of forgotten
.dmginstallers,.ziparchives, and old PDFs sitting here. - App leftovers: Software you already uninstalled leaves behind files in
~/Library/Application Support,~/Library/Caches, and~/Library/Preferences. A typical Mac accumulates 2 to 5 GB of these orphaned files. - Browser caches: Safari, Chrome, Firefox, and other browsers collectively consume 2 to 8 GB.
How to Find Large Files on Mac
Use Finder’s built-in search to surface the biggest files on your drive:
- Open Finder and press Command + F.
- Click the first dropdown and select File Size.
- Set the second dropdown to is greater than.
- Enter a value such as
500and select MB.
This populates a list of every large file on your system. Pay close attention to your Downloads folder, which typically collects large .dmg app installers and old ZIP archives over time.
You can also switch any Finder window to List View, click View > Show View Options (Command + J), enable Calculate all sizes, and then click the Size column header to sort everything from largest to smallest.
How to Free Up Storage on Mac
Once you know what is consuming space, use these steps to reclaim it.
1. Empty the Downloads Folder
Open Finder > Downloads and sort by size. Delete .dmg installers, old .zip files, and documents you have already moved elsewhere. Most users recover 5 to 15 GB from Downloads alone.
2. Clear System and Application Caches
Caches in ~/Library/Caches and /Library/Caches grow indefinitely. Clearing them is safe because apps regenerate cache data as needed. A Mac that has not been cleaned in 6 to 12 months typically holds 5 to 10 GB of stale cache data.
3. Remove Old iOS and iPadOS Backups
Go to System Settings > General > Storage, look for an iOS Files category, or check ~/Library/Application Support/MobileSync/Backup manually. Each backup can be 10 to 50 GB. Delete backups for devices you no longer own.
4. Delete Time Machine Local Snapshots
To list local snapshots, run this command in Terminal:
tmutil listlocalsnapshots /Delete an old snapshot with:
tmutil deletelocalsnapshots [date]These snapshots can consume 20 to 100 GB on Macs that have not completed a recent backup to an external drive.
5. Uninstall Unused Apps Completely
Dragging an app to Trash only removes the .app bundle. Preferences, caches, containers, and support files remain scattered across Library folders. A single app can leave behind 50 to 500 MB of hidden leftovers. Use a dedicated uninstaller app to remove all associated files at once.
6. Optimize iCloud Storage
Go to Apple menu > System Settings > Apple ID > iCloud and enable Optimize Mac Storage. This offloads older files to iCloud and keeps only recently accessed files local, which can free tens of gigabytes on smaller SSDs.
7. Use the Built-In Recommendations
Inside System Settings > General > Storage, Apple shows a set of optimization recommendations including “Store in iCloud,” “Optimize Storage,” and “Empty Trash Automatically.” Enable the ones that match your workflow.
How Much Free Storage Should a Mac Keep?
SSDs require empty space to perform wear leveling and background maintenance. If your drive gets too full, your Mac slows down significantly. A general rule is to keep 10 to 15 percent of your drive empty.
| SSD Size | Recommended Free Space |
|---|---|
| 256 GB | 25 to 40 GB |
| 512 GB | 50 to 75 GB |
| 1 TB | 100 GB or more |
Frequently Asked Questions
How do I check storage on Mac without System Settings?
Open Finder, select Macintosh HD in the sidebar, and press Command + I to open Get Info. You will see your capacity, available space, and used space without opening System Settings. You can also open Terminal and run df -h / for a command-line readout.
What is System Data in Mac storage?
System Data contains app caches, browser caches, local Time Machine snapshots, Spotlight indexes, virtual memory swap files, and temporary system files. It was previously labeled “Other” on older macOS versions. Much of this space is recoverable by clearing caches and deleting old snapshots.
Why does my Mac say storage is full when it is not?
This usually happens because of local Time Machine snapshots or purgeable space that macOS has not yet cleared. Purgeable space consists of files macOS can delete automatically when needed, such as cached iCloud files and watched movies, but they still appear as used until space is actually needed. Restarting your Mac or running the Optimize Storage option in Storage settings often resolves this.
How much free space should I keep on my Mac?
Keep at least 10 to 15 percent of your total SSD capacity free at all times. On a 256 GB Mac, that means keeping 25 to 40 GB free. Below this threshold, your Mac will slow down noticeably.
Can I add more storage to my MacBook?
Apple Silicon Macs (M1 and later) have SSDs soldered directly to the motherboard. You cannot upgrade internal storage after purchase on these models. Your practical options are external USB or Thunderbolt drives, cloud storage services like iCloud or Google Drive, and optimizing what is already on your Mac. On Intel Macs from 2015 and earlier, internal SSD upgrades were possible.
What files can I safely delete on Mac?
You can safely delete anything in your Downloads folder, old .dmg installers, unused applications, files in your Trash, and app caches in ~/Library/Caches. Never delete files from the /System or /Library folders at the root level, as those contain core OS components.
How do I check storage on a specific folder in Terminal?
Open Terminal and run du -sh /path/to/folder, replacing the path with the folder you want to check. To check your entire home directory, run du -sh ~.
What is purgeable storage on Mac?
Purgeable storage refers to files macOS can automatically delete when it needs more space. This includes locally cached iCloud files, watched Apple TV movies, and certain Optimized Storage items. macOS counts purgeable space as used until it actually needs to reclaim it.
Related Guides
- How to Create a macOS Bootable USB on Windows 11 (TransMac + DiskPart)
- AMOS macOS Stealer: What It Is and How to Remove It from Your Mac
- How to Create a macOS Bootable USB on Windows 11 (TransMac + DiskPart)
- Snipping Tool Mac: How to Screenshot on macOS
- How to Fix Mac Sleeps While Watching Movies After macOS Update (Stop Sleep During Video Playback)

