Power Automate Desktop is a free automation tool built into Windows 11. It lets you record actions, build multi-step flows, and hand off repetitive tasks to your PC without writing a single line of code. Most users never discover it, even though it ships preinstalled and ready to use.
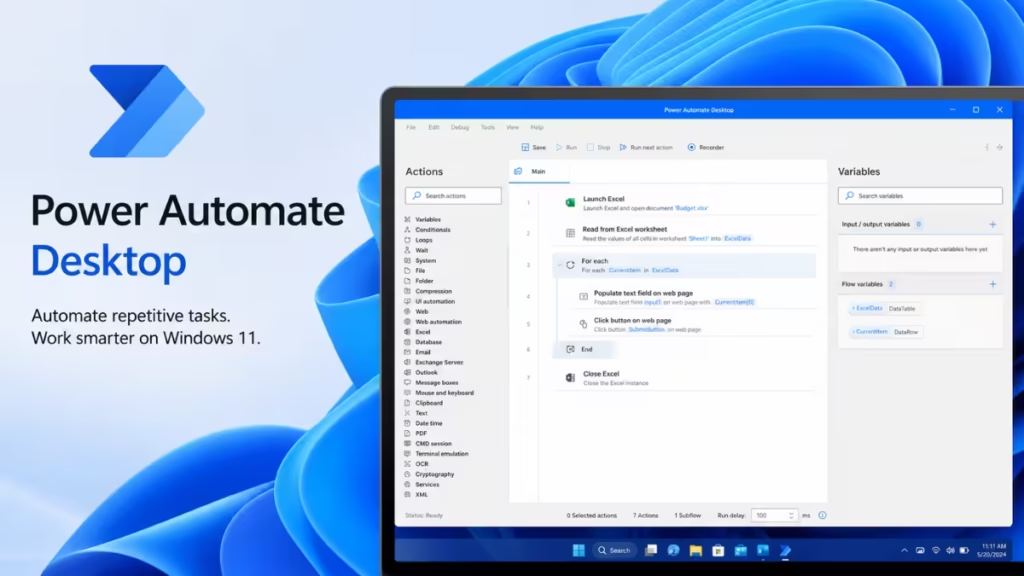
This guide walks you through what Power Automate Desktop does, how to set up your first flow, and what to keep in mind before you start.
What Is Power Automate Desktop?
Power Automate Desktop is Microsoft’s robotic process automation (RPA) tool for Windows. It works by letting you build “flows,” which are ordered sequences of actions your PC executes automatically.
A flow can do something as simple as opening an app, or something as complex as pulling data from a website, processing it, and saving it to a spreadsheet. The tool ships preinstalled on Windows 11 and is accessible directly from the Start menu.
Power Automate Desktop is one of several hidden Windows tools built into your PC that most users overlook. It requires no paid subscription to use for attended automations and includes over 400 prebuilt drag-and-drop actions out of the box.
What You Can Automate
Power Automate Desktop covers a wide range of tasks. Here are the most common categories where it adds real value:
- Email automation: Create notifications, handle incoming attachments automatically, and trigger specific actions when certain emails arrive.
- Data extraction: Pull information from websites, PDFs, and emails, then load it directly into spreadsheets or databases.
- File management: Rename files in bulk, sort documents into folders by type, or archive files based on date.
- App interaction: Launch apps, fill in forms, click buttons, and navigate through both modern and legacy software without touching the mouse.
Power Automate Desktop bridges old and new software. If you use a legacy application that has no API or modern integration options, flows can still interact with it the same way a person would.
System Requirements for Power Automate Desktop on Windows 11
Power Automate Desktop runs on most modern Windows hardware. Below are the minimum and recommended specs.
| Component | Minimum | Recommended |
|---|---|---|
| Processor | 1.00 GHz, 2+ cores | 1.60 GHz, 2+ cores |
| RAM | 2 GB | 4 GB |
| Storage | 1 GB | 2 GB |
| .NET Framework | 4.7.2 or later | 4.7.2 or later |
Supported operating systems:
- Windows 10 (Home, Pro, Enterprise)
- Windows 11 (Home, Pro, Enterprise)
- Windows Server 2016, 2019, 2022, 2025
Devices with ARM processors are not supported.
Additional requirements:
- Microsoft Edge (v80 or later), Google Chrome, or Firefox
- Active internet connection
- TLS 1.2
Windows Home vs. Pro and Enterprise: Both editions support building flows and running them locally in attended mode. Windows Home does not support triggering desktop flows from the cloud. Cloud runtime requires Windows Pro, Enterprise, or Server.
How to Open Power Automate Desktop on Windows 11
Power Automate Desktop ships with Windows 11 and is ready to launch from the Start menu.
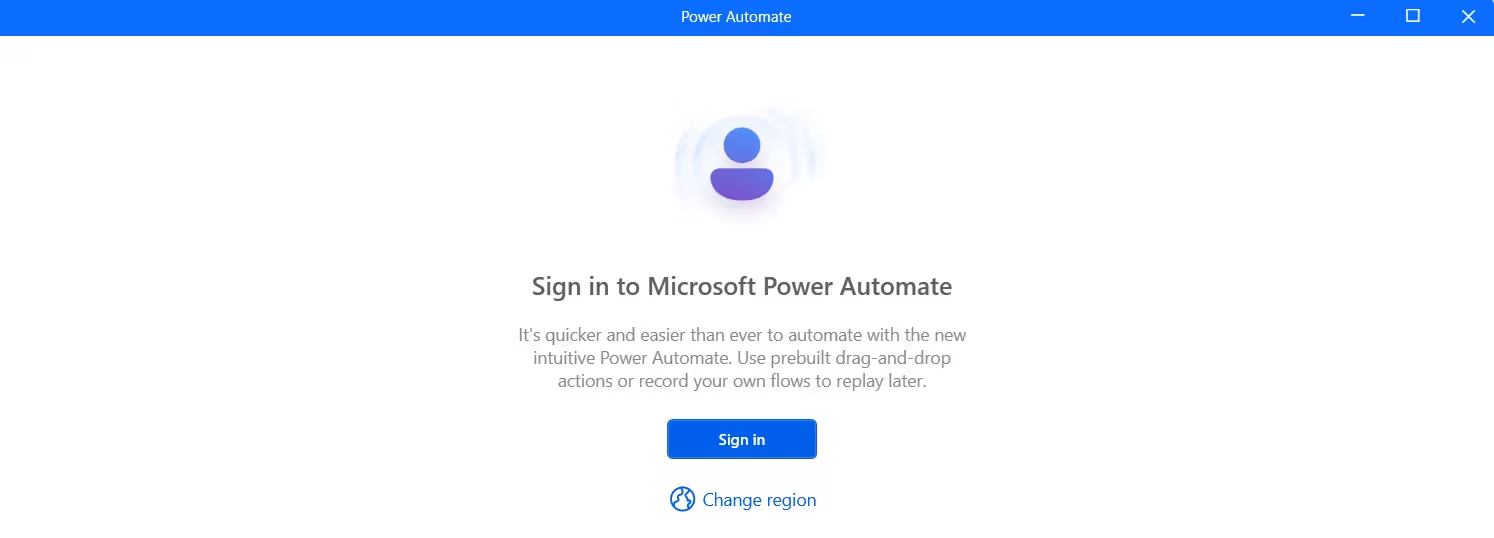
- Press Windows + S to open Search.
- Type Power Automate in the search bar.
- Click the Power Automate app icon in the results.
- Sign in with your Microsoft account or work/school account.
If the app is missing from your device, download it from the Microsoft Store. Once installed, it appears in search and you can pin it to the taskbar for quick access.
How to Create Your First Flow
Power Automate Desktop gives you two ways to build a flow: drag-and-drop actions from a prebuilt library, or record a set of actions directly on your screen. The recorder method is the fastest way to start.
Here is how to create a recorded flow from scratch:
- Open Power Automate Desktop and sign in.
- Click New flow in the top-left corner of the console.
- Enter a name for your flow and click Create.
- Click the Record button in the top toolbar of the flow designer.
- In the Recorder window that opens, click Record.
- Perform every action that belongs in the automation, such as opening apps, clicking buttons, and typing text.
- Click Done when finished.
- Click Run to test the flow and confirm it works correctly.
Power Automate captures each action as a step and converts it into a proper flow automatically. You can review each step, remove any actions you do not need, and reorder steps by dragging them up or down.
Once the flow works correctly, right-click it in the console and select Create desktop shortcut to run it with a single click.
How to Schedule a Flow with Task Scheduler
Running a flow manually is useful, but scheduling it to run at a fixed time makes automation fully hands-off. Windows 11’s built-in Task Scheduler handles this without any extra software.
- Open Power Automate Desktop.
- Click the three-dot menu on your flow and select Properties.
- Copy the Run URL shown in the properties panel.
- Open Task Scheduler by searching for it in the Start menu.
- Click Create Basic Task in the right-hand panel.
- Name the task and set the trigger, such as daily, weekly, or on startup.
- Select Start a program as the action type.
- Paste the Run URL into the Program/Script field.
- Click Finish to save the task.
The flow now runs automatically at your set schedule as long as the PC is on and a user session is active. This pairs well with configuring Windows 11 Pro for hybrid work environments where consistent automated processes need to run across sessions and locations.
Account Types and Feature Availability
Power Automate Desktop works with three account types. The features available depend on which account you use.
| Feature | Microsoft Account | Work/School Account | Organization Premium |
|---|---|---|---|
| Build flows with drag-and-drop designer | Yes | Yes | Yes |
| Record desktop and web actions | Yes | Yes | Yes |
| 400+ prebuilt actions | Yes | Yes | Yes |
| Trigger flows from the cloud | No | No | Yes |
| Share flows with team members | No | No | Yes |
| Centralized management and run reporting | No | No | Yes |
| Dataverse storage across environments | No | No | Yes |
| Unattended RPA (runs without logged-in user) | No | No | Yes (add-on required) |
For personal productivity use, a free Microsoft account covers everything you need for attended automation. Organizations that require unattended runs, cloud-triggered scheduling, or multi-user collaboration need an Organization Premium account.
Known Limitations
Keep the following in mind before you build complex flows:
- Desktop flows in v1 schema environments cannot exceed 100 MB in size. If a flow hits this limit, split its logic into smaller flows.
- The maximum logged actions per run is 10,000. Additional actions still execute, but they do not appear in run logs.
- Forward compatibility is not guaranteed. A flow built with a newer version of Power Automate may not open or run correctly in an older version. Always keep the app updated.
- ARM processor devices are not supported. Intel and AMD devices are fully supported; Snapdragon-powered devices are not.
- Power Automate Desktop is not supported as a tool inside Microsoft Copilot Studio. Desktop flows must run as standalone automations.
- VM image deployments require individual installation. Do not preinstall Power Automate Desktop in a base VM image. Retained machine registration data from the image can cause unexpected behavior. Install it on each VM individually after the imaging process.
Frequently Asked Questions
Is Power Automate Desktop free on Windows 11?
Yes. Power Automate Desktop is free for attended automation on Windows 11 with any Microsoft account or work/school account. Premium features like unattended RPA and cloud-triggered flows require a paid Organization Premium license.
Does Power Automate Desktop require coding knowledge?
No. The drag-and-drop designer and screen recorder handle the entire flow creation process without code. Users who want more control can use Power Fx or custom scripting, but it is entirely optional.
Can Power Automate Desktop run automations while I am away from my PC?
With a free account, flows run in attended mode, meaning your session must be active. Unattended mode, which lets flows run without a logged-in user, requires an Organization Premium account with the unattended RPA add-on.
Does it work with legacy software?
Yes. Power Automate Desktop interacts with legacy desktop apps, web apps, Excel files, folders, and even terminal-based systems. This makes it useful for businesses that still run older software with no modern API support.
What happens if my PC is off when a scheduled flow should run?
Task Scheduler skips that run. For guaranteed execution, use cloud-triggered flows through a premium account, or configure your PC to wake from sleep before the scheduled run time.

