Old Gotham North packs seven puzzles into one area of LEGO Batman: Legacy of the Dark Knight, and several of them require specific characters and multi-step setups that are easy to miss. This guide covers every puzzle in the zone, including the Riddler Hole Puzzle and all six Cluemaster challenges, with exact map coordinates, required characters, and full solutions.
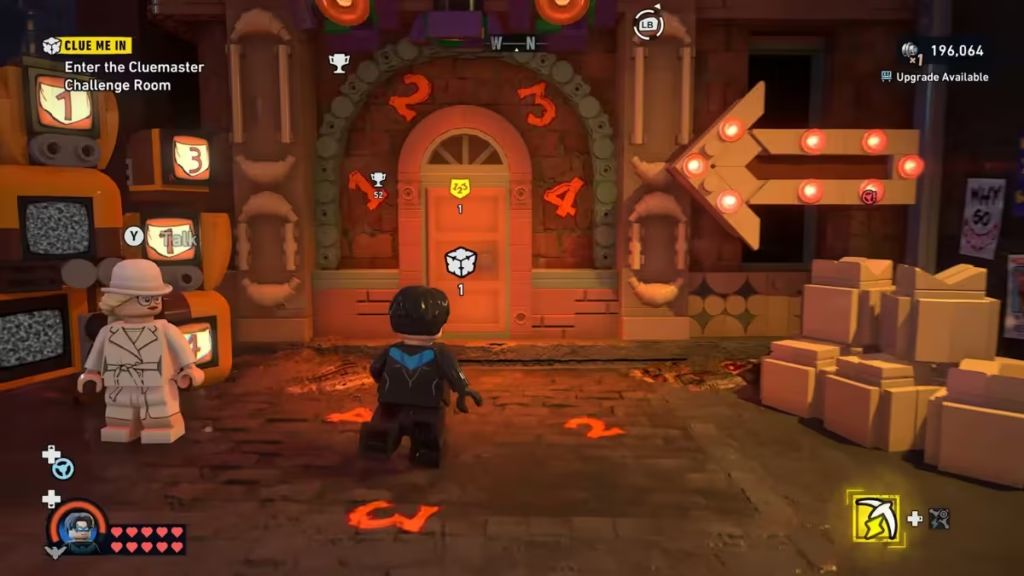
Old Gotham North Hole Puzzle (Holed Up)
The Holed Up puzzle is a Riddler challenge tucked behind the Soder Lite building. You need two characters to complete it, and the steps must be done in order.
Required Characters
| Character | Role |
|---|---|
| Catwoman | Activates the lever and lifts the gate |
| Robin | Sets up the tightrope to the hole |
Hole Puzzle Location
The puzzle sits inside a hole behind the Soder Lite building, which overlooks the sea. On the map, head northwest of Old Gotham North to coordinates 368, 464.
Hole Puzzle Solution
Step 1: Activate the Lever on the Wall
Switch to Catwoman and climb the tracks on the east wall of the building to reach the lever at the top. Pull the lever to activate the electric wire. Then use her Whip on the device near the wall tracks to lift the gate that blocks the entrance to the hole.
Step 2: Set Up a Tightrope to the Hole
Switch to Robin and position him near the west wall. Fire his Cable Launcher from the rails toward the hole entrance to create a tightrope. Run across the tightrope to reach the Riddler Box inside.
Hole Puzzle Rewards
- Riddler Puzzle Box x1
- Silver Studs x500
Old Gotham North Cluemaster Puzzles Overview
Old Gotham North contains five Cluemaster Puzzle Boxes and one Cluemaster Puzzle Room. The table below lists every puzzle, its coordinates, and the characters you need.
| Puzzle | Coordinates | Characters Needed |
|---|---|---|
| Locked Room Mystery | 381, 357 | Batgirl |
| Scattered Approach | 394, 394 | Batman, Jim Gordon |
| Playing Cagey | 459, 412 | Talia |
| Key Pipeline | 377, 443 | Batman |
| Let’s Start the Cook | 342, 398 | Batman |
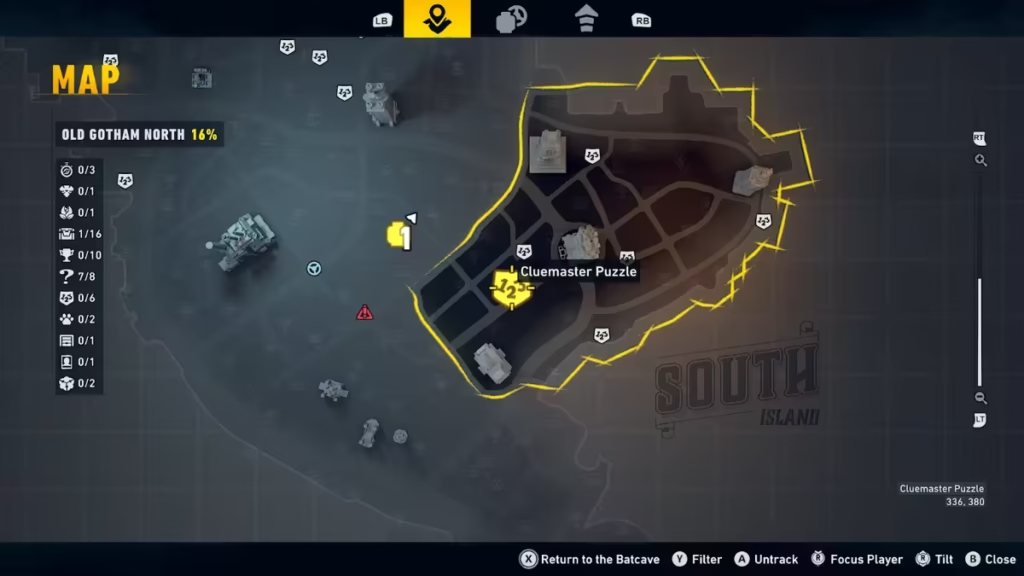
| Cluemaster Puzzle Room | 338, 380 | Batman |
Cluemaster Puzzle 1: Locked Room Mystery (381, 357)
Head to coordinates 381, 357 to find this puzzle. The building entrance is locked and covered in electricity, so you cannot walk straight in.
Solution:
- Go to the front of the building and deploy Batgirl’s Drone to fly it inside through the locked entrance.
- Use the drone to scan the back wall for the access code.
- Head to the back of the building and interact with the terminal using the code. The doors open.
- Once inside, grab the battery and place it into the generator beside the Puzzle Box.
- Exit through the doors and speak with the citizen standing nearby. They reward you with the second battery needed to power the generator fully and unlock the Puzzle Box.
Cluemaster Puzzle 2: Scattered Approach (394, 394)
Find this puzzle at coordinates 394, 394. It involves multiple sub-tasks across the surrounding area, so stick to the order below to avoid backtracking.
Solution:
- Face the Puzzle Box, then turn around and go through the tunnels behind it.
- Find the brick wall in the tunnel. Use Batman’s Explosive Gel to destroy it and uncover a hidden battery. Place the battery into the generator.
- Destroying the wall also activates three targets on the walls, connected by a blue wire. Hit all three with a Batarang.
- Return to the Puzzle Box and head right, up the stairs, then take the first left. Find the machine with a lever here.
- Pull the lever, then immediately freeze the cogs with Jim Gordon’s Foam Sprayer. This keeps the three Batarang targets active permanently instead of for just a few seconds.
- Head forward from the Puzzle Box and go right to the pizza store. Find the lever in the corner, pull it, then look up to spot a fourth target on the wall. Hit it with a Batarang.
- Return to the Puzzle Box. Three red buttons are now available. Place the plant on one button, then have your two characters stand on the remaining two buttons simultaneously. The Puzzle Box unlocks.
Cluemaster Puzzle 3: Playing Cagey (459, 412)
Travel to coordinates 459, 412 on the rooftop to begin this puzzle.
Solution:
- Walk to the opposite side of the rooftop from the Puzzle Box to find a large cage.
- Move to the back of the cage. A gap in the wall lets you use Talia’s Smoke Bombs to teleport directly inside.
- Once inside, pick up the key sitting there, then teleport back outside through the same gap.
- Use the key to unlock the front door of the cage.
- Grab the battery sitting against the wall just behind the cage, in the same spot where you teleported in.
- Place the battery inside the now-open cage to power the generator and unlock the Puzzle Box.
Cluemaster Puzzle 4: Key Pipeline (377, 443)
Head to the rooftop at coordinates 377, 443 for this puzzle. The entire solution involves following a connected series of pipes and handwheels.
Solution:
- Face the Puzzle Box, then look to the right and grapple upward to reach the first pipe and its unlocked handwheel.
- Turn the handwheel, then follow the pipe trail down to find the second handwheel.
- Continue following the pipes and turning each handwheel in sequence. The final handwheel in the chain spits out the key when turned.
- Take the key back to the Puzzle Box, use it to unlock the box, and collect the Cluemaster Puzzle Box.
Cluemaster Puzzle 5: Let’s Start the Cook (342, 398)
Climb to the rooftop at coordinates 342, 398 to find this puzzle. It revolves around reading a clock combination.
Solution:
- Face the giant clock on the rooftop, then turn around to spot paint markings on the floor behind you.
- Activate Batman’s special visor to follow the painted trail. It reveals a set of two numbers. The orange number indicates the hour hand position (small arrow), and the blue number indicates the minute hand position (big arrow).
- Use the wheels on the clock face to rotate the hands to match the numbers revealed by the paint trail.
- Setting the clock to the correct time unlocks the Puzzle Box. For reference, one instance of this puzzle requires a time of 3:45, placing the yellow hour hand on the 3 (right side) and the blue minute hand on the 9 (left side). Your numbers may vary.
Old Gotham North Cluemaster Puzzle Room (338, 380)
The Cluemaster Puzzle Room at coordinates 338, 380 only becomes accessible after you complete enough Cluemaster Puzzles across the zone. If the room is not open when you arrive, finish more puzzles first and return.
Solution:
- Arrive at the room to find the shutters closed across the front.
- Punch the locks on both the left and right sides of the front of the room to break them open. The shutters rise, revealing a robot behind the glass.
- Enter the directional input sequence to deactivate the robot: S, E, E, N, N, W.
- Completing the sequence clears the puzzle room and awards the final Cluemaster reward for Old Gotham North. Play Now!

