Progress on the Dmytro Melnyk skill tree grinds to a halt the moment a raider runs out of Thread or Fabric Scraps. These two materials sit at the base of nearly every Trampler upgrade path, yet each one hides inside a completely different crate, and mixing up the two wastes entire raids. Here is the full breakdown of where each material spawns and how to route a raid so both stockpiles fill up together.
Why You Need Thread and Fabric Scraps
Thread and Fabric Scraps are not the same resource and neither can stand in for the other. They only meet at one point in the crafting chain: a workbench recipe that turns 5 Fabric Scraps and 15 Thread into a single unit of Fabric, the actual textile item most armor and clothing recipes call for. Skip that conversion and a raider is stuck with piles of raw material and nothing to show for it.
Fabric then rolls into further crafts. A Green Jacket needs 2 Fabric and 10 Thread, while a Blue Jacket jumps to 5 Fabric and 50 Thread, which means anyone chasing the better jacket needs a much deeper Thread reserve than a single Fort visit provides.
Thread Comes Only From Food Crates
Every source of Thread traces back to one container: the Food Crate, along with its Rare and Very Rare versions. Each opened crate yields somewhere between 15 and 30 Thread, and no other loot type in the game currently drops it, so containers like Medical Cabinets or Valuable Safes are not worth checking if Thread is the goal.
Look for a white cow icon stamped on the lid. That icon is the fastest way to tell a Food Crate apart from everything else on a shelf or floor.
Where Food Crates Spawn Most Often
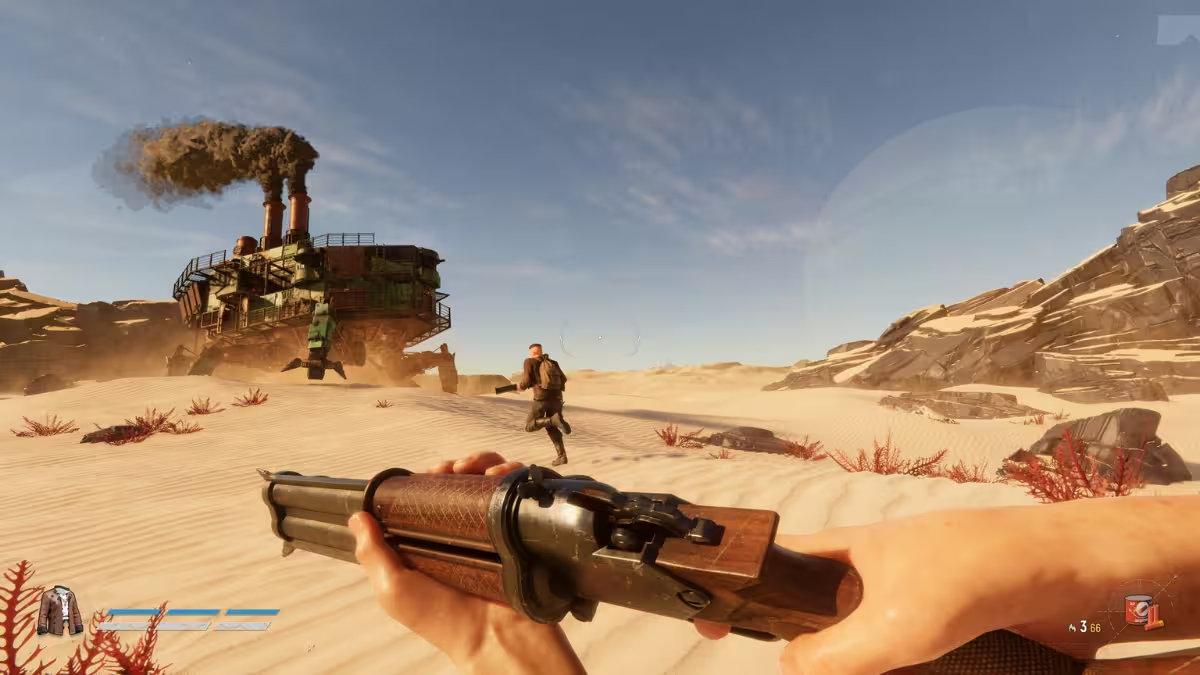
Fort interiors hand out the richest Food Crate loot. Reaching the good stuff means breaking through the large red gates first, either with a timed explosive or by lining up a Trampler cannon shot. Once inside, both the courtyard and the surrounding walls tend to be stacked with crates, and it is common to walk away from one Fort with several Rare or Very Rare Food Crates.
Named towns spread their loot thin across a much bigger footprint, and Ironclads plus wandering undead enemies make every crate cost more time and risk than it does at a Fort. Towns can still produce Thread, just expect a slower, messier run.
Ships marked with a red door on the deck deserve a quick look too. Blowing the door open usually uncovers five or six containers at once, and even without a guaranteed Food Crate spawn, the stop rarely takes more than a couple of minutes.
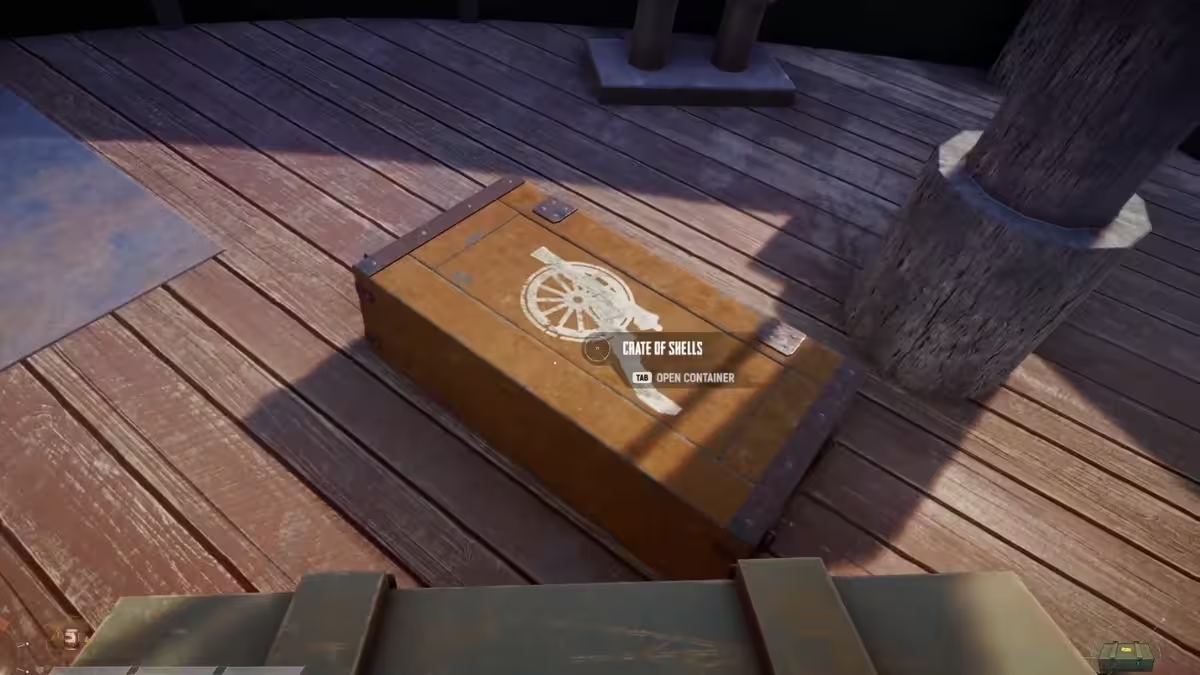
Fabric Scraps Come From Crates of Shells
Fabric Scraps live inside Crates of Shells, marked with a cannon symbol instead of the cow icon used for Food Crates. The same three-tier system applies here too, and the Very Rare version carries better odds of dropping finished Fabric outright rather than the raw Scraps.
Where Crates of Shells Spawn Most Often
Shipwrecks are the single best stop for this material. Most wrecks carry either a Crate of Shells or a Weapon Crate, guard counts stay low at around two enemies per site, and a raider can clear three or four wrecks in the time it takes to fully loot one Fort. That makes shipwreck chains the fastest, lowest-risk way to fill a Fabric Scraps stockpile.
Forts and named towns hold Crates of Shells as well, but going out of the way for them only makes sense on runs where multiple resource types are already on the shopping list.
Route Planning by Risk Level
| Location Type | Primary Resource | Risk Level | Best Approach |
|---|---|---|---|
| Forts | Thread (Food Crates) | High | Use explosives, clear enemies before looting |
| Named towns | Thread and Fabric Scraps | Medium to high | Only push in when the area is quiet |
| Ships with red doors | Thread (Food Crates) | Medium | Fast in-and-out sweep |
| Shipwrecks | Fabric Scraps (Shell Crates) | Low to medium | Chain several in a single loop |
| Abandoned camps | Fabric Scraps (Shell Crates) | Low | Useful filler between bigger stops |
A dependable early loop hits several shipwrecks first for Fabric Scraps, then closes with a single Fort raid for Thread before heading to extraction. That combination fills both stockpiles without spending extra time in the map’s most contested spots.
Mistakes That Waste a Farming Run
Popping open every container without checking for the cow or cannon icon first burns the most time overall. Since each material only spawns from one crate family, a quick visual check before committing to a location saves far more time than it costs.
Overstaying in named towns is the next biggest drain. The loot density looks tempting, but other raiders are drawn to the same towns for the exact same reason, and a fight over crates rarely ends in a clean profit.
Ignoring ships with red doors is an easy way to leave free loot behind. Most players beeline for Forts and towns, which means these smaller stops often sit untouched.
Converting Materials Into Fabric
Any Fort workbench, or a Workshop-tier bench mounted directly on a Trampler, handles the conversion from raw materials into finished Fabric. Feed in 5 Fabric Scraps and 15 Thread, and the workbench returns one unit of Fabric ready for armor or clothing crafts.
Rather than farming these materials in short bursts right before a specific craft, it works better to grab them opportunistically on every raid. A running stockpile means Tech Tree unlocks and Trampler upgrades never stall out waiting on a dedicated farming session. Play Now!
Frequently Asked Questions
Do Thread and Fabric Scraps drop from every container type?
No. Thread only comes from Food Crates and Fabric Scraps only come from Crates of Shells. No other loot container currently produces either material.
Are shipwrecks a better farming spot than towns?
For Fabric Scraps specifically, yes. Shipwrecks carry lighter enemy counts and faster clear times, while towns hold more total loot but bring heavier resistance and more competition from rival raiders.
Can either material be bought from a vendor?
Not at this time. Both rely entirely on raid loot, so route planning around the two crate types remains the only consistent method.
What’s the quickest way to gather enough for one Fabric conversion?
A short shipwreck loop usually covers the 5 Fabric Scraps needed, and a single well-looted Fort typically provides more than the 15 Thread required for the same conversion.
Related Guides
- How to Unlock Reserve in Tarkov 1.0 (Full Access Guide)
- How to Get Seagrass in Minecraft: Shearing, Farming, and More
- OSRS Leagues 6 Guide: Best Beginner Strategy, Relics, and Regions Explained
- Calamity Mage Guide: Best Weapons, Armor and Accessories

