Transferring your data from a Nintendo Switch (Switch 1) to a newer Switch 2 ensures that your saved games, user profiles, and preferences carry over without interruption. Whether you’re upgrading your console or replacing an older device, it’s important to use the official transfer methods to avoid data loss and setup issues. This article covers everything you need to know to move your system data safely and efficiently.
What to Do Before Transferring Switch Data
Before starting the transfer process, here’s what you need to do:
- Update Firmware: Ensure both consoles are running the latest system software. Switch 2 requires a day-one update.
- Charge Devices: Fully charge both systems or plug them in during the transfer to prevent shutdown.
- Internet Connection: Connect both consoles to a stable Wi-Fi network.
- Nintendo Account: You must be signed into the same Nintendo Account on both consoles. Set up two-factor authentication if you haven’t already.
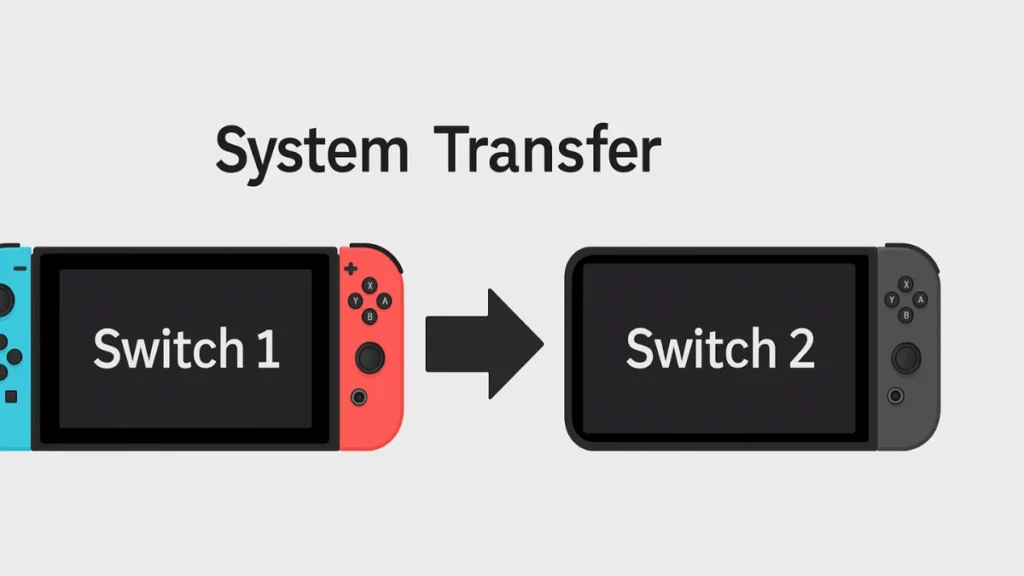
Option 1: Direct Transfer Between Two Consoles (Recommended)
If you have both your Switch 1 and Switch 2 consoles physically present, this is the most straightforward method.
This process directly moves your data without using the cloud.
Steps:
- On Switch 2:
- Begin initial setup until you reach the System Transfer prompt.
- Select Start System Transfer.
- Log in using your Nintendo Account.
- Connect to the same Wi-Fi network as your old console.
- On Switch 1:
- Open System Settings > System > System Transfer to Nintendo Switch 2.
- Follow the prompts until the console asks if the new device is nearby.
- Choose Done once both systems are next to each other (within 6 feet).
- The two consoles will pair and begin the transfer.
- Transfer Duration:
- Depending on the amount of saved data and users, this process typically takes 10–30 minutes.
- Important Note:
- Save data for games like Pokémon or Animal Crossing: New Horizons may be deleted from the source console as it moves to the new system.
Option 2: Transfer via Nintendo’s Cloud (If You Don’t Have Switch 2 Yet)
This method allows you to upload your data from Switch 1 to Nintendo’s servers if you haven’t received your Switch 2 console yet. It’s useful if you plan to sell or reset your old Switch in advance.
Steps:
- On Switch 1:
- Navigate to System Settings > System > System Transfer to Nintendo Switch 2.
- Choose I Don’t Have a Nintendo Switch 2 Yet when prompted.
- Select Send Data to the Server.
- Confirm the action. Your console will be reset to factory settings after the upload.
- Server Retention:
- Uploaded data will remain on Nintendo’s servers for 1 year.
- You can monitor or manage this data via my.nintendo.com.
- On Switch 2 (Once Received):
- During initial setup, select Download from Nintendo Server at the System Transfer screen.
- Sign in with the same Nintendo Account used on Switch 1.
- The system will retrieve and install your saved data.
- If You Already Set Up Switch 2:
- You must factory reset the device to access the System Transfer screen again and retrieve your backup.
What Data Will Be Transferred?
When performing a system transfer, the following items are moved to Switch 2:
- User account, including child accounts
- Save data for supported games
- System settings (excluding controller/button configurations, Bluetooth, time zone, etc.)
- Friend list
- Screenshots and videos (must be moved manually via microSD card)
What Will NOT Be Transferred?
- Bluetooth settings
- Time and time zone preferences
- Region and language settings
- Games not supporting cloud save
- Unlinked users (e.g., guest profiles)
Also, downloaded games will not transfer directly but will re-download on Switch 2 after logging into your Nintendo Account.
Manually Moving Screenshots and Video Captures
Your media files like screenshots and clips stored on a microSD card must be transferred manually.
How to do it:
- Eject the microSD card from Switch 1.
- Insert it into Switch 2.
- Use the Album menu on the Switch 2 to access or transfer the data.
Final Thoughts
Transferring your Nintendo Switch data is a relatively hassle-free process as long as you follow the steps carefully and ensure both consoles are updated and connected to the internet. Nintendo offers both real-time and cloud-based options to accommodate users at different stages of their upgrade. Whether you’re preparing for launch day or planning ahead, knowing your options and limitations helps preserve your gaming progress and digital purchases.
Read More:
How to Get the Shadow Mantle and Beat Roaring Knight in Deltarune Chapter 3
Sonic Saves Robloxia Guide: How to Beat All Levels, Unlock Secrets, and Complete 6 Runs
How to Fix Minecraft getsockopt Error (Quick Solutions)
Cookie Run Kingdom Boss Rush Guide: Meta Teams, Hidden Synergies & How to Beat All Stages
How to Fix “An Error Occurred in e4mc” in Minecraft: Full Troubleshooting Guide

