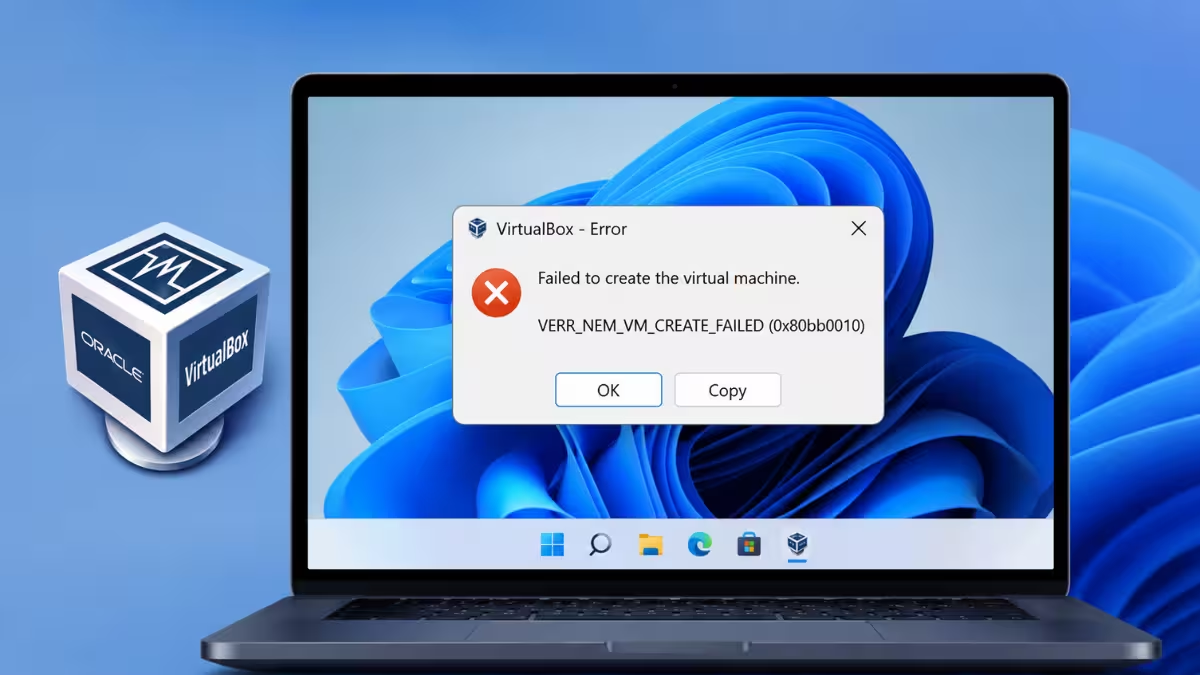
VirtualBox on Windows 11 sometimes refuses to start a VM and throws Failed to get device handle and/or partition ID along with VERR_NEM_VM_CREATE_FAILED. This error usually surfaces right after enabling Hyper-V, WSL2, or Windows Security features like Core Isolation, or after installing VirtualBox fresh on a machine that already has one of these active. It blocks VM creation completely and points to a direct clash between VirtualBox and the Windows hypervisor over the CPU’s virtualization extensions. Here is what causes it and how to fix it.
What Causes VERR_NEM_VM_CREATE_FAILED
VERR_NEM_VM_CREATE_FAILED error shows up for a specific set of reasons tied to how Windows manages virtualization.
- Hyper-V, Windows Hypervisor Platform, or WSL2 is enabled and holding the CPU’s virtualization extensions that VirtualBox also needs
- Core Isolation and Memory Integrity under Windows Defender’s Device Security is active
- VirtualBox is running an older version that lacks proper NEM (Native Execution Manager) support for Hyper-V coexistence
Fix 1: Disable Hyper-V via BCDEDIT
Open Windows Features by searching for “Turn Windows features on or off” in the Start menu, then uncheck the following:
- Hyper-V
- Virtual Machine Platform
- Windows Hypervisor Platform
- Windows Subsystem for Linux (skip this one if you still need WSL2)
Restart the PC once these are unchecked.
To do the same from an elevated Command Prompt instead, run:
bcdedit /set hypervisorlaunchtype offRestart the PC afterward for the change to take effect.
Fix 2: Turn Off Core Isolation and Memory Integrity
Open Windows Security, go to Device security, then Core isolation, and turn off Memory integrity. Restart the PC after disabling it.
If Credential Guard is also active, disable it through Group Policy. Open gpedit.msc and navigate to Computer Configuration > Administrative Templates > System > Device Guard, then set Turn on Virtualization Based Security to Disabled. Restart the PC.
On Windows Home editions, Group Policy Editor isn’t available, so disable it through the registry instead. Set the following key to 0 and restart:
HKEY_LOCAL_MACHINE\SYSTEM\CurrentControlSet\Control\DeviceGuard\EnableVirtualizationBasedSecurityFix 3: Update VirtualBox to the Latest Version
VirtualBox 7.0.x and later builds improved NEM support, which allows VirtualBox to run alongside Hyper-V instead of requiring it to be fully disabled. If the installed version predates this, download the latest release from the VirtualBox downloads page and reinstall.
Fix 4: Keep Hyper-V Enabled but Force VirtualBox to Use NEM
Anyone who needs Hyper-V or WSL2 running at the same time should skip disabling it and instead force NEM mode for the specific VM. Run this from an elevated Command Prompt:
VBoxManage modifyvm "YourVMName" --paravirtprovider defaultThis lets VirtualBox coexist with Hyper-V rather than conflict with it, though performance may dip slightly compared to running without Hyper-V active at all.
Fix 5: Restart or Reinstall the vboxdrv Kernel Driver
If Hyper-V is already disabled but the error persists, the low-level vboxdrv driver itself may be stopped or blocked by Windows Security. Open an elevated Command Prompt and run:
sc start vboxdrvIf this returns an error, navigate to C:\Program Files\Oracle\VirtualBox\drivers\vboxdrv\ in File Explorer, right-click VBoxDrv.inf, and select Install. Restart the PC and try launching the VM again.
Fix 6: Match the Partition ID and Take the Disk Offline
This error specifically references a partition ID, which points to a raw physical disk still being locked by Windows when VirtualBox tries to attach it as a raw VMDK. Open PowerShell as administrator and run:
Get-Disk | Select-Object Number, FriendlyName, UniqueIdThen run this to map the partition GUID from the error to a specific disk number:
Get-Partition | Select-Object DiskNumber, PartitionNumber, DriveLetter, GuidNote the DiskNumber tied to the failing partition ID. Open Disk Management (diskmgmt.msc), locate that disk in the lower pane, right-click the disk header, and select Offline. Then right-click the VirtualBox shortcut and select Run as administrator before starting the VM. To use that physical disk normally again later, return to Disk Management, right-click it, and select Online.
Frequently Asked Questions
Why does VirtualBox show VERR_NEM_VM_CREATE_FAILED only on some PCs?
This happens because the affected PCs have Hyper-V, Windows Hypervisor Platform, WSL2, or Core Isolation enabled, all of which lock the CPU’s virtualization extensions that VirtualBox also needs to create a VM.
Do I need to disable Hyper-V permanently to fix this?
No. Hyper-V can be turned off only when needed, or VirtualBox can be configured to use NEM mode with the --paravirtprovider default setting so it coexists with Hyper-V instead of conflicting with it.
Will disabling Hyper-V affect Docker Desktop or WSL2?
Yes. Docker Desktop and WSL2 both rely on the same virtualization layer as Hyper-V, so disabling it will stop them from working until Hyper-V is re-enabled.
Does updating VirtualBox alone fix this error?
Updating to VirtualBox 7.0.x or later improves NEM support and can resolve the issue on some systems, but it does not always eliminate the conflict if Core Isolation or Hyper-V is still fully active.
Is a system restart necessary after applying these fixes?
Yes. Changes to Hyper-V, Windows Hypervisor Platform, or Memory Integrity only take effect after a full restart, so skipping it will leave the error unresolved.
Related Error Fixes
- How to Fix VirtualBox VM Inaccessible Error on Windows 11
- Virtual Media Manager Not Showing in VirtualBox (How to Fix)
- How to Fix VirtualBox Error in SUPR3HardenedWinReSpawn
Tech How-To
- How to Install and Set Up VirtualBox on Windows 11
- How to Enable Windows Sandbox on Windows 11 and 10 (All Methods)
- Fix: Hyper-V Cannot Delete Checkpoint – Catastrophic Failure (0x8000FFFF)
Fix 1 resolves this error for most people since it removes the direct conflict at its source. Anyone relying on WSL2 or Docker Desktop should use Fix 4 instead to avoid losing that functionality while still getting VirtualBox working. If the error still shows up after Hyper-V is off, Fix 5 and Fix 6 target the driver and raw disk locking causes that sit behind the “partition ID” part of the error message.

