Unravelled is one of Silksong’s most haunting optional bosses, hidden deep within the eerie halls of Whiteward. Though you can skip this encounter, defeating Unravelled rewards you with a Silk Heart, making it a must-complete challenge for any player aiming to fully master Pharloom. This battle demands patience, awareness, and careful use of your Tools and Silk abilities.
Where to Find Unravelled
Unravelled’s lair lies behind an ornate lock in the Whiteward biome, accessible only after you acquire two key items:
- Clawline Ability – Found in The Underworks, it lets Hornet latch onto special discs and navigate high or distant areas.
- Surgeon’s Key – Hidden in the upper right chambers of Whiteward. Once you reach the room filled with Mortician enemies (and the Injector Band Tool), use the Clawline to reach a disc that drops a corpse holding the key. Be ready to escape quickly—grabbing the key triggers a Dreg Husk ambush.
After obtaining the Surgeon’s Key, return to the ornate lock near the bottom left corner of Whiteward. Unlock it to access the Unravelled’s arena. Rest at the nearby Whiteward Bench before entering—the fight is long, and you’ll need every advantage.
Boss Overview
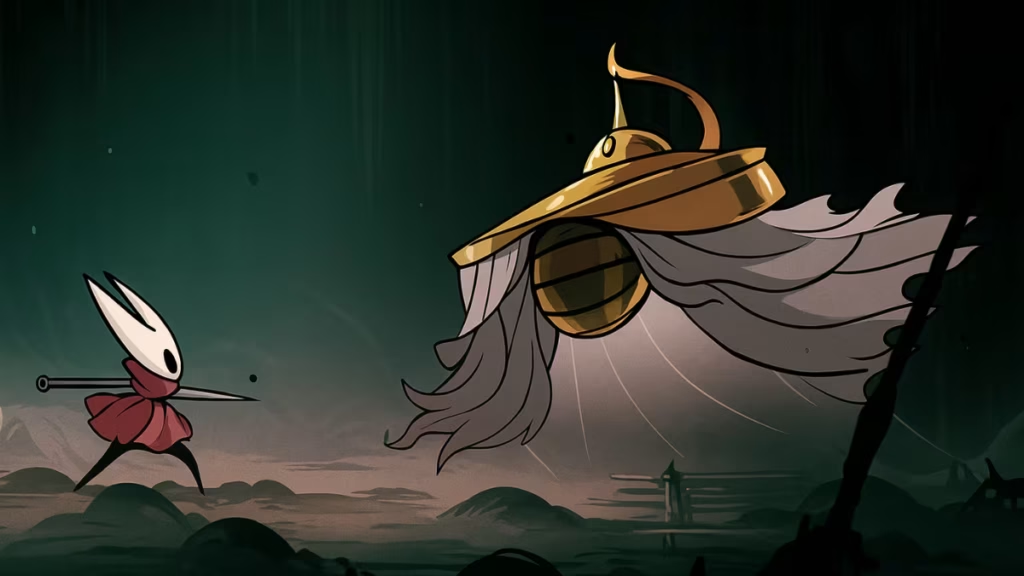
Unravelled represents the “tormented will of countless husks made manifest in a pit of Silk dregs.” The boss emerges from the ground and attacks in short, vicious bursts between waves of summoned enemies. The entire encounter unfolds across three phases, punctuated by interludes where Hornet must survive Dreg Husks and Dregwheels.
The biggest challenge here isn’t overwhelming damage—it’s the length of the battle and Unravelled’s massive hitbox, which makes avoiding chip damage tricky.
Recommended Loadout
Before entering the fight, prepare a balanced loadout emphasizing mob control, sustained Silk generation, and burst damage opportunities.
Silk Skill
- Thread Storm – Ideal for wiping out mobs between phases and punishing Unravelled after its charge attack.
Tools
- Flintslate – Boosts needle damage, letting you capitalize on the boss’s brief vulnerability windows.
- Cogfly – Deals extra damage from range during charge recovery frames.
- Injector Band – Accelerates healing during downtime.
- Claw Mirror – Adds extra strike potential after counterattacks.
- Magnetite Dice – Offers a chance to mitigate damage; optional but useful in this drawn-out encounter.
Crests
- Reaper Crest – Increases Silk recovery and extends attack range, great for mob control.
- Witch Crest – Boosts Silk regeneration and triggers AoE bursts when binding—excellent for clearing Dreg Husks.
Phase 1: Learning the Pattern
At the start, you’ll fight through two waves of enemies:
- One Dreg Husk.
- One Dreg Husk plus a Dregwheel.
Use Thread Storm to dispatch these quickly, or pogo-strike with the Clawline to stay mobile. Once the arena clears, Unravelled surfaces and the true battle begins.
Attacks
- Charge Attack: The boss bursts across the arena after a short wind-up. Jump or Clawline over it, land safely, and get in a couple of hits before it sinks back underground.
- Husk Projectiles: Two bodies fire in quick succession—one low, one mid-height. Jump and dash diagonally to avoid both.
Strategy
Unravelled’s headpiece prevents pogo attacks, so stay grounded. Wait for its charge recovery, then punish with short, precise combos or Flintslate bursts. Keep your Silk for clearing add waves rather than healing.
Phase 2: Spears of Whiteward
After another mob wave (two Dregwheels), Unravelled adds Spear Summons to its rotation.
New Attack
- Spear Storm: White threads glow from the ground before spears erupt, track Hornet, hover briefly, then plunge downward. These appear more frequently as the fight progresses.
Key Tactics
- Watch for the glowing white threads—the ground indicator gives you time to move.
- Stay mid-range; too close risks the charge, too far invites projectiles.
- Use Silkspear or Thread Storm to punish between spear waves.
At this point, Unravelled alternates between three projectiles and its charge. Precision matters—don’t overcommit to offense.
Phase 3: The Endurance Test
The third phase begins after another pair of mob waves. The boss grows faster and more unpredictable, combining projectile volleys, spears, and charges in tight succession.
Now, Unravelled can also emerge from the center of the arena, so monitor both corners and the middle for dust trails signaling its appearance. During this stage:
- Prioritize dodging over attacking—your windows to strike are rare.
- Use the arena’s vertical space—jumping or Clawlining can save you from converging spears.
- Save Thread Storm for emergency crowd control or projectile interruption.
This is less a battle of reflexes and more one of focus and patience. Avoid unnecessary risk and chip away methodically.
Quick Tips to Beat Unravelled in Silksong
- Save Silk for the waves. Dreg Husks and Dregwheels are more dangerous in groups than Unravelled itself.
- Use the environment. The arena’s vertical mobility complements Hornet’s Clawline, giving you ways to reset positioning.
- Healing windows appear right after mob waves or between Unravelled’s underground transitions.
- Offensive Tools matter. Equip red Tools like Sting Shard or Flintslate for added damage.
- Avoid pogoing. The boss’s silk helm deflects strikes. Stick to grounded or aerial slashes.
Rewards
Defeating Unravelled rewards you with a Silk Heart, one of three found in Pharloom. This upgrade passively restores Silk when your spool empties—hugely beneficial for extended boss fights. After the battle, a brief platforming section leads to the chest containing your prize.
Quick Summary: How to Beat Unravelled
| Phase | Enemies / Attacks | Strategy Focus |
|---|---|---|
| Pre-fight | 2 waves of Dreg Husks & Dregwheels | Use Thread Storm for quick clears |
| Phase 1 | Charge + 2-Projectile Attack | Jump over, punish short openings |
| Phase 2 | Adds Spears & 3-Projectile Combo | Watch spear glow cues, maintain mid-range |
| Phase 3 | Faster attacks, center emergence | Prioritize evasion, strike after charges |
Unravelled is not a boss meant to overwhelm you—it’s designed to outlast you. With patience, well-timed counters, and clever Silk management, you’ll turn one of Pharloom’s most daunting encounters into a hard-won victory. Play Now!
Related Guides You Might Like:
- All Silksong Crafting Kit Locations and Upgrade Guide
- How to Get Double Jump in Silksong (Faydown Cloak Guide)
- Silksong Act 3 Guide – How to Unlock the Silk and Soul Quest
- The Unravelled Boss Guide – Hollow Knight Silksong
- How to Beat Moorwing in Silksong: Location, Moveset & Strategy
- Raging Conchfly Boss Guide | Hollow Knight Silksong
- How to Beat The Mist in Hollow Knight Silksong
- All Mementos in Hollow Knight: Silksong – How to Find Them All
- Silksong Trophy Guide: How to Unlock All Achievements
- A Vassal Lost Hollow Knight Silksong Quest Guide
- Bind Eva in Silksong: Sylphsong Ability & Entwined Achievement
- Where to Find Shakra in Hollow Knight Silksong
- Silksong Craftmetal Locations Guide – All 8 Spots and Uses
- Silksong Crest Locations and Effects Guide: All Crests Explained
- Hidden Hunter Quest Silksong Guide
- Rosary Cannon in Silksong: Location, How to Get It, and Best Uses
- Flintslate in Silksong: Location, Effects, and Best Combat Uses
- Hollow Knight Silksong Lost Merchant Walkthrough

