The Epson L3210 is a budget-friendly all-in-one ink tank printer that prints, scans, and copies. Before you can use it on Windows 11, you need to install the correct driver. Without the driver, Windows 11 will not recognize the printer or scanner functions.
This guide walks you through two methods to install the Epson L3210 driver on Windows 11: using the official Epson website and using the Drivers and Utilities Combo Package Installer.
Method 1: Download the Driver from Epson’s Official Website
This is the most reliable method. You download the latest driver directly from Epson.
Step 1: Open the Epson Support Page
Go to the Epson L3210 driver download page on the official Epson website.
Step 2: Select Your Operating System
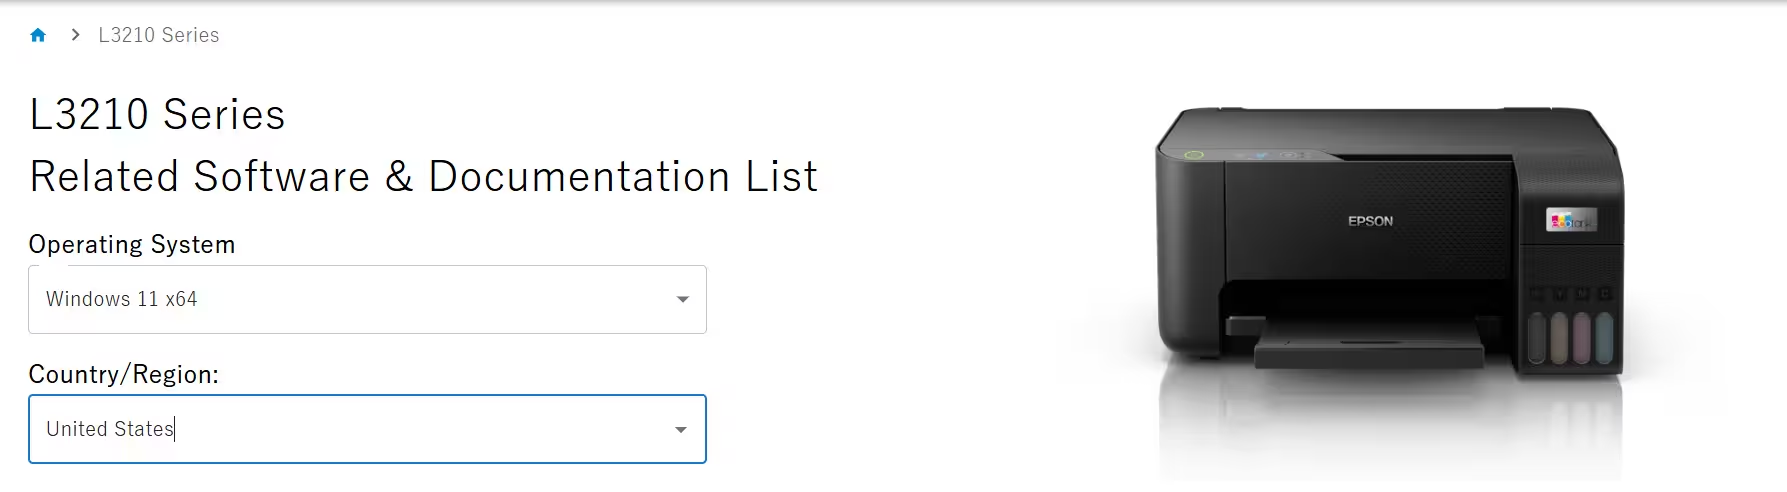
On the support page, locate the operating system dropdown. Select Windows 11 64-bit (most modern PCs run 64-bit Windows 11).
If you are unsure whether your system is 32-bit or 64-bit, press Windows + I, go to System, then About, and check under System type.
Step 3: Download the Drivers and Utilities Combo Package
Under the Recommended for You section, click Drivers and Utilities Combo Package Installer. This single package installs both the printer driver and the scanner driver in one go.
- File size: approximately 2.42 MB (the installer downloads additional components during setup)
- Latest version: 5.0 (released 2024-09-26)
Click Download and save the file to your desktop or Downloads folder.
Step 4: Run the Installer
- Open your Downloads folder and double-click the installer file.
- Click Yes on the User Account Control prompt.
- Accept the Software License Agreement and click Next.
- Select USB Connection when the installer asks how you connect the printer.
- Follow the on-screen instructions. The installer will guide you through the full setup.
Step 5: Connect the USB Cable
When the installer prompts you to connect the printer, plug one end of the USB cable into the Epson L3210 and the other end into a USB port on your PC. Then power on the printer.
Windows 11 will detect the printer, and the installer will complete the setup automatically.
Step 6: Print a Test Page
After installation finishes:
- Press Windows + I and go to Bluetooth and devices.
- Click Printers and scanners.
- Select Epson L3210 Series from the list.
- Click Print a test page.
If the test page prints correctly, the driver installation is complete.
Method 2: Install the Printer Driver and Scanner Driver Separately
If the Combo Package does not work on your PC, install the drivers individually.
Download the Printer Driver
- Printer Driver version 3.80.00 (released 2025-07-30, 67.36 MB)
Download it from the Drivers section on the Epson support page.
Download the Scanner Driver (Epson Scan 2)
- Epson Scan 2 version 6.7.81.0 (released 2025-11-25, 66.39 MB)
Download it separately from the same page.
Install in This Order
- Install the Printer Driver first. Run the .exe file and follow the prompts.
- After the printer driver finishes, install Epson Scan 2.
- Restart your PC after both installations.
Installing Scan 2 before the printer driver can sometimes cause the scanner to fail during setup. Always install the printer driver first.
Optional: Install Epson ScanSmart
Epson ScanSmart (version 3.7.20, released 2026-03-02) is a companion app that lets you scan documents directly to PDF, email, or cloud storage. It requires Epson Scan 2 installed first.
Download it from the Application Software section on the Epson support page and run the installer after Epson Scan 2 is in place.
Fix: Epson L3210 Not Detected After Driver Installation
If Windows 11 does not detect the printer after installation, try these steps:
Check the USB cable: Unplug it and plug it back in. Try a different USB port on your PC, preferably a USB 2.0 port directly on the motherboard rather than a hub.
Restart the Print Spooler service: Press Windows + R, type services.msc, and press Enter. Scroll down to Print Spooler, right-click it, and select Restart.
Uninstall and reinstall the driver: Go to Settings > Bluetooth and devices > Printers and scanners, select the Epson L3210, and click Remove. Then run the installer again.
Update Windows 11: Go to Settings > Windows Update and install any pending updates. Some driver components require the latest Windows patches to work correctly.
Run the Epson Printer Connection Checker: Epson provides a dedicated tool for diagnosing connection issues. Download Epson Printer Connection Checker version 3.4.4 (released 2026-06-04, 7.89 MB) from the support page and run it.
Fix: Scanner Not Working After Installation
If the printer works but the scanner does not respond:
- Open Epson Scan 2 from the Start menu.
- Click Settings and confirm the scanner model shows Epson L3210.
- If the scanner is missing, click the + button and add it manually.
- Reconnect the USB cable and restart Epson Scan 2.
If Epson Scan 2 does not open at all, uninstall it from Settings > Apps > Installed apps, restart the PC, and reinstall it from the Epson support page.
Related Guides
- PCL XL Error Fix: How to Fix PCL XL Error on HP Printers in Windows 11/10
- XPS Printer Error 1168 Fix: Repair Services, Drivers, and Registry Issues
- Canon Printer Drivers on Windows 11: How to Download & Install
The Combo Package is the fastest way to get the Epson L3210 running on Windows 11. If you run into issues, install the printer driver and Epson Scan 2 separately in that order. Most connection problems come from plugging in the USB cable too early or skipping the test page check at the end.

