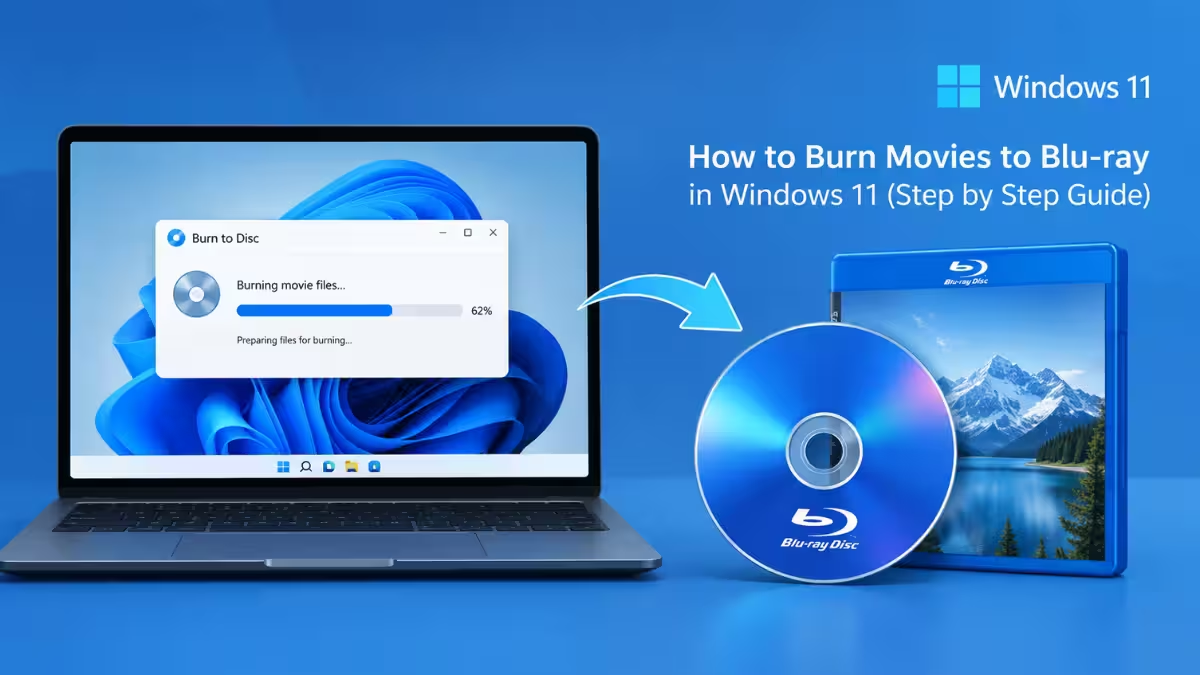
Windows has included native DVD burning for almost 20 years, but Blu-ray is a different story. If you drag your movie files onto a blank disc in Windows 11, it will not play on a standalone Blu-ray player. Windows 11 has no built-in option to author video Blu-ray discs, so turning your own movie files into a disc that plays on a regular player takes a Blu-ray burner drive and free third-party authoring software.
What You Need to Burn a Blu-ray in Windows 11
You need three things in place before any software can create a working Blu-ray movie disc.
- A Blu-ray burner drive (internal or USB external), since Windows 11 cannot burn Blu-ray without one
- Blank BD-R discs (25GB single-layer) or BD-R DL discs (50GB dual-layer) for longer movies
- Your own movie files in a common format such as MP4, MKV, or AVI
Why Windows 11 Can’t Burn a Real Movie Disc on Its Own
Windows 11’s native “Burn to disc” feature only writes data or ISO discs, not the BDMV folder structure a Blu-ray player expects.
If you drag your movie files onto a blank disc using File Explorer, the disc will only play back on a computer, not on a standalone Blu-ray player connected to a TV. For a disc that plays in a regular player, you need software that authors proper video Blu-ray discs.
How to Burn Your Movie Files to Blu-ray, Step by Step
Once your drive and discs are ready, the burning process itself takes a few steps.
1. Install the Burning Software
Install a free tool that supports video Blu-ray authoring, such as Ashampoo Burning Studio Free (covers data, audio, DVD, and Blu-ray video burning, requires a free email registration for the license key) or BurnAware Free (supports Blu-ray burning alongside data discs, audio CDs, and video DVDs). Download either tool directly from the official vendor site rather than a third-party download aggregator, then launch it.
2. Start a Video Blu-ray Project
Select the Video Blu-ray or Movie Disc project type in the software, not the data disc or ISO option. This ensures the disc gets the correct folder structure for standalone players.
3. Add Your Movie Files
Import your movie file into the project. Most tools convert the video automatically to the format Blu-ray video mode requires during the burn.
4. Set Up a Menu (Optional)
Add a simple title menu and chapters if the software offers it, or skip this and do a direct burn straight to video.
5. Insert a Blank Disc and Select the Drive
Insert your blank BD-R or BD-RE disc into the burner and confirm the correct drive is selected if you have more than one optical drive.
6. Choose Burn Speed and Start
Pick a moderate burn speed such as 2x to 4x rather than the maximum speed for better disc reliability, then start the burn. Depending on file size and drive speed, this can take anywhere from 20 minutes to a couple of hours.
7. Verify the Disc
Use the software’s verify option if it has one, or play the finished disc back in a Blu-ray player or another PC’s Blu-ray drive to confirm it works before deleting your source files.
Is Burning Your Own Blu-rays Worth It?
Burning your own Blu-rays makes sense for some projects and is overkill for others.
A burned disc plays high-definition video with lossless audio and multiple subtitle tracks, works offline, and runs on any standalone Blu-ray player or console without a subscription or an internet connection. That makes it a practical way to share a wedding video or family archive with people who don’t want to deal with USB drives or cloud links.
The downsides are real too. A burner drive, blank discs, and sometimes paid software add up in cost, and the burning and conversion process takes time. A 25GB single-layer disc fills up fast with high-bitrate footage, and compressing a video heavily to make it fit works against the point of choosing Blu-ray in the first place.
Recordable discs also aren’t permanent. How long they last depends on disc quality and storage conditions, so a single burned disc should never be the only copy of something that matters.
For plain file storage, an external hard drive or SSD is cheaper per gigabyte and far less hassle. Blu-ray earns its place when you need a disc a non-technical person can put straight into a player, or when you want a second, offline copy of footage alongside a drive and a cloud backup. For a one-off occasion, the setup cost may not be worth it. For a growing library of family video, it usually is.
Frequently Asked Questions
Can Windows 11 burn Blu-ray discs without extra software?
No. Windows 11’s built-in burner only creates data or ISO discs. Creating a video Blu-ray that plays on a standalone player requires third-party authoring software.
Do I need a special Blu-ray burner drive?
Yes. A standard DVD burner cannot write to Blu-ray discs. You need a drive rated for BD-R or BD-RE media, either internal or USB external.
What disc size do I need for a full movie?
A single-layer BD-R (25GB) is enough for most movies. For longer or higher-bitrate files, a dual-layer BD-R DL (50GB) gives more headroom.
Can I use a BD-RE disc instead of a BD-R?
Yes. BD-RE discs can be erased and rewritten, which makes them useful for test burns before committing to a write-once BD-R for your final copy.
Will a burned Blu-ray play on any standalone player?
Not always. Playback depends on the player’s supported codecs, container formats, and disc structure, so testing the finished disc on the player you actually plan to use is worth doing before relying on it.
Read More
- Meta Ray-Ban Gen 3 vs Meta Ray-Ban Gen 2: Should You Upgrade?
- How to Add the Apple Watch Daily Steps Widget to Your Watch Face
- How to Check Mark of the Web in Windows 11 and Find Where a File Was Downloaded From
- How to Make CC Emails Stand Out in Outlook
- Why VLC Takes 30 Seconds to Open (Microsoft Defender Bug) and How to Fix It

