Tailscale turns your Linux machine into a node on a private mesh network in minutes. It uses WireGuard under the hood and removes the need for manual key exchange, port forwarding, or firewall rules. This guide walks through installation, setup, and the core features you need on Linux.
What Is Tailscale VPN
Tailscale is a mesh VPN built on the WireGuard protocol. It connects your devices directly to each other over an encrypted tunnel, no matter where they sit on the internet. Each device gets a stable private IP address in the 100.x.x.x range, and the devices reach each other as if they sat on the same LAN.
Traditional VPNs route everyone through a central server. Tailscale skips that model. It coordinates the connection through its control servers, but your actual traffic flows peer to peer whenever possible.
Why Use Tailscale on Linux
Linux users run Tailscale for several practical reasons:
- Remote access to a home server or NAS without exposing it to the public internet
- Secure SSH access to cloud VPS instances
- Connecting a homelab to a laptop while traveling
- Building a private network across multiple cloud providers
- Routing traffic through a VPS as an exit node
The setup takes a single command, and the network manages itself after that.
Prerequisites
You need root or sudo access on your Linux machine, an active internet connection, and a free Tailscale account. You can sign up using a Google, Microsoft, GitHub, or email account at the Tailscale website.
Step 1: Install Tailscale on Linux
Tailscale provides an official install script that detects your distribution and installs the right package automatically.
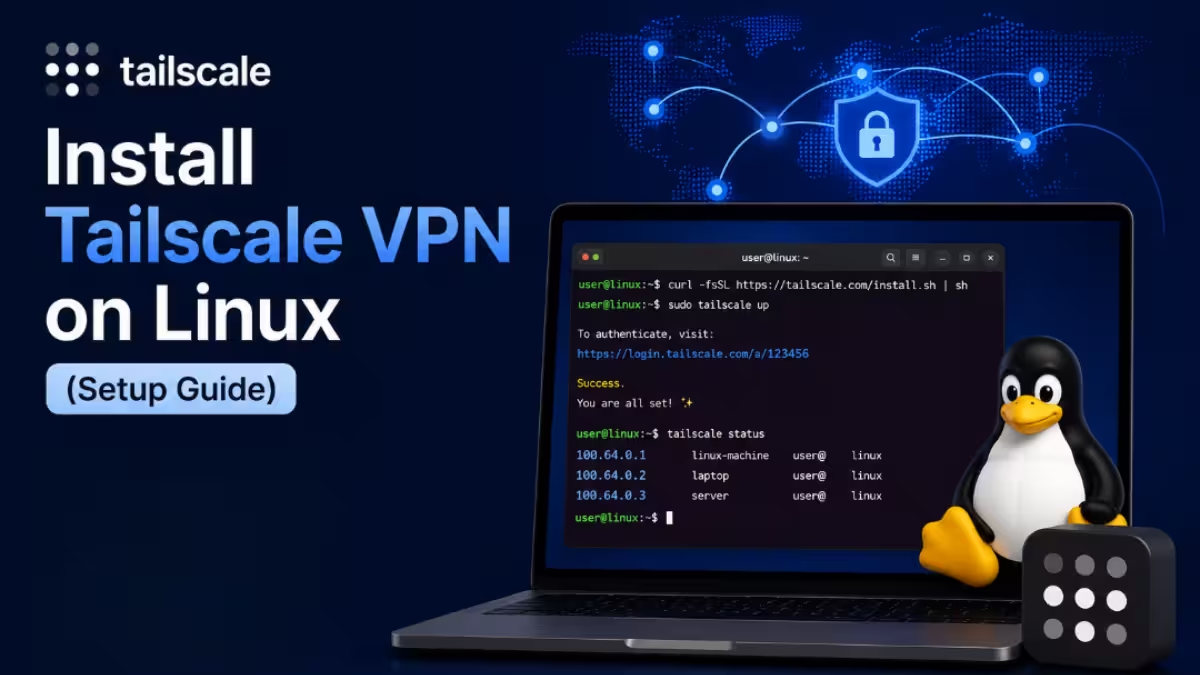
Run this command:
curl -fsSL https://tailscale.com/install.sh | shThe script adds the Tailscale repository to your package manager, installs the tailscale package, and starts the tailscaled background service.
Manual Installation by Distribution
If you prefer manual installation or the script does not support your distro, use the commands below.
Ubuntu and Debian:
curl -fsSL https://pkgs.tailscale.com/stable/ubuntu/noble.noarmor.gpg | sudo tee /usr/share/keyrings/tailscale-archive-keyring.gpg
curl -fsSL https://pkgs.tailscale.com/stable/ubuntu/noble.tailscale-keyring.list | sudo tee /etc/apt/sources.list.d/tailscale.list
sudo apt update
sudo apt install tailscale
Replace noble with your actual Ubuntu or Debian codename if it differs.
Fedora, CentOS, and RHEL:
sudo dnf config-manager --add-repo https://pkgs.tailscale.com/stable/fedora/tailscale.repo
sudo dnf install tailscale
Arch Linux:
sudo pacman -S tailscaleStep 2: Enable and Start the Tailscale Service
After installation, enable the tailscaled daemon so it starts automatically on boot:
sudo systemctl enable --now tailscaledCheck that the service runs correctly:
sudo systemctl status tailscaledYou should see an active (running) status in the output.
Step 3: Connect Your Linux Machine to Tailscale
Run the following command to bring the interface up and authenticate:
sudo tailscale upThe terminal prints a login URL. Open it in a browser, sign in with your chosen identity provider, and approve the device. Once you approve it, the terminal confirms the connection and assigns your machine a Tailscale IP address.
Step 4: Verify the Connection
Check your assigned Tailscale IP:
tailscale ip -4View all devices connected to your network:
tailscale statusThis command lists every device on your tailnet along with its IP address, hostname, and connection status.
Step 5: Test Connectivity Between Devices
Install Tailscale on a second device using the same steps, sign in with the same account, and approve it. Once both devices appear in tailscale status, ping one from the other using its Tailscale IP:
ping 100.x.x.xA successful ping confirms the encrypted tunnel works between the two machines.
Setting Up MagicDNS
MagicDNS assigns a readable hostname to each device on your network, so you don’t need to remember IP addresses.
Enable it from the Tailscale admin console under DNS settings. Once active, you can reach a device using its name:
ssh user@hostnameThis works across your entire tailnet without extra DNS configuration.
Configuring an Exit Node
A Linux VPS makes an excellent exit node since it routes all your traffic through its public IP. This masks your real IP and works well for accessing geo-restricted content or securing traffic on public Wi-Fi.
On the VPS, advertise it as an exit node:
sudo tailscale up --advertise-exit-nodeApprove the exit node in the Tailscale admin console under Machines.
On the client device, route all traffic through it:
sudo tailscale up --exit-node=100.x.x.xReplace the IP with your exit node’s Tailscale IP address.
Enabling Subnet Routing
Subnet routing lets devices outside your Tailscale network, like a printer or an old NAS, become reachable through a Tailscale-connected gateway.
Advertise the local subnet from the gateway machine:
sudo tailscale up --advertise-routes=192.168.1.0/24Then approve the route in the Tailscale admin console. Other devices on your tailnet can now reach anything on that subnet through the gateway, which works well for homelab setups with mixed legacy hardware.
Security Features Worth Knowing
Tailscale encrypts every packet using the Noise Protocol Framework, the same cryptographic foundation WireGuard uses. Tailscale’s own servers never see your actual traffic since connections route peer to peer whenever the network allows it.
Authentication runs through your identity provider, so there are no shared passwords or pre-shared keys to manage. You can enable two-factor authentication on your identity account for an extra layer of protection.
Every device requires explicit authorization before it joins the network. If a device gets lost or compromised, you remove it instantly from the admin console.
Restricting Access with ACLs
Access Control Lists define exactly who can reach what on your tailnet. Configure them from the admin console using a JSON-based policy file:
{
  "acls": [
    {
      "action": "accept",
      "src": ["group:devops"],
      "dst": ["tag:production:22"]
    }
  ],
  "groups": {
    "group:devops": ["[email protected]", "[email protected]"]
  }
}
This example grants SSH access to production-tagged machines only to members of the devops group. ACLs enforce least-privilege access and scale well as your network grows.
Updating Tailscale on Linux
Keep Tailscale current to get the latest security patches and features.
Debian/Ubuntu:
sudo apt update && sudo apt upgrade tailscaleFedora/CentOS:
sudo dnf upgrade tailscaleArch Linux:
sudo pacman -Syu tailscaleIf you installed using the install script, run it again and it updates the package automatically.
Uninstalling Tailscale
To remove Tailscale completely from your system, first disconnect and log out:
sudo tailscale down
sudo tailscale logout
Then remove the package based on your distribution.
Debian/Ubuntu:
sudo apt remove tailscaleFedora/CentOS:
sudo dnf remove tailscaleArch Linux:
sudo pacman -R tailscaleTo clear remaining configuration and key data:
sudo rm -rf /var/lib/tailscale
sudo rm -rf /etc/default/tailscaled
You should also remove the device from the Tailscale admin console to revoke its access permanently.
Frequently Asked Questions
Does Tailscale work with a dynamic IP address?
Yes. Tailscale assigns a stable internal IP to each device regardless of whether your public IP changes, so the connection stays consistent.
Is Tailscale free for personal use?
Tailscale offers a free tier that supports up to 100 devices, along with ACLs, exit nodes, and subnet routing.
What ports does Tailscale use?
Tailscale primarily uses UDP port 41641 for direct peer connections and falls back to TCP port 443 when a direct connection fails.
Does Tailscale work behind NAT?
Yes. Tailscale uses NAT traversal techniques to establish direct connections wherever possible, and falls back to encrypted relay servers when a direct path isn’t available.
How do I check which version of Tailscale I’m running?
Run tailscale version to see the installed client version and confirm it matches the latest release.
Tailscale removes the friction from traditional VPN setup on Linux. A single install command and one authentication step get your machine connected to an encrypted mesh network. From there, you can build exit nodes, route subnets, enforce ACLs, and connect homelabs to cloud servers without touching firewall rules or managing keys manually.
Related Guides
- How to Fix VPN Connection Failed Due to Unsuccessful Domain Name Resolution
- NordVPN Rebrands as an All-in-One Security App With Next-Generation Antivirus
- How to Pay for a VPN with Cryptocurrency in 2026 (Step-by-Step)
- How to Pay for a VPN Anonymously in 2026 (5 Methods That Work)
