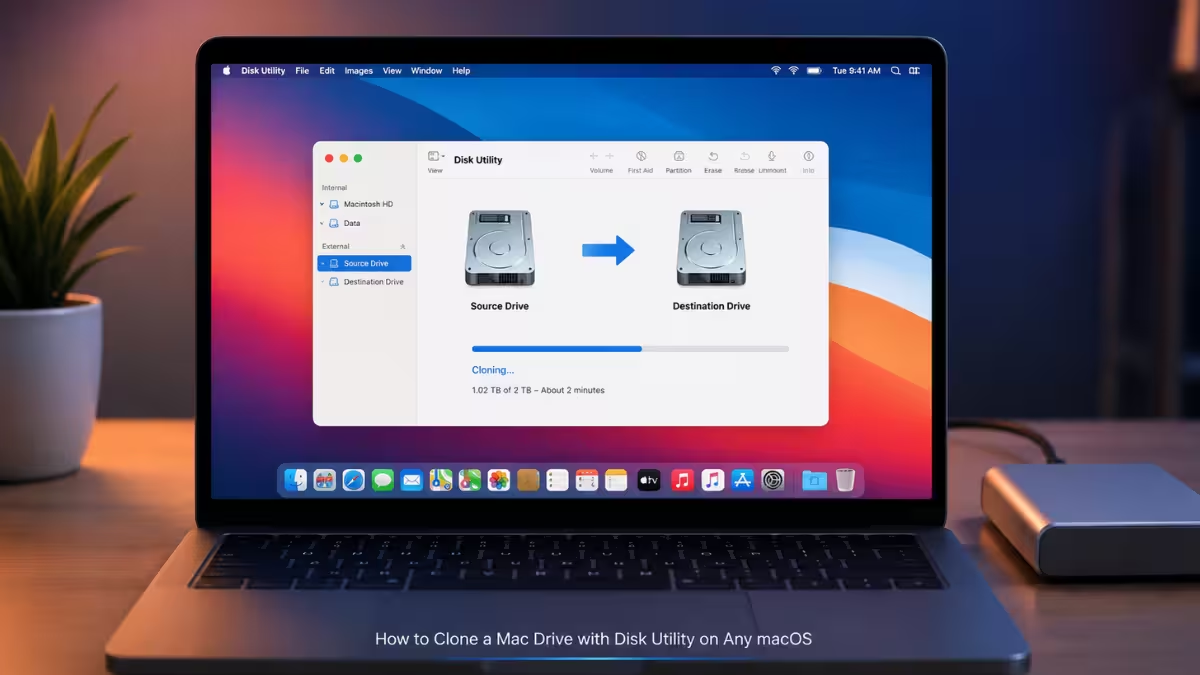
Cloning a Mac drive with Disk Utility copies everything on your source drive, including the operating system, apps, and files, onto another drive. The steps depend on whether you are running a newer version of macOS like Sonoma or Sequoia, or an older version like Catalina or Big Sur.
What You Need Before You Clone a Mac Drive
A few things need to be in place before you start the cloning process.
- An external drive with enough free space to hold everything on your source drive
- A separate backup of anything critical, since the destination drive gets erased
- A stable power source, especially on laptops, since interrupting a clone mid-process can corrupt the destination drive
Format the Destination Drive
Every clone needs a properly formatted destination drive first.
- Connect the external drive to your Mac.
- Open Disk Utility from Applications > Utilities.
- Select the external drive in the sidebar.
- Click Erase.
- Choose APFS for Macs running Monterey or later, or Mac OS Extended (Journaled) if the drive needs to stay compatible with older Macs.
- Give the drive a name and click Erase to confirm.
Clone a Mac Drive on Sonoma, Sequoia, and Other Newer macOS Versions
Apple moved the full system clone option for the system volume into Recovery Mode on newer macOS releases.
- Shut down your Mac completely.
- Boot into macOS Recovery. On Intel Macs, hold
Cmd + Rduring startup. On Apple Silicon Macs, hold the power button until “Loading startup options” appears, then select Options. - Open Disk Utility from the Recovery menu.
- Select the source drive in the sidebar. Choose the Macintosh HD volume, not the Data volume, since that holds the actual system files.
- Click Restore in the toolbar.
- Select your formatted external drive as the destination.
- Click Restore to begin. This erases the destination drive and copies the source drive to it byte for byte.
Restore times vary based on how much data is on the source drive and the speed of the external drive, so leave the Mac connected to power and undisturbed until it finishes.
Clone a Mac Drive on Catalina, Big Sur, and Older macOS Versions
Older macOS versions allow cloning directly from the regular Disk Utility app without entering Recovery.
- Connect and format the destination drive as described above.
- Open Disk Utility from Applications > Utilities.
- Select the destination drive in the sidebar.
- Click Restore.
- Under “Restore From,” choose the source drive.
- Click Restore and confirm the erase warning.
Keep in mind that file locations on the destination drive may not exactly match the source drive once the restore finishes, so it is worth spot checking a few folders before relying on the clone.
Set the Cloned Drive as Your Startup Disk
Once the clone finishes, you may want your Mac to boot from the new drive instead of the original.
- Click the Apple menu and select System Settings.
- Click General in the sidebar, then click Startup Disk.
- Select the cloned drive from the list.
- Enter your admin password or confirm with Touch ID if prompted.
- Click Restart to boot from the new drive.
Cloning a Mac Drive on Apple Silicon (M1, M2, M3, M4)
Disk Utility’s Restore function on Apple Silicon Macs does not always produce a drive that can start up the Mac on its own. This happens because Apple Silicon requires the destination drive to carry specific APFS snapshot and signing information that Disk Utility does not fully expose during a manual Restore. For a clone that needs to actually boot the Mac, a dedicated cloning tool such as Carbon Copy Cloner or SuperDuper handles those requirements more reliably than Disk Utility alone.
Clone Mac Files Without Making a Bootable Drive
Not every clone needs to be bootable, and there is a simpler path if you only need the files.
- Drag your files and folders to the external drive directly in Finder for a basic file backup.
- Use Migration Assistant to transfer accounts, apps, and settings to a new Mac without the source drive needing to boot from the copy.
Frequently Asked Questions
Does Disk Utility make a bootable clone on Apple Silicon Macs?
Disk Utility can copy the data, but the result is not always reliably bootable on Apple Silicon Macs because of how the system volume signing works. A dedicated cloning tool is generally needed for a bootable result.
Can I clone a Mac drive without erasing the destination?
No. Disk Utility’s Restore function erases everything on the destination drive before copying the source drive onto it.
What format should the destination drive use?
Use APFS for Macs running Monterey or later. Use Mac OS Extended (Journaled) only if the drive needs to work with an older Mac running Mac OS Extended.
Do I need to be in Recovery Mode to clone my Mac?
On newer macOS versions, cloning the system volume requires Recovery Mode. On older macOS versions like Catalina or Big Sur, you can clone directly from the regular Disk Utility app.
How long does cloning a Mac drive take?
It depends on the amount of data and the speed of the external drive, ranging from under an hour for a lightly used drive to several hours for a nearly full one.
Can I back up my Mac to an external drive without Time Machine?
Yes. Disk Utility’s Restore function copies your entire drive to an external disk without using Time Machine. Connect the external drive, boot into Recovery Mode, open Disk Utility, select your startup disk, and use Restore with the external drive as the destination.
Can I clone a large disk to a smaller disk?
Only if the total amount of data on the source drive fits on the smaller destination drive, with some free space left over. Disk Utility can fail partway through if the destination is too tight, so back up first and confirm the data size before starting.
Related Tech How-To
- How to Clone SSD From BIOS Using a Bootable USB
- WinDiskWriter: Create Bootable Windows USB on Mac (Free)
- How to Check Storage on Mac: 5 Methods (macOS Sequoia, Sonoma & Ventura)
macOS Errors/How-To

