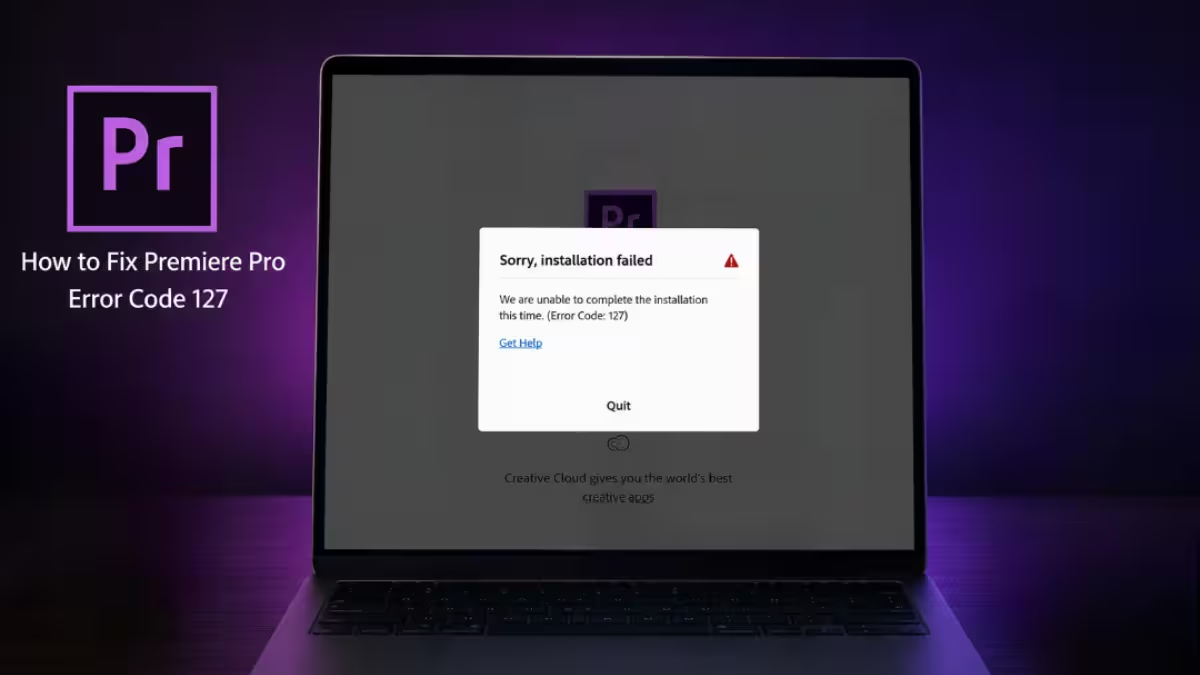
Error Code 127 stops the Adobe Premiere Pro installer from extracting files it needs to complete setup. The failure happens inside the adobeTemp folder, which Creative Cloud uses to unpack program files before installation finishes. You can usually clear the error by restoring folder permissions, freeing up disk space, or removing antivirus interference.
What Causes Error Code 127
The error points to a system-level block rather than a corrupted download.
- Low disk space: the installer can’t unpack the zip archive if the destination drive runs out of room.
- Restricted folder permissions: the adobeTemp folder blocks the installer from writing files if SYSTEM or Administrators lack full control.
- Antivirus interference: real-time protection sometimes flags the extraction process and stops it from writing to the temp folder.
Fix 1: Change adobeTemp Folder Permissions
Restoring permissions lets the installer write and extract files without interruption.
- Open File Explorer and go to the drive where Premiere Pro is installing.
- Locate the adobeTemp folder. Enable hidden files and folders first if you don’t see it.
- Right-click the folder and select Properties.
- Open the Security tab and confirm that SYSTEM and Administrators have Full Control checked.
- Delete any leftover files inside the adobeTemp folder.
- Select Retry in the installer.
Fix 2: Disable Your Antivirus Temporarily
Security software can misread the installer’s extraction activity as a threat and block it.
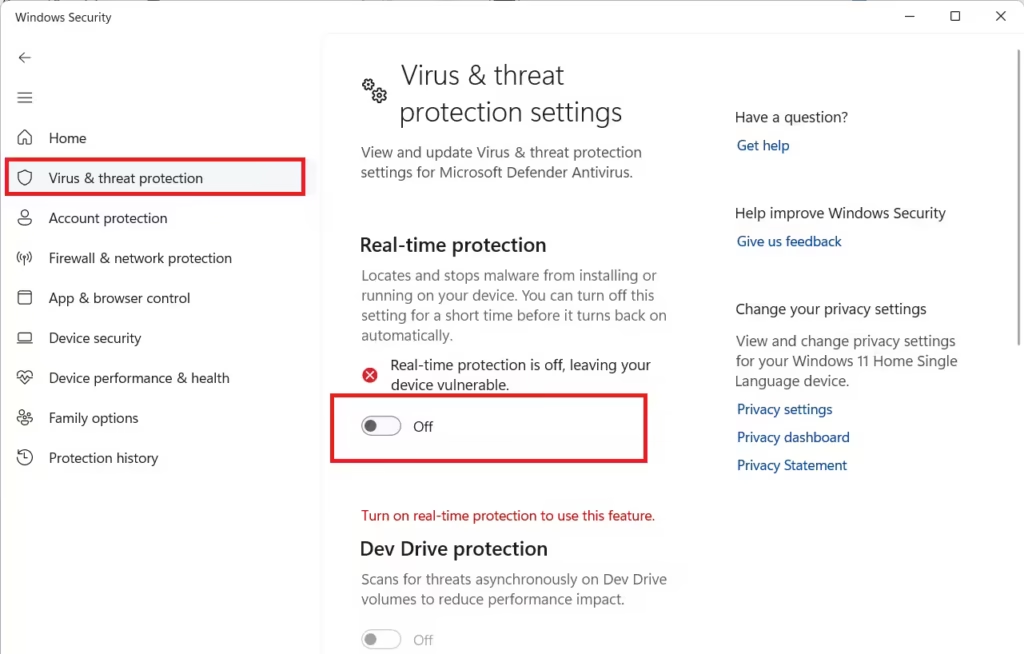
- Press the Windows key and type Windows Security.
- Go to Virus & threat protection and select Manage settings.
- Toggle off Real-time protection.
- Run the Premiere Pro installer again.
- Re-enable your antivirus once installation finishes.
If you use third-party antivirus software, disable it from the app itself instead, then follow the same steps.
Fix 3: Clear the Adobe Creative Cloud Cache
Leftover cache files from a previous failed install attempt can block extraction even when folder permissions are correct.
- Close all Adobe applications, including Creative Cloud.
- Go to the Creative Cloud cache location and delete the temporary installation files inside it.
- Restart Creative Cloud.
- Run the Premiere Pro installation again.
Fix 4: Sign Out and Back Into Creative Cloud
Authentication and licensing tokens can interrupt the download-and-extract sequence before the installer reaches the adobeTemp folder.
- Open Adobe Creative Cloud.
- Sign out of your Adobe account.
- Close the application completely.
- Reopen Creative Cloud and sign in again.
- Retry the Premiere Pro installation.
Fix 5: Free Up Disk Space
The installer needs enough free space on the destination drive to extract Premiere Pro’s compressed files.
- Open Settings > System > Storage.
- Check the available space on your installation drive.
- Remove unnecessary files or move large media elsewhere if space is tight.
- Restart the installation.
Fix 6: Repair Microsoft Visual C++ Redistributables
Premiere Pro depends on these runtime libraries, and a damaged install can trigger extraction failures during setup.
- Open Settings > Apps > Installed apps.
- Find Microsoft Visual C++ Redistributable in the list.
- Select Modify or Repair.
- Restart your computer and reinstall Premiere Pro.
Fix 7: Use the Adobe Creative Cloud Cleaner Tool
Standard uninstalls often leave behind configuration remnants from incomplete previous installations, and these remnants can block a clean extraction on the next attempt.
- Uninstall Adobe Creative Cloud if it’s still installed.
- Download and run the Adobe Creative Cloud Cleaner Tool.
- Select Premiere Pro or Creative Cloud from the list and remove the corrupted installation data.
- Restart your computer.
- Reinstall Creative Cloud and then Premiere Pro.
Fix 8: Reinstall Adobe Creative Cloud
A corrupted Creative Cloud installation can carry the problem into every app install, including Premiere Pro. Try this only if the Cleaner Tool doesn’t resolve the issue.
- Open Settings > Apps > Installed apps and uninstall Adobe Creative Cloud.
- Restart your computer.
- Download a fresh Creative Cloud installer from Adobe.
- Sign in and install Premiere Pro again.
If none of these fixes resolve the error, contact Adobe support directly with the details of your installation attempt.
Frequently Asked Questions
What does Error Code 127 mean in Adobe Premiere Pro?
It means the installer couldn’t extract files from the adobeTemp folder, usually due to permission restrictions, low disk space, or antivirus interference.
Do I need to uninstall Creative Cloud to fix this error?
Not always. Try adjusting adobeTemp folder permissions and disabling antivirus first. Reinstalling Creative Cloud is a later step if those fixes don’t work.
Is it safe to disable my antivirus during installation?
Yes, as long as you’re using the official Adobe installer and re-enable your antivirus immediately after installation completes.
Can a previous failed Premiere Pro installation cause Error Code 127?
Yes. Leftover cache files or incomplete installation data from a prior attempt can block extraction on the next try, even if the original cause has already been fixed.
Will reinstalling Windows fix Error Code 127?
No. Error Code 127 is tied to folder permissions, disk space, or Creative Cloud installation files, not core Windows files. Reinstalling Windows is unnecessary and won’t address the root cause.

