Slow file transfers, laggy app launches, or a video export that takes far longer than it should often trace back to a drive that is underperforming. Disk speed on a Mac is not a fixed number either. It changes based on how full the drive is, what is connecting it (internal NVMe, USB, or Thunderbolt), and what else is running in the background at the time.
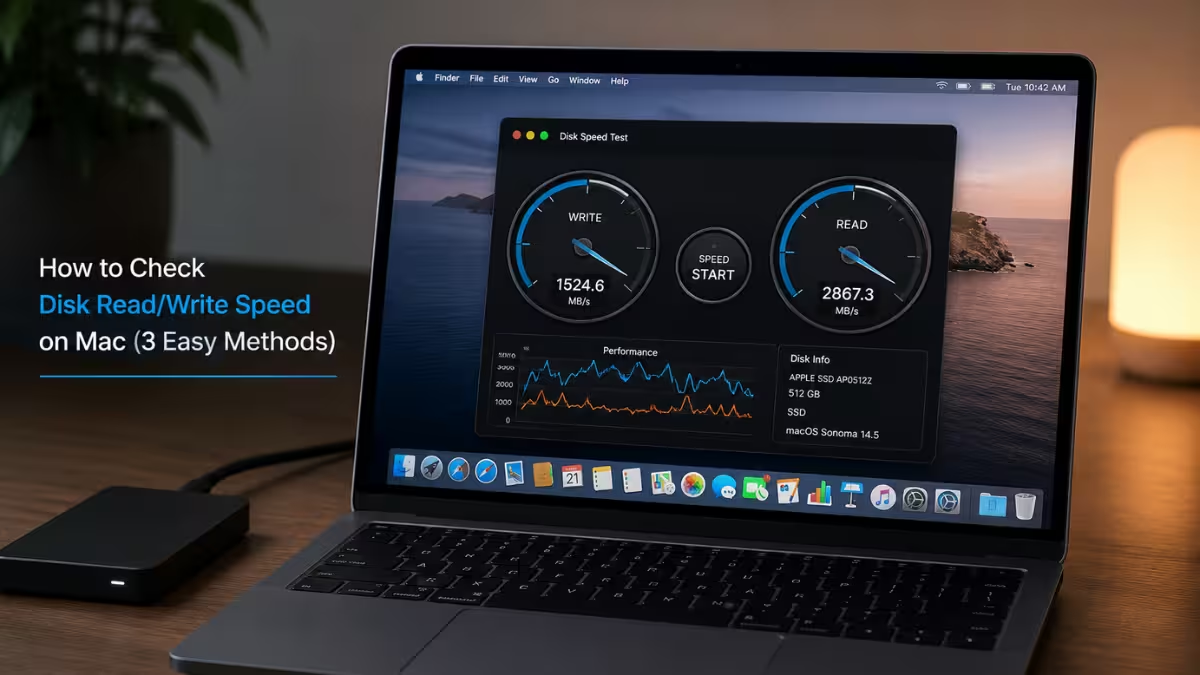
Checking read and write speed directly removes the guesswork. It confirms whether storage is actually the bottleneck before time gets spent reinstalling apps, clearing caches, or blaming other hardware. This guide covers three ways to check disk speed on a Mac, what counts as a normal result for the connection type in use, and what to do if the numbers come back lower than expected.
Method 1. Check Disk Speed Using Terminal
Before testing speed, it helps to confirm what type of drive is installed and how it connects.
Run the following command to identify the drive type and connection protocol:
diskutil info /This shows the storage device name, protocol (NVMe, SATA, or USB), and media type (SSD or HDD), which helps set expectations for the maximum speed the drive can reach.
Terminal offers a quick way to test write speed without a third party app.
Run the following command to test write speed:
time dd if=/dev/zero of=~/testfile bs=1024k count=1024This writes a 1GB test file and reports the time taken, which can be used to calculate MB/s. Delete the test file afterward with:
rm ~/testfileRead speed can be tested by timing how long it takes to copy the same file back:
time dd if=~/testfile of=/dev/null bs=1024kMethod 2. Check Disk Speed Using Blackmagic Disk Speed Test
Blackmagic Disk Speed Test is a free app from the Mac App Store built specifically for measuring sustained read and write throughput, and it is commonly used to benchmark external SSDs and video editing drives.
- Download Blackmagic Disk Speed Test from the Mac App Store.
- Open the app and click the gear icon above the Start button.
- Choose Select Target Drive and pick a folder on the drive to test.
- Click the Start button.
- Watch the live graph for read and write speed in MB/s.
This tool gives a more consistent real world benchmark compared to the Terminal method since it runs sustained read and write cycles.
Method 3. Check Real Time Disk Activity Using iostat
iostat is a built in Terminal tool that prints live disk throughput instead of running a fixed benchmark, which makes it better suited for watching disk load while something else is happening on the Mac.
Run the following command to refresh disk stats every 2 seconds:
iostat -d 2Each refresh lists the disk name along with data transferred per operation, how many operations happened in that interval, and a running total in megabytes since the command started. Watching this while copying a large file or compiling a project shows how hard the drive is actually working in that moment.
To capture a fixed window instead of letting it run indefinitely, limit it to 10 readings with:
iostat -c 10This gives a short snapshot that is easier to review than scrolling through continuous output.
Normal Disk Speed by Connection Type
Expected speed depends heavily on how the drive connects to the Mac, so comparing results against these ranges gives a clearer picture than judging speed in isolation.
- Apple Silicon internal SSDs land anywhere from 2,000 to 7,000 MB/s on read, and the exact number depends on chip generation plus storage tier, since a 256GB configuration has fewer NAND chips working in parallel than a 512GB or larger one.
- A Thunderbolt 3 or Thunderbolt 4 external drive can push up to 2,800 MB/s, putting it well ahead of every other external connection type.
- USB-C running USB 3.2 Gen 2 is rated for 1,250 MB/s, though everyday results tend to land closer to 900 to 1,000 MB/s once real world overhead is factored in.
- A standard USB-A 3.0 drive maxes out near 625 MB/s on paper, with actual transfers usually falling somewhere around 400 to 450 MB/s.
- SATA SSDs from the 2012 to 2017 Mac lineup are locked to the 600 MB/s SATA III ceiling and generally deliver 400 to 550 MB/s in practice.
- A mechanical HDD, still present in a handful of older iMac models, tops out around 80 to 120 MB/s regardless of how it connects.
What Causes Slow Disk Performance
A drive testing below its expected range usually traces back to one of these causes.
- An SSD running under 10% free space struggles because the controller runs out of spare blocks needed to shuffle and clean up data in the background, so every write takes longer than it should.
- The mds_stores process handles Spotlight indexing and can max out disk activity right after a fresh install, a software update, or a restored backup. Checking
sudo mdutil -s /in Terminal confirms whether an index is currently in progress. - Time Machine writes to the backup destination while reading from the source drive at the same time, and this stretches out noticeably when the backup target is a slow USB 2.0 drive or a network share.
- When available RAM runs low, macOS pushes unused memory contents onto the SSD as swap, adding disk traffic that has nothing to do with how fast the drive itself actually is.
How to Improve Disk Speed on Mac
Once the cause is identified, these fixes address the most common sources of slow disk performance.
- Clear out unused apps, old downloads, and Trash contents so total free space stays above 10%, since a nearly full SSD is the most common reason for a drive underperforming its rated speed.
- Open System Settings > Siri & Spotlight > Privacy and add folders like VM disk images or code build directories so Spotlight stops indexing files that never need to show up in search.
- For external storage, pick a Thunderbolt 3 or Thunderbolt 4 enclosure over USB when speed matters, since it comes much closer to matching the internal drive.
- Open Disk Utility, select the affected volume, and run First Aid now and then to catch file system errors before they cause bigger slowdowns.
- On an older Mac still running a spinning hard drive, swapping it for a SATA SSD delivers the biggest jump in everyday speed of any upgrade on this list.
Frequently Asked Questions
What is a normal SSD speed on Mac?
Internal SSDs on modern Macs typically show sequential read and write speeds ranging from 1500 MB/s to over 7000 MB/s depending on the chip generation.
Why is my external drive slower than expected?
The cable or port in use is often the cause, since a USB-C cable connected to a USB 2.0 port will cap speeds well below the drive’s actual rating.
Does Activity Monitor show disk speed?
Activity Monitor shows real time disk read and write activity under the Disk tab but does not provide a benchmark test.
Does Disk Utility have a built in speed test?
No, Disk Utility does not include a built in performance benchmark. It only checks for errors and repairs disks using First Aid, so a Terminal command or an app like Blackmagic Disk Speed Test is needed for actual speed numbers.

