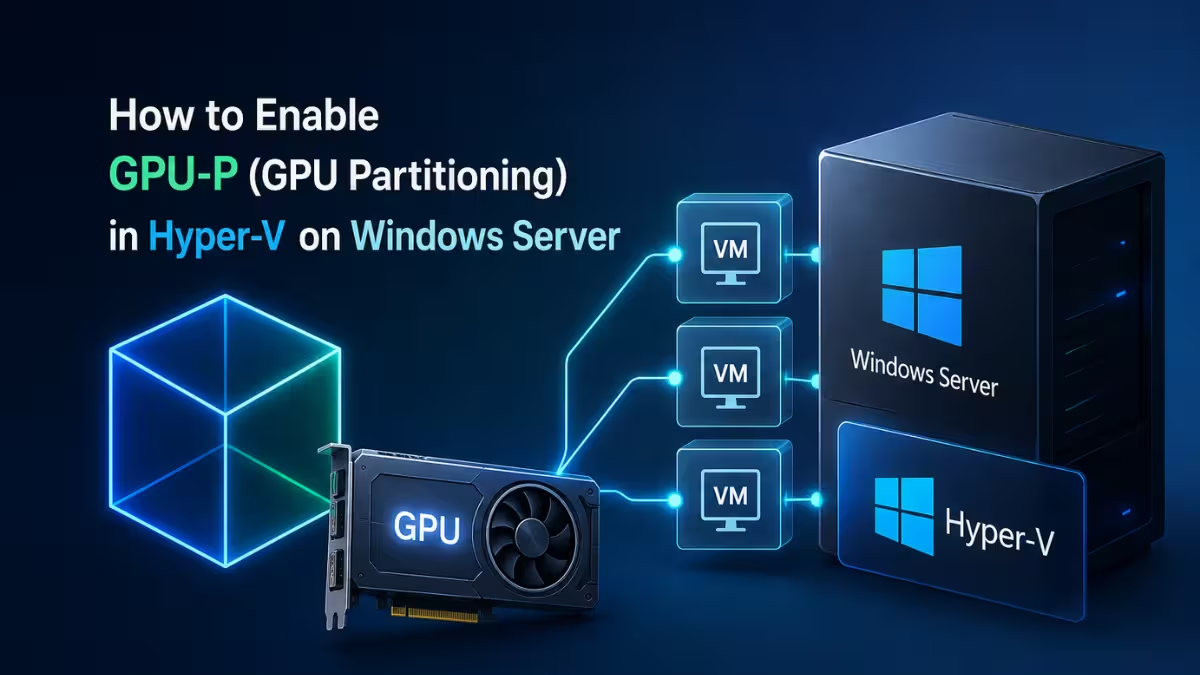
GPU Partitioning, known as GPU-P, lets a Hyper-V host split a single physical GPU and share it across multiple virtual machines. This guide walks through the exact steps to enable it on a supported Windows Server host.
If you’re running Windows 11 and want to try GPU-P as the host rather than the guest, skip ahead to the note on unsupported configurations near the end of this guide before you start, since the official steps below won’t work on a Windows 11 host.
GPU-P vs Discrete Device Assignment (DDA)
Hyper-V offers two ways to give a VM access to a physical GPU. Discrete Device Assignment (DDA) hands the entire GPU to a single VM, so the host and any other VM lose access to it while that VM is running. GPU-P instead splits the GPU into shares, so multiple VMs (and the host) can use the same card at once. This guide covers GPU-P. Use DDA instead if one VM needs the full, unshared performance of the card.
What Is GPU-P in Hyper-V
GPU-P assigns a slice of your GPU’s VRAM, compute, encode, and decode resources to a Hyper-V VM instead of dedicating the entire card to one guest. Each VM gets paravirtualized access to the GPU, so multiple VMs can run GPU-accelerated workloads from a single host card.
GPU-P Requirements for Hyper-V
Your hardware and OS combination determines whether GPU-P works out of the box or needs a workaround.
- Windows Server 2025 or later on the host. Microsoft currently supports GPU-P hosting only on this version and newer. Windows 11 can run as the guest VM in a GPU-P setup, but it is not a supported host for GPU-P
- A Generation 2 virtual machine as the guest
- A GPU with WDDM 2.9 or higher drivers, or an SR-IOV/vGPU-capable card such as NVIDIA GRID or AMD MxGPU for officially supported partitioning
- GPU drivers installed on the Hyper-V host itself, separate from whatever driver you plan to install inside the guest
Consumer GPUs from NVIDIA, AMD, and Intel do not officially support GPU-P, but community tooling extends the feature to them for lab and home use. This guide covers the official Microsoft workflow. If you’re on a consumer card, run Step 2 below first: if Get-VMHostPartitionableGpu returns nothing, skip directly to the “Get-VMHostPartitionableGpu Returns Nothing” entry in the troubleshooting section rather than continuing through Steps 3 through 8, which assume the official path worked.
Step 1: Enable the Hyper-V Role
On Windows Server, the host this guide targets, install the Hyper-V role from an elevated PowerShell session. This command installs the role and restarts the server automatically.
Install-WindowsFeature -Name Hyper-V -IncludeManagementTools -RestartYou can also install it through Server Manager by selecting Add Roles and Features and choosing Hyper-V. Verify the install afterward with Get-WindowsFeature Hyper-V.
If you’re setting up a lab or test environment on Windows 11 instead (see the note above on unsupported host configurations), the equivalent client command is:
Enable-WindowsOptionalFeature -Online -FeatureName Microsoft-Hyper-V -AllRestart the machine after either command completes, then open a new elevated PowerShell session before continuing to Step 2.
Step 2: Check GPU-P Support on Your Host
Run this command to list host GPUs that Hyper-V can partition.
Get-VMHostPartitionableGpuAn empty result means your GPU doesn’t expose the standard WDDM partitioning path. Datacenter cards with vGPU drivers show up here; most consumer cards will not.
A supported GPU returns output similar to this:
Name                        : \\?\PCI#VEN_10DE&DEV_...
ValidPartitionVRAM          : {...}
ValidPartitionEncode        : {...}
ValidPartitionDecode        : {...}
ValidPartitionCompute       : {...}
The Name field is the value you copy into Step 4. It’s a long PCI instance path, so copy it directly from the console rather than retyping it.
For a cleaner view that also shows which partition sizes the GPU supports, run:
Get-VMHostPartitionableGpu | Format-List Name, ValidPartitionCountsValidPartitionCounts lists how many equal partitions the GPU driver allows, for example {32, 4}. These values differ by card and driver, so don’t assume your GPU exposes the same options shown in any example output.
Step 3: Confirm the VM Is Generation 2 for GPU-P
GPU-P requires a Generation 2 VM. Check the VM you plan to use before doing anything else.
Get-VM -Name <VMName> | Select-Object Name, Generation, StateIf the result shows Generation 1, you can’t convert it to Generation 2. Create a new Generation 2 VM and move the workload to it instead.
Shut the VM down before adding a GPU partition. Configuring GPU-P on a running VM causes the following commands to fail or apply inconsistently.
Stop-VM -Name <VMName>Confirm it actually powered off before continuing.
Get-VM -Name <VMName> | Select-Object Name, StateThe State should read Off. If the VM won’t stop, resolve that first rather than proceeding with GPU configuration on a running machine.
Step 4: Configure GPU-P Partition Resources on the Host
This step runs once per host GPU, not per VM. It sets the VRAM, encode, decode, and compute limits the host GPU will divide among every VM you attach to it later.
Set-VMHostPartitionableGpu -Name "<GPU instance path from Step 2>" `
  -MinPartitionVRAM 1 -MaxPartitionVRAM 4294967296 -OptimalPartitionVRAM 4294967296 `
  -MinPartitionEncode 1 -MaxPartitionEncode 4294967296 -OptimalPartitionEncode 4294967296 `
  -MinPartitionDecode 1 -MaxPartitionDecode 4294967296 -OptimalPartitionDecode 4294967296 `
  -MinPartitionCompute 1 -MaxPartitionCompute 4294967296 -OptimalPartitionCompute 4294967296
Copy the exact Name value returned by Get-VMHostPartitionableGpu in Step 2 into the -Name parameter above. The value 4294967296 is 4GB expressed in bytes. To size this for your own card, multiply the GB amount you want to allocate by 1073741824. For example, a 24GB card split evenly across two VMs would use 12884901888 (12GB) as the optimal and max VRAM value. Set the min value low (1 is fine) so Hyper-V can allocate smaller partitions when needed.
Step 5: Prepare the VM for GPU-P
The target VM needs specific memory and MMIO settings before it can accept a GPU partition.
Disable dynamic memory on the VM, since GPU-P requires static memory allocation.
Set-VMMemory <VMName> -DynamicMemoryEnabled $falseSet the guest-controlled cache type and expand the memory-mapped I/O space, which the GPU needs to map its resources into the VM’s address space.
Set-VM -GuestControlledCacheTypes $true -VMName <VMName>
Set-VM -LowMemoryMappedIoSpace 3Gb -VMName <VMName>
Set-VM -HighMemoryMappedIoSpace 32GB -VMName <VMName>
These MMIO values reserve address space the GPU uses to map its partitioned VRAM into the VM. 32GB works for a single GPU partition on most setups. If you assign partitions from a card with more than 32GB VRAM, or attach more than one GPU partition to the same VM, raise HighMemoryMappedIoSpace to roughly double the total VRAM you’re assigning. Increase the value further if the VM fails to boot after you add the GPU adapter in the next step.
Step 6: Add the GPU-P Partition Adapter to the VM
Attach the GPU partition to the VM with a single cmdlet.
Add-VMGpuPartitionAdapter -VMName <VMName>Use Set-VMGpuPartitionAdapter -VMName <VMName> afterward if you want to set per-VM min/max/optimal values that differ from the host-wide defaults you set in Step 4.
Verify the adapter attached correctly before starting the VM.
Get-VMGpuPartitionAdapter -VMName <VMName> | Format-List *If this returns the adapter’s properties, Hyper-V accepted the partition. If it fails or shows unexpected values, recheck the MMIO settings from Step 5 before starting the VM. Insufficient MMIO space at this stage commonly surfaces later as a Code 12 error in the guest, not a boot failure.
Step 7: Install GPU-P Drivers in the Guest VM
Start the VM, either from Hyper-V Manager or with PowerShell.
Start-VM -Name <VMName>Log in to the guest OS and install a GPU driver inside it. The driver version inside the guest needs to closely match the driver version installed on the host. A mismatch is the most common cause of the GPU showing a Code 43 error in Device Manager.
Where you get that driver depends on the card. For datacenter cards like NVIDIA GRID, download the matching vGPU guest driver from NVIDIA’s Licensing Portal, which requires an active vGPU software license tied to your host driver version. For consumer cards running through community GPU-P tooling, install the same standard driver package (GeForce or Radeon) that’s installed on the host, matching the version number exactly.
Step 8: Verify GPU-P Is Working in the VM
Open Device Manager inside the VM and confirm the GPU shows no warning icons. Run dxdiag or a benchmarking tool to confirm the guest is actually using GPU acceleration rather than falling back to software rendering.
Fixing Common GPU-P Problems
Code 12 Error in the Guest VM
Code 12 signals a resource conflict, and with GPU-P it almost always means the VM doesn’t have enough MMIO space to initialize the virtual GPU. Revisit Step 5 and raise HighMemoryMappedIoSpace, then restart the VM.
Code 43 Error in the Guest VM
This points to a driver mismatch between host and guest, or a Secure Boot template conflict on the Gen2 VM. Switch the VM’s Secure Boot template to Microsoft UEFI Certificate Authority and reinstall the guest driver.
Get-VMHostPartitionableGpu Returns Nothing
Your GPU doesn’t support the official WDDM partitioning path Microsoft documents. Before assuming the hardware is unsupported, confirm Hyper-V is installed, hardware virtualization and IOMMU are enabled in UEFI/BIOS, and the GPU driver is current. If all of that checks out and the command still returns nothing, community scripts, most notably the GPU-PV project by jamesstringerparsec, extend partitioning to consumer NVIDIA, AMD, and Intel GPUs by manually referencing driver store paths on the host. This route is unsupported by Microsoft but widely used in home lab setups.
VM Fails to Boot After Adding the GPU Partition Adapter
Insufficient MMIO space is the usual cause. Increase HighMemoryMappedIoSpace from Step 5 and try again.
Frequently Asked Questions
Does GPU-P work with consumer GPUs like GeForce or Radeon cards?
Not officially. Microsoft’s documented GPU-P path targets datacenter and vGPU-licensed cards such as NVIDIA GRID or AMD MxGPU. Consumer cards can work through unsupported community scripts, but stability and driver compatibility vary by card and driver version.
Do I need Windows Server to use GPU-P, or does it work on Windows 11?
You need Windows Server 2025 or later as the host. Microsoft does not currently support GPU-P on Windows 11 as a host, even though a Windows 11 VM can run as the guest inside a supported GPU-P setup. Community configurations that enable GPU-P on a Windows 11 host exist, but they fall outside Microsoft’s supported model.
What’s the difference between GPU-P and DDA?
GPU-P shares one physical GPU across multiple VMs, with each VM getting a portion of its VRAM, compute, encode, and decode resources. DDA (Discrete Device Assignment) gives one VM exclusive use of the entire physical GPU, and no other VM or the host can use it while that VM holds it. Choose DDA when a single VM needs full, unshared GPU performance; choose GPU-P when several VMs need to share one card.
Why does the guest VM need the same GPU driver version as the host?
GPU-P uses a paravirtualized driver model where the guest driver communicates directly with the host driver’s partition interface. Version mismatches break that communication and surface as a Code 43 error in the guest’s Device Manager.

