Windows 11 blocks you from formatting a drive larger than 32GB as FAT32 through File Explorer. You click Format, select FAT32, and the option either disappears or the process fails. This is a deliberate limitation in the Windows GUI, not a hardware restriction.
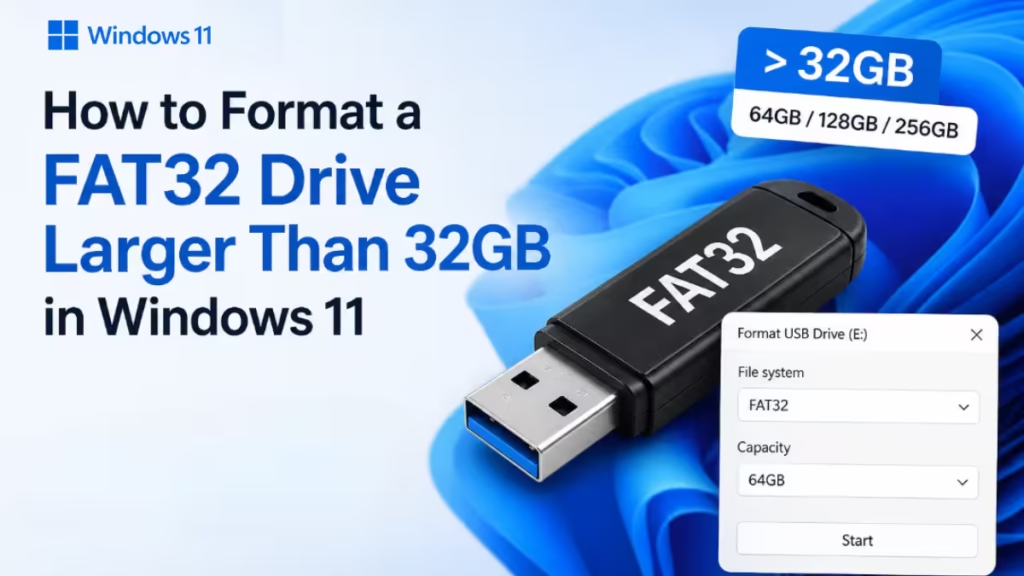
FAT32 itself supports volumes up to 2TB. Windows simply never exposed that capability through its standard formatting tools. If you need FAT32 on a 64GB, 128GB, or larger drive for a game console, a media player, or a device that refuses to read exFAT, you need to go outside File Explorer.
This guide covers three working methods to format a FAT32 drive larger than 32GB in Windows 11.
Before you start: Formatting erases all data on the drive. Back up anything important before following these steps.
Method 1: Command Prompt (Recommended)
Microsoft’s April 2026 update (KB5083631) lifted the FAT32 command-line format limit from 32GB all the way to 2TB. If your system is up to date, Command Prompt is now the fastest and most reliable way to format large FAT32 drives on Windows 11.
How to check if KB5083631 is installed:
- Press Windows + I to open Settings.
- Go to Windows Update and select Update history.
- Look for KB5083631 in the list. If it is not there, go back to Windows Update and install available updates.
Steps to format using Command Prompt:
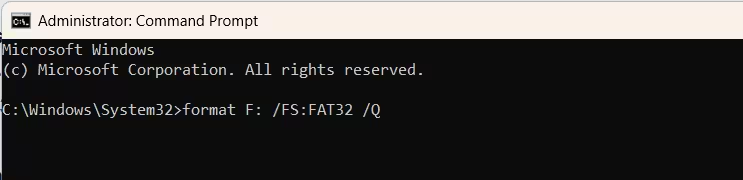
- Press Windows + S, type cmd, right-click Command Prompt, and select Run as administrator.
- Type the following command and press Enter:
format X: /FS:FAT32 /QReplace X with the actual drive letter of your USB or external drive. The /Q flag runs a quick format. Remove /Q if you want a full format that scans for bad sectors.
- When prompted to confirm, press Enter again.
- Wait for the format to complete. The time varies depending on drive size and whether you use quick or full format.
Once it finishes, your drive is formatted as FAT32 and ready to use.
Method 2: PowerShell
PowerShell’s Format-Volume cmdlet formats FAT32 drives of any size without needing the KB5083631 update. This method works on Windows 11 regardless of your update status.
Steps to format using PowerShell:
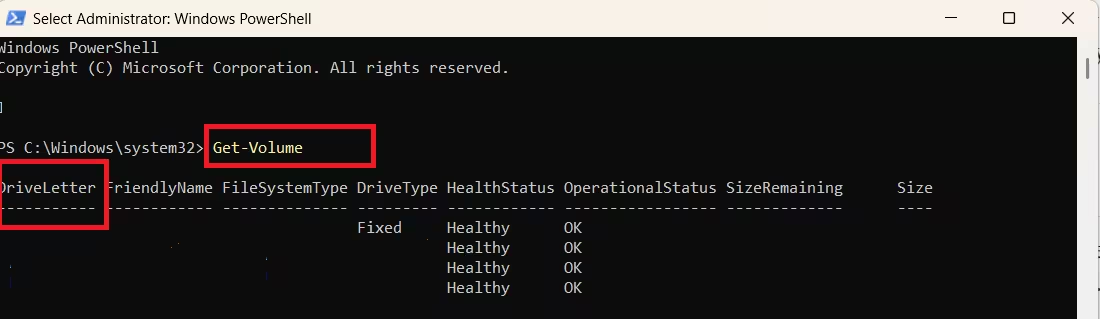
- Press Windows + S, type PowerShell, right-click Windows PowerShell, and select Run as administrator.
- First, identify your drive letter by running:
Get-VolumeThis lists all connected drives with their letters, labels, and sizes. Note the letter for the drive you want to format.
- Run the following command:
Format-Volume -DriveLetter X -FileSystem FAT32 -NewFileSystemLabel "MyDrive" -Confirm:$falseReplace X with your drive letter. Replace MyDrive with whatever label you want or remove the -NewFileSystemLabel part entirely if you do not need a label.
- PowerShell runs the format and reports the result when done.
Note: PowerShell’s default format is a full format. Add
-Full $falseto the command if you want a quick format instead.
Method 3: Use Rufus (No Command Line Required)
Rufus is a free, open-source tool that formats drives without any size restrictions. It does not require administrator privileges and takes under a minute to set up. This is the best option if you prefer not to use the command line at all.
Steps to format using Rufus:
- Download Rufus from rufus.ie. No installation is required, it runs as a standalone .exe file.
- Plug in your drive and open Rufus.
- Under Device, select your drive from the dropdown.
- Under Boot selection, set it to Non bootable.
- Under File system, select FAT32.
- Click Start.
- Rufus warns you that all data on the drive will be destroyed. Click OK to confirm.
Rufus completes the format in seconds. Your drive is ready to use once the status bar shows READY.
Which Method Should You Use?
| Situation | Best Method |
|---|---|
| KB5083631 is installed | Command Prompt |
| KB5083631 is not installed | PowerShell or Rufus |
| No command line preferred | Rufus |
| Formatting for a game console or media device | Any method above |
Frequently Asked Questions
Why won’t Windows 11 let me format a drive larger than 32GB as FAT32?
Windows 11 blocks FAT32 formatting above 32GB through File Explorer and Disk Management. This is a built-in GUI restriction, not a file system limit. FAT32 supports volumes up to 2TB. You need to use Command Prompt, PowerShell, or a third-party tool like Rufus to get around this restriction.
Can I format a 64GB, 128GB, or 256GB drive as FAT32 in Windows 11?
Yes. FAT32 supports drives up to 2TB in size. The 32GB cap only exists inside Windows GUI tools. Using Command Prompt with the KB5083631 update installed, PowerShell, or Rufus, you can format drives of any size as FAT32.
What is the maximum file size I can store on a FAT32 drive?
FAT32 has a 4GB per-file limit. Individual files larger than 4GB will not transfer to a FAT32 drive. If you need to store large video files or game backups over 4GB, use exFAT or NTFS instead.
Will formatting a drive as FAT32 delete all my files?
Yes. Formatting erases everything on the drive. Back up all important files to another location before you start the format process.
Should I use FAT32 or exFAT for a USB drive in Windows 11?
Use exFAT if your device supports it. exFAT has no file size limit and works on most modern devices. Choose FAT32 only when the target device specifically requires it, such as older game consoles, car stereos, or media players that do not recognize exFAT.

