A NAS (network attached storage) is an always-on device that stores your files and shares them with every device on your home network. An old MacBook sitting in a drawer can do that job. With a few hours of setup and one external drive, it can store your files, back up your other devices, and stream movies to every screen at home. This guide shows you three ways to do it, from a ten-minute setup to a full Linux build.
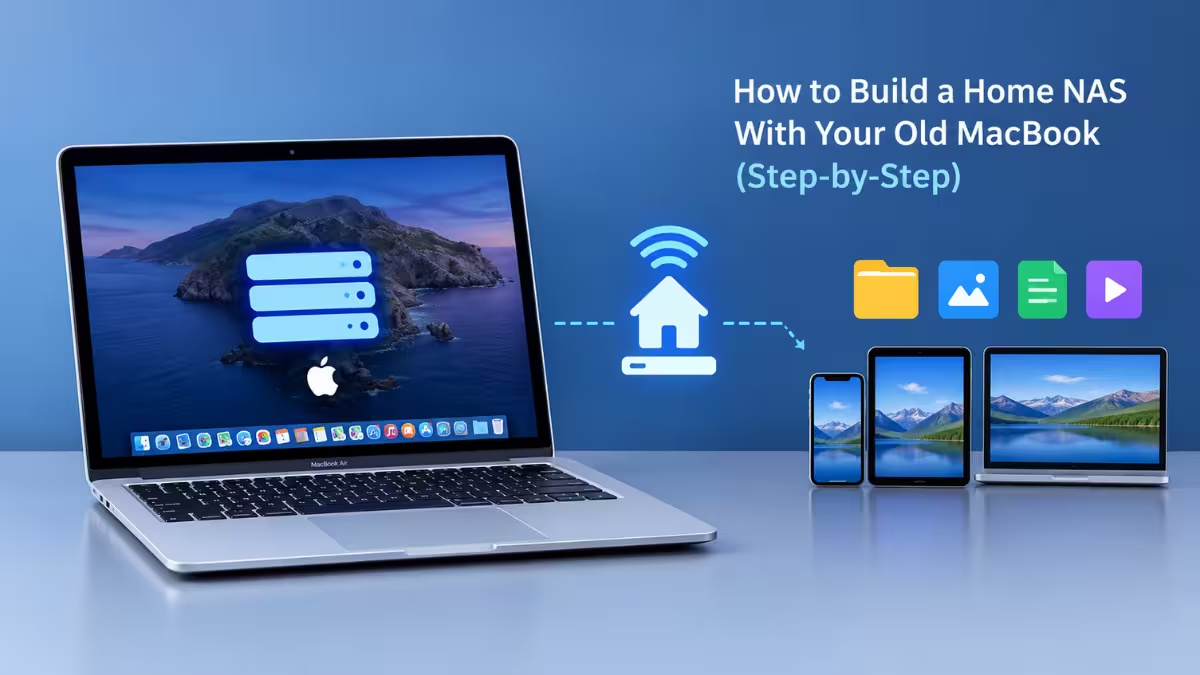
Pick the option that matches your goal. Choose Option 1 for plain file storage, Option 2 to stream movies and music, or Option 3 for a private cloud and app dashboard. All three start with the same checks and preparation below.
Can Your Old MacBook Work as a NAS?
Not every old laptop makes a good NAS. Check these first:
- Battery health: Open System Settings, go to Battery, and check the condition. A swollen or failing battery is a fire risk on a machine that runs around the clock. Replace it or remove it if the model allows.
- RAM: 4 GB handles basic file sharing. For Plex transcoding or Docker apps, aim for 8 GB or more.
- Ports: You need at least one USB port for an external drive. An Ethernet adapter helps a lot too.
- macOS version: Update to the newest version your Mac supports so you get security patches.
Hardware You Need to Build a MacBook NAS
- The MacBook, plugged into power
- An external HDD or SSD (use this for your data, not the aging internal drive)
- An Ethernet cable and adapter, if your model has no Ethernet port
- A router with free LAN capacity
- A headless HDMI dummy plug (optional, for Intel Macs that run video workloads)
Wired Ethernet beats Wi-Fi for a NAS. You get faster transfers and fewer dropped connections.
How to Prepare Your MacBook for NAS Duty
These steps apply to all three options, although Option 3 replaces macOS later.
- Back up anything you still need, then erase the Mac and reinstall macOS for a clean start.
- Create one admin account and a separate standard account for sharing.
- Connect the Mac to your router with Ethernet.
- Reserve a fixed IP address for the Mac in your router settings. This keeps the NAS address the same after every restart.
- Stop the Mac from sleeping. In System Settings, open Energy or Battery and turn on the option to prevent automatic sleeping when the display is off. You can also install the free Amphetamine app from the App Store, which offers more control.
Option 1: Set Up macOS File Sharing With SMB
This is the fastest route and needs no extra software.
- Plug in your external drive.
- Open System Settings, then General, then Sharing.
- Switch on File Sharing.
- Click the info button next to File Sharing and add the folders you want to share. Your external drive works here too.
- Set who can read and who can write for each folder.
- Open the Options section and enable SMB. This lets Windows, Android, and Linux devices connect.
To connect from another Mac, open Finder, press Command + K, and type smb:// followed by the Mac’s IP address. On Windows, open File Explorer and type \\ followed by the IP address in the address bar. Sign in with the account you created.
Option 2: Run Plex or Jellyfin as a Home Media Server
File sharing stores your files. A media server turns them into a streaming library. Set up Option 1 first, because the media server reads your movies and music from the shared folders.
Plex is the easiest choice. Install Plex Media Server, sign in, and point it at your movie, TV, and music folders. It fetches posters and descriptions automatically. Streaming inside your home costs nothing. Watching away from home requires a paid Plex Pass.
Jellyfin is a fully free and open-source alternative. It needs a bit more tinkering but never asks for a subscription and collects no account data.
Kodi and Infuse also work well if you prefer a lighter player on your TV.
If your MacBook has limited RAM, set your Plex clients to play in original quality. This avoids transcoding, which drains the CPU and causes stuttering on 4K files.
Option 3: Install Debian, CasaOS or Nextcloud on a MacBook
If you want dashboards, containers, and private cloud storage, replace macOS with Linux. This option wipes macOS, so the macOS sharing and sleep steps above no longer apply.
- Install Debian on the MacBook. The Debian wiki lists notes for many MacBook models.
- Add CasaOS or Umbrel on top. Both give you a browser dashboard and one-click apps.
- Install Nextcloud for your own cloud storage, similar to Google Drive.
- Install Jellyfin for streaming.
Apple Silicon MacBooks can run Debian inside a virtual machine, but that setup is more complex and less efficient. Once you switch to Linux, the MacBook stops being a Mac. You manage it from another computer through a web browser or SSH. Machines with low RAM will struggle, so stick with Option 1 or 2 on older models.
How to Secure Your Home NAS
- Never expose file sharing directly to the internet. Use a VPN like Tailscale or WireGuard if you need remote access.
- On macOS setups, turn on the built-in firewall in System Settings.
- Use strong passwords and a separate account for each person.
- Install system updates on a regular schedule.
- Check drive health every few months with Disk Utility.
Why a NAS Is Not a Backup (and the 3-2-1 Rule)
Security protects your files from other people. It does not protect them from hardware failure. A NAS is not a backup. If the external drive fails, your files disappear. Follow the 3-2-1 rule: keep three copies of important data, on two different types of storage, with one copy offsite. A second external drive or a cloud backup service covers this cheaply.
Fixing Common MacBook NAS Problems
- The NAS disappears after a few hours: The Mac went to sleep. Recheck your energy settings or Amphetamine.
- Transfers run slowly: Switch from Wi-Fi to Ethernet and use USB 3.0 ports for the drive.
- Windows cannot see the Mac: Confirm SMB is enabled and that you typed the correct IP address.
- The laptop runs hot: Raise it on a stand, clean the vents, and keep it in a cool spot with airflow.
Start with macOS File Sharing, add Plex if you want streaming, and move to Linux only when you outgrow the basics. Pair the setup with an external drive and a proper backup, and your old MacBook becomes a reliable home server.
Frequently Asked Questions
Can I close the lid?
It depends on the model. Many MacBooks sleep when you close the lid without an external display. Keep the lid open, or use a dummy display plug or Amphetamine’s closed-display mode, and make sure the Mac has good ventilation.
How much power does it use?
An idle MacBook draws far less than a desktop PC, so running it around the clock costs little.
Is this better than a store-bought NAS?
A dedicated NAS offers multiple drive bays and RAID. A MacBook costs nothing if you already own one, and it includes a built-in screen and battery for basic tasks. For light home use, the MacBook works well.
Can I access my NAS when I am away from home?
Yes, but use a VPN such as Tailscale or WireGuard instead of opening ports on your router. For remote streaming through Plex, you need a paid Plex Pass.
Which MacBook works best as a NAS?
Any MacBook that runs a supported version of macOS and has 8 GB of RAM works well. Apple Silicon models run cooler and use less power. Older Intel models also work, but they run hotter and may need an Ethernet adapter.
Read More
