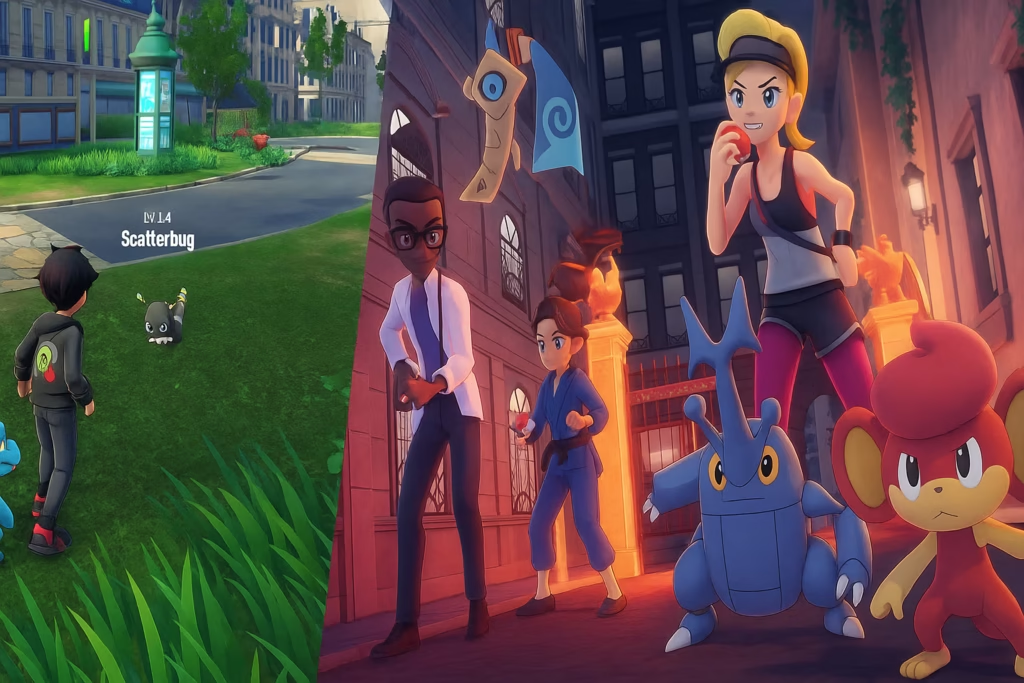
Pokémon Legends: Z-A introduces Lumiose City’s Wild Zones — fenced-off urban habitats where wild Pokémon roam freely. The first of these, Wild Zone 1, serves as your tutorial area and a perfect place to learn the game’s new catching mechanics while filling out the first entries of your Pokédex.

Getting Started in Wild Zone 1
You’ll enter Wild Zone 1 early in the story, guided by Taunie, who introduces you to core exploration and capture mechanics. The area blends grassy lots, narrow alleys, and rooftops, making vertical traversal important.
A total of seven Pokémon can be caught here — all available both day and night:
- Fletchling
- Bunnelby
- Scatterbug
- Weedle
- Mareep
- Pichu
- Pidgey
An Alpha Pidgey (Lv. 24) can also appear in both daytime and nighttime spawns for those seeking an early challenge.
Catching Basics in Legends Z-A
Before you start rounding up Wild Zone 1’s residents, remember a few key mechanics:
- Sneak Mode: Crouch in tall grass to approach undetected; startled Pokémon may flee.
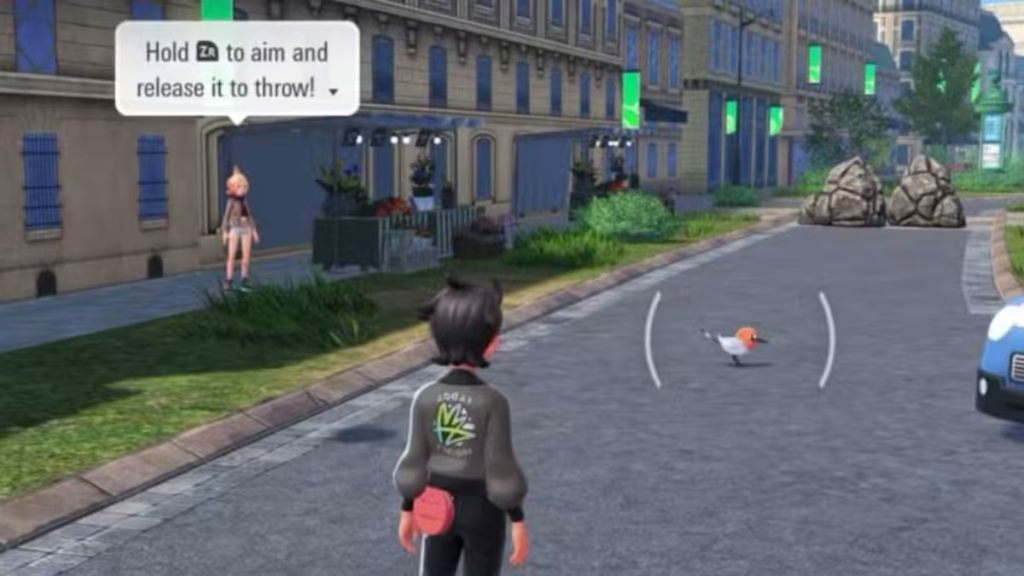
- Throwing Poké Balls: Hold ZL to lock on, then throw with ZR.
- Battling for Capture: Reducing HP or stunning foes with your own Pokémon increases capture chances.
- Knock-Out Capture Window: Fainting a wild Pokémon briefly stuns it (indicated by stars), allowing an easy throw before it despawns.
1. Fletchling – The Story Starter
Location: Found immediately upon entering Wild Zone 1 during the tutorial.
Type: Normal / Flying
Evolution: → Fletchinder (Lv. 17) → Talonflame (Lv. 35)

You’ll automatically encounter and catch your first Fletchling as part of the main quest. It’s nearly impossible to miss, so focus on learning the catch controls here.
2. Bunnelby – Taunie’s Lesson Pokémon
Location: Next to Taunie near the first training area.
Type: Normal
Tip: Use a light-throw approach instead of engaging in battle — Bunnelby has a tendency to flee.
Taunie will demonstrate how to weaken and capture wild Pokémon using Bunnelby, so this one doubles as your combat tutorial.
3. Scatterbug – Near the Central Court
Location: Grassy area in the middle of the zone, near the court.
Type: Bug
Tip: Stay low; Scatterbug is easily startled.
This little Bug-type prefers grassy clusters. A well-timed back throw ensures capture without battle.
4. Weedle – West of Scatterbug’s Area
Location: Beside the public restroom to the west.
Type: Bug / Poison
Evolution: → Kakuna (Lv. 7) → Beedrill (Lv. 10)
Weedle appear close to walls and small structures. Watch for its stinger — it may attempt to charge if approached too fast.
5. Mareep – Western Gate Cluster
Location: By the western gate, grazing near fences.
Type: Electric
Evolution: → Flaaffy (Lv. 15) → Ampharos (Lv. 30)
Sneak through the grass and circle behind for an easy back throw. Be cautious of its mild static shock if you engage directly.
6. Pichu – Hidden Pond Beyond the Rocks
Unlock Requirement: Learn Rock Smash via main-story progression.
Location: Behind breakable boulders near Mareep’s area.
Type: Electric
Tip: Use stealth from the grass and approach from behind.
After clearing the rocks, you’ll find a small pond and a lone Pichu. Climb the nearby ladder if you want an alternate route, but don’t drop in too quickly — it might flee if startled.
7. Pidgey – Rooftop Encounter
Location: Above the pond area; access via ladders after breaking rocks.
Type: Normal / Flying
Tip: Use Rock Smash to clear the path, then ascend to the rooftop for the encounter.
Pidgey is your final Wild Zone 1 species, nesting atop the buildings near the pond. Look around for hidden items while you’re up there — the rooftop often hides small loot caches.
Alpha Pidgey – Optional Challenge
An Alpha Pidgey (Lv. 24) may appear during either time period in Wild Zone 1. Expect aggressive behavior; it will attack on sight. Lower its HP or stun it before attempting capture for a safe early-game powerhouse.
Completion Tips
- Day/Night Cycle: All seven Pokémon spawn at both times, so there’s no need to wait for specific hours.
- Resource Gathering: Smash rocks and collect items like berries to restock Poké Balls.
- Save Frequently: Z-A allows manual saving before rare catches — always save before approaching Alpha Pokémon.
- Practice Sneak Timing: Perfecting stealth throws in this zone will make later Wild Zones easier.
Wild Zone 1 is more than just a tutorial — it’s your first glimpse into Lumiose City’s living ecosystem. By the time you leave, you’ll have a balanced early roster covering Normal, Bug, Electric, and Flying types, preparing you for tougher areas ahead.
Related Guides You Might Like:
- How to Get the Gardevoirite Stone and Ralts Early Bonus in Pokémon Legends Z-A
- Pokémon Legends Z-A File Size Revealed: Switch & Switch 2 Storage Explained
- Pokémon Legends Z-A Pokédex – All 234 Pokémon & Mega Evolutions
- Pokemon Legends Z-A Leaks: All New Mega Evolutions, Story, and Gameplay Changes
- How to Get Ferroseed in Pokémon GO: Is Ferroseed Shiny?
Master the stealth-and-throw rhythm here, and you’ll breeze through future Wild Zones with confidence.

