After a Windows 11 update, many users suddenly find that the Snipping Tool is missing, not showing in search, or refusing to open. This usually happens due to update-related bugs, corrupted app packages, or changes Microsoft made while merging Snipping Tool with Snip & Sketch.
The good news is that the Snipping Tool is not removed from Windows 11, and in most cases, it can be restored without reinstalling Windows. This guide walks you through all working fixes, starting from the simplest methods and moving to advanced solutions only if needed.
Is the Snipping Tool Removed in Windows 11?
No, the Snipping Tool is not removed in Windows 11.
Microsoft merged Snipping Tool and Snip & Sketch into a single app, which is delivered through the Microsoft Store. However, after certain Windows updates, the app may disappear, fail to launch, or stop showing in search due to:
- Update bugs or incomplete patches
- Corrupted system or app files
- Accidental app removal during an upgrade
- Policy or permission restrictions
If your Snipping Tool is missing after an update, the methods below will help restore it.
Why Is the Snipping Tool Missing or Not Working?
The most common reasons include:
- Windows update issues, especially after feature updates
- Corrupted app registration for Microsoft.ScreenSketch
- Group Policy restrictions on some systems
- Expired certificates in older Windows 11 builds
- Accidental uninstallation of the app
Identifying the cause is helpful, but you don’t need to pinpoint it exactly — the fixes below cover all known scenarios.
1. First, Check If Snipping Tool Is Actually Installed
Before applying advanced fixes, confirm whether the app is present.
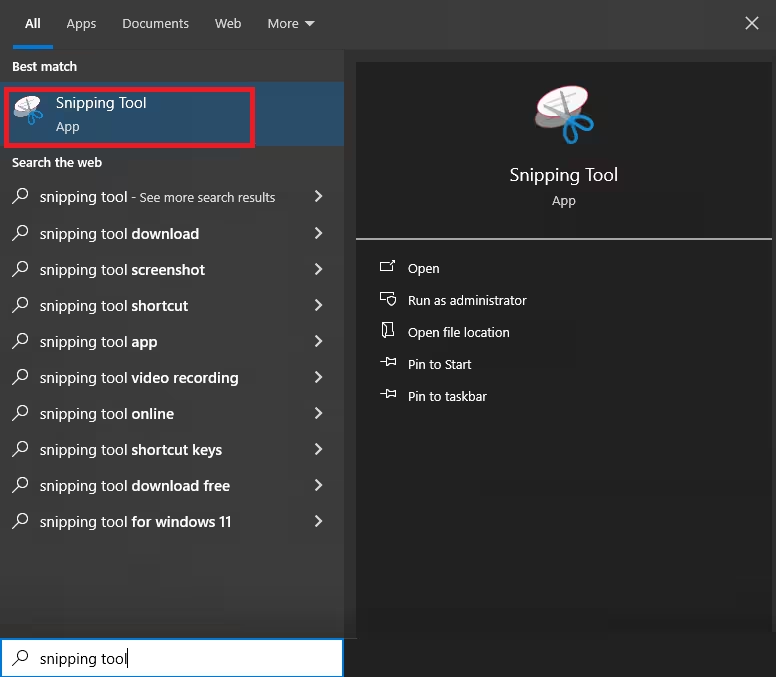
- Press Windows + S
- Type Snipping Tool
- Check if it appears in search results
If it doesn’t show up, continue with the steps below.
2. Install Pending Windows 11 Updates
Many Snipping Tool problems are directly tied to outdated Windows builds.
- Open Settings
- Go to Windows Update
- Click Check for updates
- Install all available updates and restart your PC
Several past issues — including certificate-related bugs — were resolved through Windows updates.
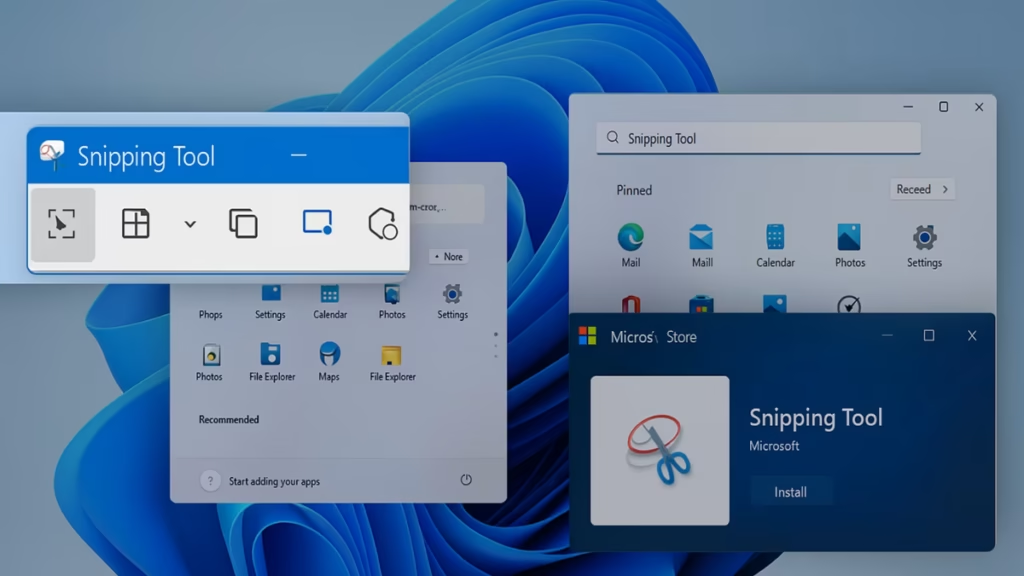
3. Restore Snipping Tool from Microsoft Store
If the app was removed during an update, reinstalling it from the Microsoft Store usually fixes the issue.
- Open Microsoft Store
- Search for Snipping Tool
- Click Install
Once installed, restart your system and check if the app launches normally.
4. Repair or Reset the Snipping Tool App
If Snipping Tool is installed but won’t open or crashes, repairing it often helps.
- Open Settings
- Go to Apps > Installed apps
- Locate Snipping Tool
- Click the three dots (⋯) → Advanced options
- Click Repair
- If that fails, click Reset
This does not remove your files but resets the app configuration.
5. Reinstall Snipping Tool Using PowerShell (Advanced Fix)
Use this method if the app is installed but completely broken or missing from search.
- Press Windows + S
- Type PowerShell
- Right-click and choose Run as administrator
- Run the following commands one by one:
get-appxpackage Microsoft.ScreenSketch | remove-appxpackageGet-AppXPackage Microsoft.ScreenSketch -AllUsers | Foreach {
Add-AppxPackage -DisableDevelopmentMode -Register "$($_.InstallLocation)\AppXManifest.xml"
}- Restart your PC after completion
This method re-registers the app package and fixes deep corruption issues.
6. Check Group Policy Settings (Windows Pro & Enterprise)
On some systems, Group Policy can block the Snipping Tool.
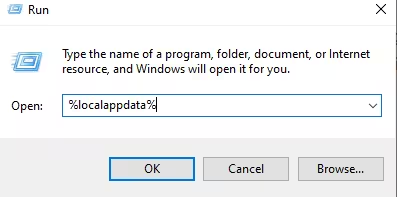
- Press Windows + R
- Type
gpedit.mscand press Enter - Navigate to:
User Configuration
→ Administrative Templates
→ Windows Components
→ Tablet PC
→ Accessories- Open Do not allow Snipping Tool to run
- Set it to Disabled
- Click OK and restart
7. Try These Temporary Workarounds (Older Builds)
If you’re using an older Windows 11 build, these workarounds may help:
- Change system date temporarily
Set your date to before October 31, 2021, restart, then restore the correct date. - Run Snipping Tool from Windows.old
If you recently upgraded:
C:\Windows.old\System32\SnippingTool.exeThese fixes are situational but still useful in specific cases.
8. Screenshot Alternatives While Fixing the Issue
If you need screenshots immediately, Windows 11 still offers built-in options:
- Windows + Shift + S — Opens the snipping overlay
- Print Screen (PrtSc) — Captures full screen to clipboard
These work even when the Snipping Tool app itself is not launching.
FAQs Windows 11 Snipping Tool Missing
Why is Snipping Tool missing after a Windows 11 update?
It usually disappears due to update bugs, corrupted app files, or incomplete installation after a Windows update.
Can I reinstall Snipping Tool in Windows 11?
Yes. You can reinstall it from the Microsoft Store or re-register it using PowerShell.
Is Snip & Sketch the same as Snipping Tool in Windows 11?
Yes. Microsoft merged Snip & Sketch and Snipping Tool into a single app in Windows 11.
When the Snipping Tool is missing in Windows 11, the issue is almost always software-related — not permanent removal. Start with updates and Microsoft Store reinstall, then move to PowerShell or Group Policy fixes if needed.
In most cases, the tool can be restored without reinstalling Windows or using third-party apps.

