Windows 11 does not include a built-in option to move the taskbar to the top, left, or right on stable builds. When Microsoft rebuilt the Windows 11 Taskbar from scratch, it locked the bar to the bottom and removed the repositioning feature that Windows 10 users relied on. Two third-party tools can move it today, Microsoft is now testing a native option for Insider preview builds, and a built-in alignment change is available on all builds.
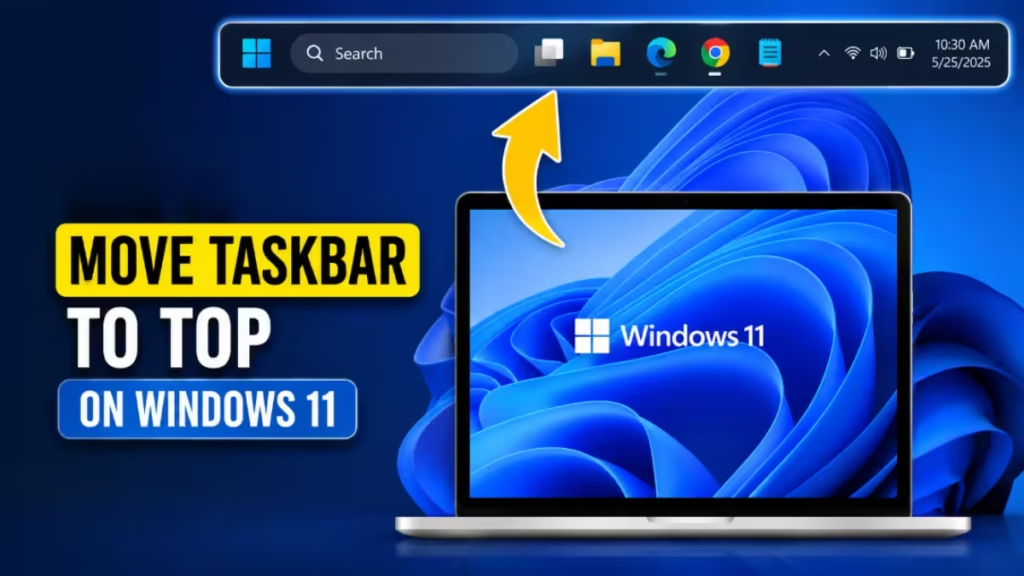
This guide covers every working method: a built-in alignment change, the official Insider preview setting, Windhawk, ExplorerPatcher, and Start11, plus what to know about the old registry approach that stopped working on newer builds.
Can You Move the Windows 11 Taskbar to Top or Side?
On stable Windows 11 builds, you cannot move the taskbar to the top, left, or right using built-in settings. The only official customization available in Settings is changing the taskbar icon alignment from Center to Left. That shifts the Start button and pinned apps to the left side of the bottom taskbar but does not relocate the bar itself.
Microsoft designed the Windows 11 Taskbar specifically for bottom placement. Moving it affects the Start menu, system tray, and app animations, which is why the company disabled repositioning when it rebuilt the bar for Windows 11.
Microsoft is now testing native taskbar positioning in preview builds. The feature appeared starting with build 26300.8493 in the Experimental channel for Windows 11 25H2 and supports Top, Left, Right, and Bottom placement. Auto-hide and the touch-optimized taskbar do not yet work correctly in these new positions, and Microsoft has not confirmed a rollout date for stable builds.
Method 1: Move Taskbar Icons to the Left (Built-In, Free)
This does not move the full taskbar, but it shifts the Start button and pinned apps from the center to the left edge of the bottom bar, giving Windows 11 a more traditional Windows 10-style layout.
- Right-click an empty area of the taskbar.
- Select Taskbar settings.
- Scroll down and expand Taskbar behaviors.
- Find Taskbar alignment.
- Open the drop-down and select Left.
Move Taskbar Icons to the Left (Built-In, Free)
The taskbar stays at the bottom, but all icons move to the left.
Method 2: Move Windows 11 Taskbar Using Settings (Insiders Only)
If your device runs Windows 11 build 26300.8493 or newer in the Experimental channel, the native Taskbar position option is available directly in Settings.
- Open Settings.
- Click Personalization.
- Click the Taskbar page.
- Expand Taskbar behaviors.
- Find the Taskbar position option.
- Select Top, Left, Right, or Bottom.
The taskbar moves immediately after you select a position. You cannot drag the taskbar to reposition it yet. That option is not available in the current Insider builds.
Note: Auto-hide, touch gestures, the Search box, and Ask Copilot do not currently work correctly in positions other than Bottom. This feature remains under development and is unavailable on stable Windows 11 builds.
Enable the Smaller Taskbar (Same Build)
Build 26300.8493 also adds a smaller Taskbar option in the same Settings path. Previously, the smaller taskbar setting only reduced icon size. It now also reduces the overall Taskbar height.
- Open Settings.
- Click Personalization.
- Click the Taskbar page.
- Expand Taskbar behaviors.
- Find the Show smaller taskbar buttons option.
- Set it to Always.
The Taskbar shrinks immediately. No sign-out or reboot is needed. This is especially useful when the Taskbar is in a vertical position, since the reduced width gives apps more horizontal room.
Method 3: Move Windows 11 Taskbar to Top with Windhawk (Free)
Windhawk is a free, open-source tool that modifies Windows and app behavior through installable mods. The “Taskbar on top for Windows 11” mod moves the taskbar to the top of the screen without replacing the shell.
Install Windhawk via Winget
- Open Start, search for Command Prompt, right-click the top result, and select Run as administrator.
- Run this command:
winget install --id RamenSoftware.Windhawk- Open Windhawk from the Start menu once installation finishes.
Install the Taskbar Mod
- Click Explore in the top-right corner.
- Search for Taskbar on top for Windows 11.
- Click Details, then click Install.
- Click Accept Risk and Install.
Windhawk activates the mod automatically. The taskbar moves to the top of the screen. The Start menu will still open from the bottom, and Notification Center will remain at the bottom as well.
To undo the change, open the mod in Windhawk, click Disable, and then click Uninstall.
Method 4: Move Windows 11 Taskbar to Top with ExplorerPatcher (Free)
ExplorerPatcher is a free tool that restores classic taskbar behavior and adds position control. It switches the taskbar to Windows 10 style, which enables full repositioning.
- Go to the ExplorerPatcher GitHub page.
- Under Assets, download ep_setup.exe.
- Double-click the file to install it.
Note: Your browser may flag the installer as untrusted because the app makes system changes. This is expected behavior for tools that modify Windows components. Use it at your own risk.
- Right-click the taskbar and select Properties.
- Click Taskbar in the left pane.
- Set Taskbar style to Windows 10.
- Under Primary taskbar location on screen, select Top, Left, or Right.
- Click Start menu in the left pane.
- Set Start menu style to Windows 11.
- Click Restart File Explorer in the bottom-left corner.
ExplorerPatcher occasionally breaks after Microsoft updates Explorer. The developer usually releases fixes quickly, but keep this in mind if the taskbar reverts after a Windows update.
Method 5: Move Windows 11 Taskbar to Top with Start11 (Paid)
Start11 from Stardock is a paid taskbar and Start menu customization tool that costs $9.99. It includes a 30-day free trial that requires an email address. Start11 is more stable than free tools because Stardock actively maintains it alongside Windows updates.
- Go to the Start11 page and click Try Free to download the installer.
- Run the setup file, accept the terms, and click through the installer.
- Open Start11 from the Start menu.
- Click Start 30 Day Trial and confirm your email address.
- Click Start Menu in the left pane and select Windows 11 style.
- Click Taskbar in the left pane.
- Click Taskbar position and select Align top for the primary monitor.
- Click Yes to confirm.
Start11 also lets you customize the Start menu style, taskbar transparency, and icon behavior. You can experiment with the trial before deciding whether to purchase.
What About the Registry Method?
Older guides recommend editing the registry at:
HKEY_CURRENT_USER\Software\Microsoft\Windows\CurrentVersion\Explorer\StuckRects3This method worked on early Windows 11 builds by changing a value in the second row and sixth column from 03 (Bottom) to 01 (Top), 02 (Right), or 00 (Left). After Windows 11 22H2, however, the method became unreliable. Many users reported that Windows resets the value when Explorer restarts, returning the taskbar to the bottom.
Skip this method on modern Windows 11 builds. The value resets after Explorer restarts and the taskbar returns to the bottom. Editing the registry incorrectly can also cause system problems.
Which Method Should You Use?
| Situation | Recommended Method |
|---|---|
| Just want icons on the left | Method 1 (built-in, zero risk) |
| Running Insider build 26300.8493+ | Method 2 (official Settings option) |
| Want the top taskbar for free | Method 3 (Windhawk) or Method 4 (ExplorerPatcher) |
| Want the most reliable paid option | Method 5 (Start11) |
| Office or shared computer | Wait for the official stable release |
Third-party tools can cause Explorer crashes or taskbar glitches after major Windows updates. For office, school, or shared computers, avoid these tools and wait for Microsoft to push the feature to stable builds.

