Hyper-V Manager sometimes refuses to connect to the local computer and shows two error lines together. The first line states that Hyper-V failed to connect to the server. The second line reads “Hyper-V encountered an error trying to access an object on computer because the object was not found.”
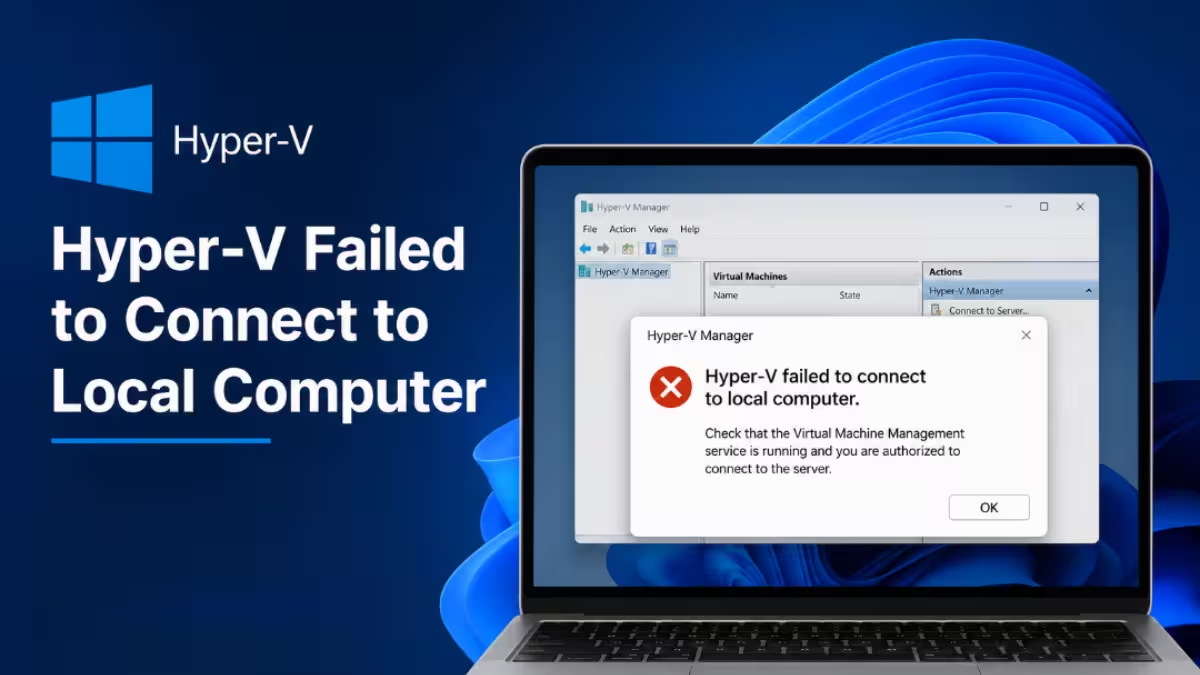
This combination points to a problem with a specific object that the Virtual Machine Management Service (VMMS) expects to find, rather than a simple service outage. The service itself often runs fine, but it cannot locate a VM entry, a WMI class, or a certificate it depends on. This guide walks through the causes and the fixes that resolve the issue.
Why Hyper-V Fails to Connect to the Local Computer
This error usually comes from one of these causes:
- Hyper-V Manager running without administrator rights
- An orphaned virtual machine entry left behind after VM files were deleted or moved without removing the VM properly
- The Hyper-V Host Compute Service still generating its self-signed certificate at startup
- A damaged WMI repository, since Hyper-V Manager queries WMI to list local VM objects
- Corrupted virtual switch data
- Conflicting third-party virtualization software like VirtualBox or VMware Workstation running alongside Hyper-V
- Corrupted Windows system files underneath the VMMS components
Fix 1: Run Hyper-V Manager as an Administrator
Hyper-V Manager needs administrator rights to access VMMS objects on the local computer. Without elevation, it may fail to retrieve objects and throw this error.
- Close Hyper-V Manager if it is open.
- Click Start and search for Hyper-V Manager.
- Right-click the result and select Run as administrator.
- Click Yes when User Account Control prompts you.
- Try connecting to the local computer again.
Fix 2: Remove the Orphaned VM Entry
This is the most common cause of the exact “object was not found” error. If a virtual machine’s files were deleted or moved without removing the VM properly first, an orphaned GUID folder remains in the Hyper-V configuration directory. When Hyper-V Manager tries to enumerate this leftover entry, it cannot find the object, and the connection fails.
- Press Win + R, type
services.msc, and press Enter. - Find Hyper-V Virtual Machine Management, right-click it, and select Stop.
- Open File Explorer and navigate to
C:\ProgramData\Microsoft\Windows\Hyper-V\Virtual Machines. - Note the folder names, which appear as GUIDs, and compare them against the virtual machines you actually expect to see.
- Move any GUID folder that does not match an existing VM to a backup location instead of deleting it, so you can restore it if needed.
- Return to
services.msc, right-click Hyper-V Virtual Machine Management, and select Start. - Open Hyper-V Manager and test the connection.
Fix 3: Let the Hyper-V Certificate Generation Finish
The Hyper-V Host Compute Service generates a self-signed certificate when it starts, and VMMS waits on this certificate before it can respond to Hyper-V Manager. On some systems, especially after a reboot or update, this check takes a few minutes to finish.
- Press Win + R, type
eventvwr.msc, and press Enter. - Navigate to Applications and Services Logs > Microsoft > Windows > Hyper-V-VMMS > Admin.
- Wait a few minutes and watch for an informational event confirming that a certificate was found.
- Once that event appears, return to Hyper-V Manager and try connecting again.
Fix 4: Restart the Virtual Machine Management Service
A clean restart clears temporary glitches in VMMS that the fixes above do not address.
- Open
services.msc. - Right-click Hyper-V Virtual Machine Management and select Restart. If the option is grayed out, select Stop, wait 10 seconds, then select Start.
- Open Hyper-V Manager again and try connecting to the local computer.
Fix 5: Repair the WMI Repository
Since Hyper-V Manager pulls object data through WMI, a corrupted WMI repository directly causes this connection error.
- Open Command Prompt as Administrator.
- Run a consistency check first:
winmgmt /verifyrepository- If it reports inconsistency, run:
winmgmt /salvagerepository- Restart the computer after the command completes.
- If the repository remains broken, reset it completely with:
winmgmt /resetrepositoryThis last command rebuilds the WMI repository from scratch, so expect a short delay during the next boot while Windows repopulates it. For a full list of Hyper-V installation and operational failures Microsoft tracks, see the official Hyper-V troubleshooting guide.
Fix 6: Rebuild the Virtual Switch
A broken virtual switch is another frequent cause of this error. Rebuilding it forces Hyper-V to regenerate the network objects.
- Open PowerShell as Administrator.
- Run this command to list existing switches:
Get-VMSwitch- Note the name and type of each switch, then remove the problematic one:
Remove-VMSwitch -Name "YourSwitchName" -Force- Recreate it with the same settings:
New-VMSwitch -Name "YourSwitchName" -NetAdapterName "YourAdapterName" -AllowManagementOS $true- Restart the Hyper-V Virtual Machine Management service and reopen Hyper-V Manager.
Fix 7: Check for Conflicting Virtualization Software
Hyper-V cannot share the hypervisor layer cleanly with some third-party virtualization tools. If VirtualBox, VMware Workstation, or any sandboxing tool installed recently, it may have disabled or altered the Hyper-V platform components.
- Open Control Panel > Programs > Turn Windows features on or off.
- Confirm that Hyper-V and Virtual Machine Platform remain checked.
- Uninstall or update the conflicting software to its latest version, since most modern releases support coexistence with Hyper-V.
- Restart the computer and test the connection again.
Fix 8: Run System File Checker and DISM
Corrupted system files sometimes sit underneath VMMS failures. Running these two scans catches issues that manual fixes miss.
- Open Command Prompt as Administrator.
- Run:
sfc /scannow- After it finishes, run:
DISM /Online /Cleanup-Image /RestoreHealth- Restart the computer once both scans complete and check Hyper-V Manager again.
Fix 9: Re-register or Reinstall Hyper-V
If none of the fixes above resolve the error, the remaining option is to remove and reinstall the Hyper-V feature. This forces Windows to rebuild every virtualization component from scratch, including the VMMS data structures, which clears almost any corrupted or missing object reference.
Back up or export existing virtual machines first using the Export option in Hyper-V Manager or the Export-VM PowerShell cmdlet. Disabling the feature can affect VM configuration files, so back up the C:\ProgramData\Microsoft\Windows\Hyper-V folder by renaming it rather than deleting it, which preserves your data in case you need to recover it.
- Open PowerShell as Administrator.
- Disable the Hyper-V feature:
Disable-WindowsOptionalFeature -Online -FeatureName Microsoft-Hyper-V-All- Restart the computer.
- Re-enable Hyper-V:
Enable-WindowsOptionalFeature -Online -FeatureName Microsoft-Hyper-V-All- Restart again, then re-import your previously configured virtual machines to restore your environment.
Why Does Hyper-V Say the Object Was Not Found Even Though the Service Is Running
The Virtual Machine Management Service can run normally and still show this error because the problem lies with a specific object the service expects to find, not with the service itself. If a VM entry, a WMI class, or a certificate the service relies on is missing, corrupted, or moved, VMMS cannot locate it, and the connection attempt fails even while the service status shows as running.
Related Guides
- How to Enable Hyper-V on Windows 11: Step-by-Step Guide
- How to Downgrade Windows Server 2025 to 2022 Activation Guide for Hyper-V VMs
- Windows 11 Requirements for VMware and Hyper-V (Complete Setup Guide)
More VM Setup Guides
- How to Disable Hyper-V on Windows 11 Home
- How to Install VMware Workstation Pro 25H2 on Windows 11 (Free)
- System Guard Enabled but Not Running in Windows Server [Fixed]
The Hyper-V failed to connect to local computer error almost always traces back to a missing administrator privilege, an orphaned VM entry, an incomplete certificate check, or a corrupted VMMS data store. Start with the simple fixes like running Hyper-V Manager as administrator and removing orphaned VM folders, then move to WMI repair and virtual switch rebuilding if the error persists. For deeper corruption, reinstalling the Hyper-V feature gives VMMS a completely fresh data store and resolves almost every “object was not found” error that survives the earlier fixes.
