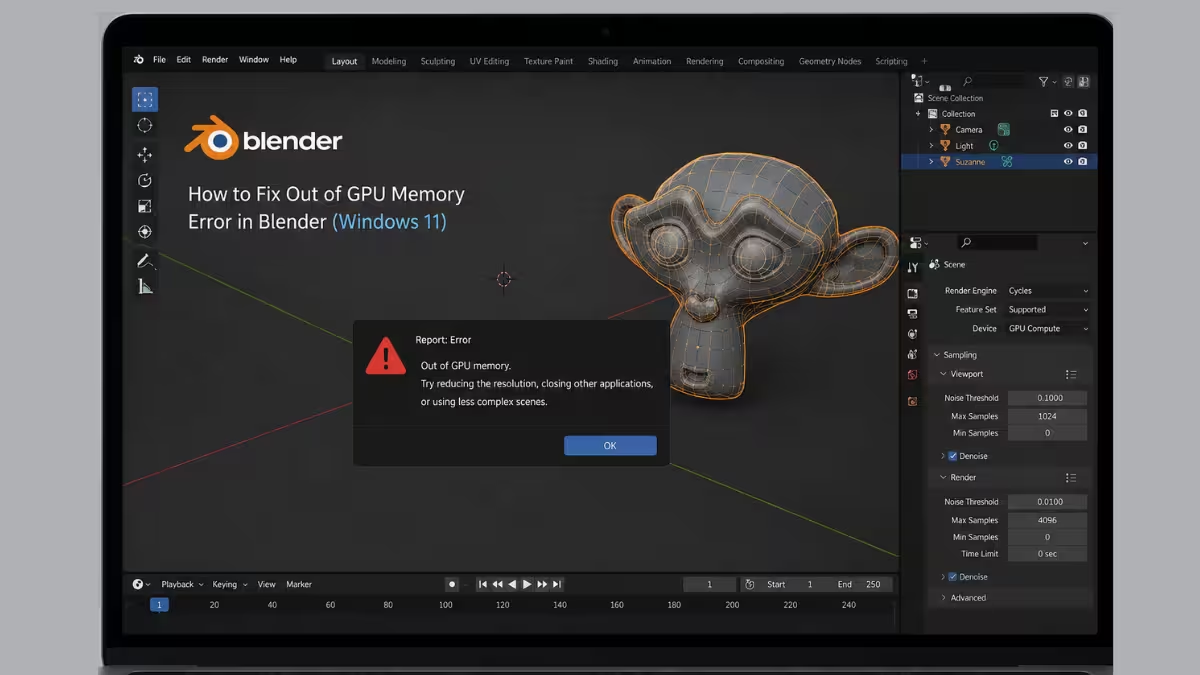
Blender relies heavily on your graphics card’s VRAM for rendering and viewport display, and the “Out of GPU Memory” error appears when a scene demands more video memory than your GPU can provide. This guide walks through the exact fixes that resolve the error on Windows 11.
What Causes the Out of GPU Memory Error
The error is tied directly to how much VRAM your scene and Blender’s rendering engine require versus how much your GPU actually has available.
- High-resolution textures (4K or 8K) and dense geometry or particle systems that exceed available VRAM
- GPU render settings such as tile size, Optix/CUDA denoising, or high sample counts pushing memory usage too high
- Outdated or corrupted graphics drivers failing to manage memory allocation correctly
- Background applications (browsers, game clients, other GPU-accelerated apps) consuming VRAM that Blender needs
Fix 1: Update Graphics Drivers and Adjust GPU Settings
Outdated drivers are a common source of memory allocation failures, and updating them often resolves the error outright.
- Press
Win + Xand select Device Manager. - Expand Display adapters, right-click your GPU, and select Update driver.
- Alternatively, download the latest driver directly from NVIDIA, AMD, or Intel‘s official site and install it manually.
- Restart your PC after the driver update completes.
- In Blender, go to Edit > Preferences > System and confirm the correct GPU device (CUDA, Optix, or HIP) is selected under Cycles Render Devices.
- Close background applications that use GPU acceleration, such as browsers with hardware acceleration enabled or game launchers, before rendering.
Fix 2: Reduce Scene Memory Usage in Blender
Lowering the memory footprint of your scene is the fastest way to stop the error during rendering.
- Open your
.blendfile and go to the Render Properties tab. - Under Sampling, lower the render sample count.
- Reduce texture resolution using Image > Scale Image in the Shader Editor, or compress textures before importing.
- In Render Properties > Performance, enable Persistent Data only if you have spare VRAM, otherwise leave it disabled to free memory between frames.
- Reduce the Tile Size under Performance if you are using CPU+GPU hybrid rendering.
- Simplify or decimate high-poly meshes using the Decimate modifier where visual fidelity allows it.
Fix 3: Switch Cycles Render Device from OptiX to CUDA
OptiX is the default render backend on newer NVIDIA GPUs, but it can trigger memory errors on older cards or with certain driver versions, and switching to CUDA often resolves this.
- Go to Edit > Preferences in the Blender menu bar.
- Open the System tab and locate Cycles Render Devices.
- Select CUDA instead of OptiX from the available options.
- Close the Preferences window.
- In Render Properties > Device, confirm GPU Compute is still selected, then render again.
- This fix is most effective on GTX 10-series and early RTX cards, since CUDA tends to be more stable than OptiX on older driver builds even though it is not always faster.
Fix 4: Clear the OptiX Cache and Switch Denoiser Settings
A corrupted OptiX cache or GPU-based denoising can trigger memory errors even on scenes well within VRAM limits.
- Close Blender completely.
- Open File Explorer and go to
%localappdata%\NVIDIA\OptixCache. - Delete the contents of the OptixCache folder to clear corrupted cache data.
- Reopen Blender and go to Render Properties > Denoise.
- Switch the denoiser device from GPU to CPU under Edit > Preferences > System > OpenImageDenoise, since GPU denoising has a known memory leak on some driver versions.
- Re-render the scene to confirm the error is resolved.
Fix 5: Use the Simplify Panel and Split Rendering for Heavy Scenes
Scenes with dense particle systems, high subdivision levels, or ultra-high-resolution output can exceed VRAM even after other adjustments, so limiting scene complexity at render time helps.
- Go to Render Properties > Simplify and enable it.
- Lower the Max Subdivision and Max Child Particles values to cap geometry and particle memory usage.
- For very large final renders (such as 8K output), split the image into smaller tiled regions using the Render Region tool under the View menu, then render and stitch each region separately.
- Reduce the render resolution percentage temporarily under Output Properties to confirm memory usage drops, then scale back up gradually to find a stable ceiling.
- Disable unused view layers and collections that are not part of the current render to reduce loaded geometry and textures.
Fix 6: Increase the Dicing Scale for Adaptive Subdivision
Scenes using displacement maps with Adaptive Subdivision in Cycles generate dense mesh geometry at render time, and a low Dicing Scale value can exhaust VRAM quickly.
- Go to Render Properties > Feature Set and select Experimental.
- Add a Subdivision Surface modifier to the object using displacement.
- Enable Adaptive Subdivision in the modifier settings.
- Under the Subdivision section, raise the Dicing Scale value to 4, 8, or 16 depending on how much detail the scene needs.
- Render the scene again to confirm memory usage has dropped.
The Out of GPU Memory error in Blender comes down to your scene demanding more VRAM than your graphics card can provide, and most cases are resolved through driver updates, scene optimization, or adjusting how Cycles handles rendering and denoising. Start with updating your drivers and reducing scene memory usage, then work through the OptiX, denoiser, and Simplify panel fixes if the error persists. For displacement-heavy scenes, adjusting the Dicing Scale often clears up memory issues that other fixes miss. Working through these fixes in order should get your renders completing reliably again on Windows 11.
Frequently Asked Questions
Why does Blender run out of GPU memory even on a scene that isn’t very complex?
Background processes and browser tabs with hardware acceleration enabled can consume a significant portion of your VRAM before Blender even starts rendering, leaving less available than expected.
Does switching from GPU to CPU rendering fix the error?
Yes, switching the render device to CPU in Edit > Preferences > System avoids the VRAM limit entirely, though render times will be significantly slower.
Can adding more system RAM fix a GPU VRAM issue?
No, system RAM and VRAM are separate. Increasing system RAM does not increase the memory available to your graphics card during GPU rendering.
Why does the error appear only during final render but not in the viewport?
Final renders often use higher sample counts, full resolution, and denoising passes that the viewport does not load, so a scene that previews fine can still exceed VRAM once these additional passes are added.
Does closing Blender and reopening the file help before trying other fixes?
Yes, restarting Blender clears any accumulated memory from previous renders or editing sessions, and it is worth doing before working through more involved fixes, especially if the error appeared after several renders in the same session.
Read More
- How to Fix VirtualBox VERR_NEM_VM_CREATE_FAILED Error on Windows 11
- How to Fix Hulu Error Code P-EDU101 (7 Working Fixes)
- WinRing0x64.sys Flagged or Stuck on Windows 11? How to Remove It Safely
- How to Fix ChatGPT Error 503 Service Unavailable
- Windows 11 Search Bar White Screen: How to Fix the Blank Panel Delay

