Disk Management is the built-in Windows tool for handling disks and volumes without installing any third-party software. It lets you initialize new drives, create and format partitions, change drive letters, and extend or shrink existing volumes directly from a graphical interface.
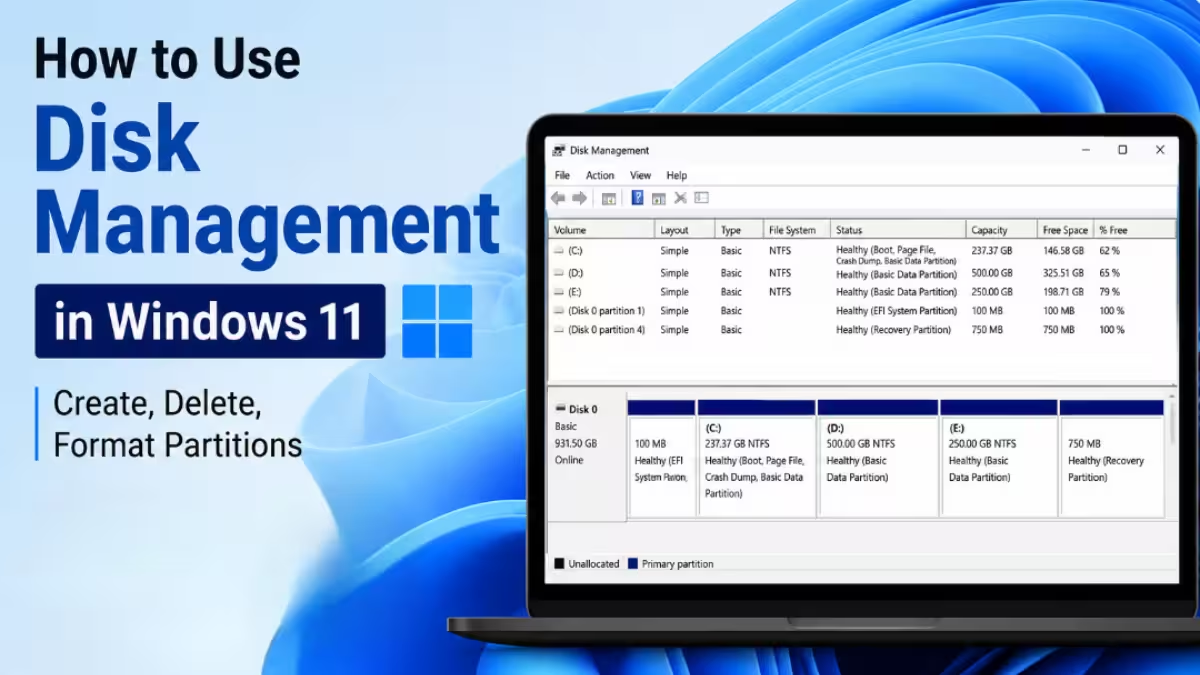
This guide walks through every core task in Disk Management, from opening the tool to formatting and resizing partitions.
Note: Disk Management looks and works the same in Windows 10 and Windows 11. There are no feature differences between the two versions.
How to Open Disk Management
There are several ways to open Disk Management in Windows 11:
- Start menu (recommended): Right-click (or long-press) the Start button, then select Disk Management.
- Search: Open Search, type Disk Management, then select Create and format hard disk partitions.
- Run dialog: Press
Win + R, typediskmgmt.msc, then select OK. - Computer Management: Open Computer Management, then go to Storage > Disk Management.
How to Initialize a New Disk
A new or unrecognized disk needs to be initialized before Windows can use it.
- Open Disk Management.
- Right-click the disk you want to initialize and select Initialize Disk. If the disk shows as Offline, right-click it first and select Online.
- In the Initialize Disk dialog box, confirm the correct disk is selected, then choose a partition style and select OK.
- Use GPT if you have a modern system with UEFI firmware and need support for large drives or more than four partitions.
- Use MBR if you are working with older hardware or operating systems that do not support UEFI.
- The disk status briefly changes to Initializing, then to Online.
Note: Some USB disks cannot be initialized. These are only formatted and assigned a drive letter instead.
How to Create and Format a New Partition (Volume)
To create a new partition, you must be logged in as an administrator, and there must be either unallocated disk space or free space within an extended partition.
If there’s no unallocated space available, you can free some up by shrinking an existing partition, deleting a partition, or using a third-party partitioning tool.
- Open Disk Management.
- Right-click an unallocated region on the disk and select New Simple Volume.
- In the New Simple Volume Wizard, select Next.
- Enter the size of the volume in megabytes (MB), or accept the default maximum size, then select Next.
- Accept the default drive letter or choose a different one, then select Next.
- In the Format Partition dialog box:
- Select Do not format this volume if you don’t want to format it right now, then select Next.
- Or select Next to format the volume with the default settings.
- Review the summary and select Finish.
Note: On a basic disk, the first three partitions you create are formatted as primary partitions. From the fourth partition onward, each one is configured as a logical drive within an extended partition.
How to Format an Existing Partition
Warning: Formatting a volume destroys all data on that partition. Back up anything you want to keep before proceeding.
- Open Disk Management.
- Right-click the volume you want to format and select Format.
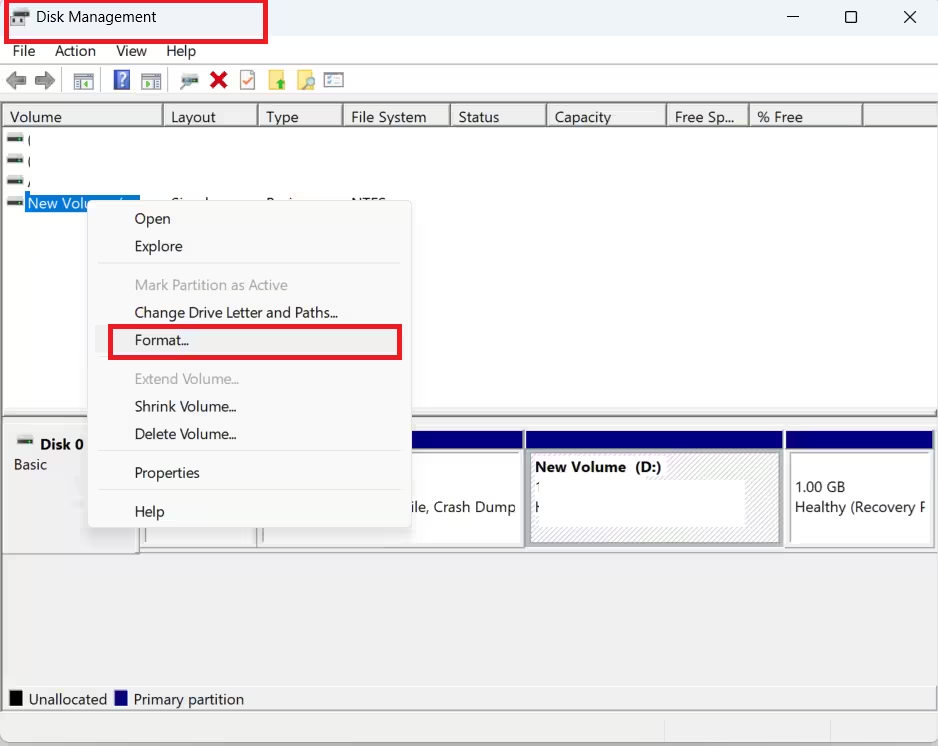
- In the Format dialog box, select OK to format with the default settings, then select OK again to confirm.
Note:
- You cannot format a disk or partition that is currently in use, including the partition containing Windows.
- The Perform a quick format option creates a new file table without fully erasing the volume. A quick format is much faster than a full format, which completely overwrites existing data.
How to Extend a Basic Volume
Extending a volume adds unallocated space to an existing partition, increasing its size. The unallocated space must be directly adjacent to the partition you want to extend.
- Open Disk Management.
- Right-click the volume you want to extend and select Extend Volume.
- Follow the wizard to choose how much unallocated space to add, then select Finish.
If there’s no unallocated space next to the volume, you’ll need to shrink another partition or delete one to create adjacent free space first.
How to Shrink a Basic Volume
Shrinking a volume frees up space at the end of a partition, turning it into unallocated space you can use elsewhere.
- Open Disk Management.
- Right-click the volume you want to shrink and select Shrink Volume.
- Enter the amount of space to shrink in MB, then select Shrink.
The amount you can shrink depends on how much data is already stored and where it’s located on the disk.
How to Change a Drive Letter
- Open Disk Management.
- Right-click the volume whose letter you want to change and select Change Drive Letter and Paths.
- Select Change, choose a new drive letter from the list, then select OK.
- Confirm the change when prompted.
Frequently Asked Questions
Is Disk Management different in Windows 10 and Windows 11?
No, Disk Management looks and functions identically in both versions, with no feature differences.
Why can’t I extend my C drive in Disk Management?
Disk Management can only extend a volume into unallocated space that sits directly next to it. If the unallocated space isn’t adjacent, you’ll need a third-party tool or need to shrink and rearrange other partitions first.
What’s the difference between a quick format and a full format?
A quick format creates a new file table without erasing existing data, making it much faster. A full format completely overwrites the volume, erasing all existing data in the process.
Should I choose GPT or MBR when initializing a disk?
Choose GPT for modern systems with UEFI firmware, especially for large drives or more than four partitions. Choose MBR for older hardware or systems that don’t support UEFI.
Can I format the drive that contains Windows?
No, you cannot format a disk or partition that is currently in use, including the one containing your Windows installation.

