MSI Afterburner is the most widely used GPU utility for Windows. It gives you direct control over your graphics card’s clock speeds, fan curves, voltage, and temperature limits. Paired with RivaTuner Statistics Server, it also puts a real-time performance overlay on your screen while you game or render.
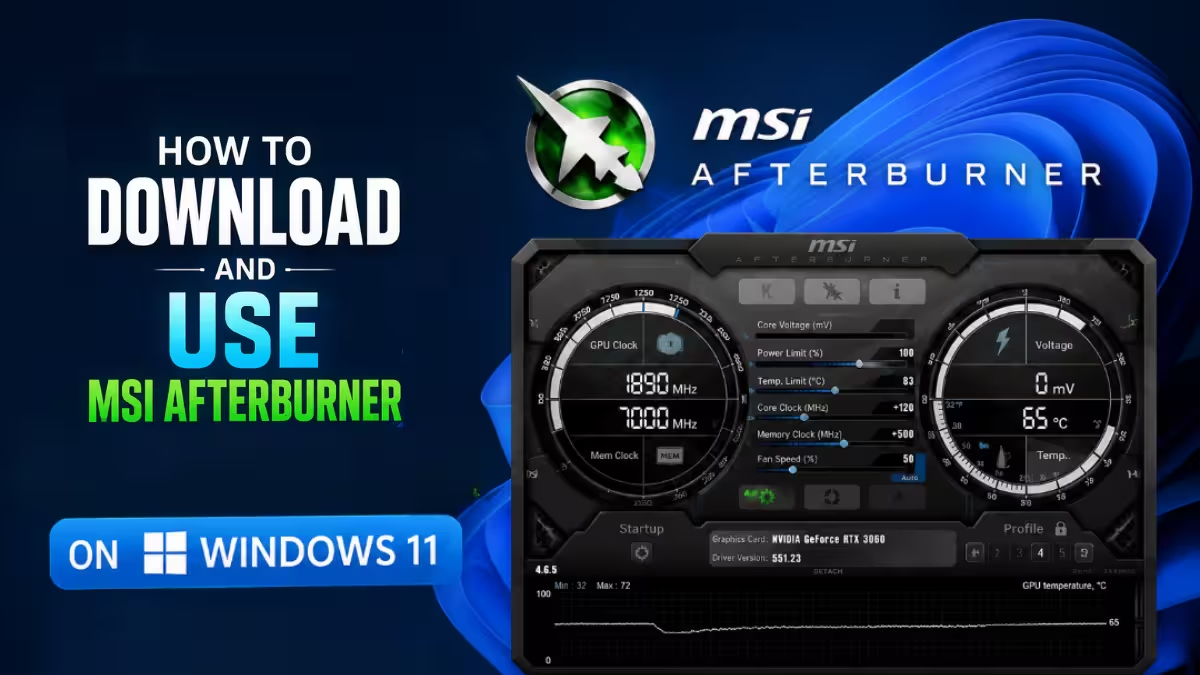
Windows 11 supports MSI Afterburner without any special workarounds. This guide walks you through downloading, installing, configuring, and using the tool on Windows 11.
What Is MSI Afterburner?
MSI Afterburner is a free GPU overclocking and monitoring utility built on the RivaTuner engine. Despite the MSI branding, it works with graphics cards from both NVIDIA and AMD regardless of manufacturer. You do not need an MSI GPU to use it.
The software gives you control over:
- Core clock speed
- Memory clock speed
- Power limit and temperature limit
- Fan speed curves
- Voltage (on supported cards)
It also logs hardware data and can display it as an on-screen overlay through RivaTuner Statistics Server (RTSS), which ships in the same installer package.
Prerequisites
Before you download MSI Afterburner, confirm the following:
- Your PC runs Windows 11 64-bit
- You have a discrete NVIDIA (GeForce series) or AMD (Radeon series) GPU installed
- Your Windows account has administrator privileges
- You have an active internet connection to reach the MSI download server
Integrated graphics work for basic monitoring but do not support voltage control or full overclocking features. MSI Afterburner 4.6.6 and later also adds support for NVIDIA RTX 50-series and AMD RDNA4 (RX 9000 series) cards.
How to Download MSI Afterburner
Download the installer only from the official MSI website. Third-party mirrors carry outdated or modified builds. MSI’s own page warns users to download exclusively from msi.com or Guru3D.
Two versions are available:
- 4.6.6 Final (stable) – recommended for most users. Fully tested and production-ready.
- 4.6.7 Beta 2 – adds NVIDIA RTX 50-series quad fan control, AMD RDNA4 support, and RTSS v7.3.7. Use this if you own an RTX 50-series or RX 9000-series card.
- Go to the official MSI Afterburner page: msi.com.
- Click Download Now under 4.6.6 Final for the stable build. To get the beta instead, click the 4.6.7 Beta download link on the same page. You can also download 4.6.7 Beta 2 directly from MSI’s server.
- Save the installer file to your Downloads folder. The stable build arrives as an
.exe; the beta downloads as a.zipthat you extract first to get the installer. - Check the file size against what the page shows. The package is typically 50 to 60 MB. A significantly smaller file may indicate a corrupt or incomplete download.
How to Install MSI Afterburner on Windows 11
- Open your Downloads folder and locate
MSIAfterburnerSetup.exe. - Right-click the file and select Run as administrator.
- Click Yes if Windows UAC prompts you for permission.
- On the installer welcome screen, click Next.
- Read the End-User License Agreement and click I Agree.
- On the component selection screen, keep both MSI Afterburner and RivaTuner Statistics Server checked. Do not uncheck RTSS; the overlay feature requires it.
- Leave the install path as
C:\Program Files (x86)\MSI Afterburnerunless you have a specific reason to change it. - Click Install and wait for the progress bar to finish. The installer may download and apply Visual C++ 2022 runtime redistributables during this step if your system needs them.
- When the RTSS installer launches as part of the process, accept its license agreement and proceed through its wizard the same way.
- Click Finish on both installers. You can choose to launch MSI Afterburner immediately from the final screen.
How to Configure MSI Afterburner After Installation
Enable Low-Level Hardware Access
On first launch, MSI Afterburner detects your GPU and displays current clock speeds, temperature, and usage. Open the settings to enable full hardware control:
- Click the gear icon (Settings) in the main interface.
- Go to the General tab.
- Under Compatibility properties, check Enable low-level IO driver and Enable low-level hardware access interface.
- Click OK and restart MSI Afterburner if prompted.
Without these options enabled, voltage control and some fan curve features will not work.
Set Up the On-Screen Display (OSD)
RivaTuner Statistics Server handles the in-game overlay. It runs in the system tray after installation.
- Click the Monitoring tab in MSI Afterburner Settings.
- Scroll through the list of hardware metrics. Click each item you want to show in the overlay, such as GPU temperature, GPU usage, framerate, and VRAM usage.
- For each selected metric, check Show in On-Screen Display at the bottom of the panel.
- Click OK.
- Right-click the RTSS icon in the system tray to adjust overlay position, text size, and transparency.
The overlay appears automatically when you launch a game or full-screen application.
Configure a Custom Fan Curve
MSI Afterburner lets you replace your GPU’s automatic fan behavior with a custom curve:
- Click the Fan tab in Settings, or look for the fan curve icon on the main interface depending on your skin.
- Enable Enable user defined software automatic fan control.
- Click and drag the points on the curve graph to set your preferred fan speed at each temperature.
A common starting point is 0% at 30°C, 30% at 50°C, 60% at 70°C, and 100% at 85°C. Adjust based on your cooler and noise preference.
How to Use MSI Afterburner for GPU Overclocking
Overclocking raises your GPU’s operating speeds beyond the factory defaults to improve performance. Do this incrementally and test stability after each change.
Increase Core and Memory Clock
- Locate the Core Clock (MHz) slider on the main interface.
- Drag it to the right to increase the core clock. Start with a small offset like +50 MHz.
- Drag the Memory Clock (MHz) slider to the right as well. Start with +100 MHz.
- Click the checkmark (Apply) button to apply the changes immediately.
- Run a GPU stress test or play a demanding game for 15 to 30 minutes to check for artifacts, crashes, or instability.
- If the system stays stable, increase the offsets by another 50 MHz and retest. Continue until you hit instability, then back off by 25 MHz.
Raise the Power Limit
Higher clock speeds often need more power headroom:
- Drag the Power Limit (%) slider to the right. A value of 110% to 120% works for most cards.
- The Temp Limit slider moves with it by default. You can unlock them separately in Settings.
- Apply the change and retest stability.
Save Your Overclock Profile
- Click one of the numbered profile slots (1 through 5) at the bottom of the interface.
- Click the save (disk) icon to store your current settings to that slot.
- You can load any saved profile by clicking the profile number and then the load button.
To apply your overclock automatically at startup, go to Settings > General and check Start with Windows and Apply overclocking at system startup.
How to Use the Hardware Monitor
MSI Afterburner includes a dedicated Hardware Monitor window that logs all sensor data in real time:
- Click the Hardware Monitor button (the graph icon) on the main interface.
- The window shows live readings for GPU temperature, core clock, memory clock, GPU usage, memory usage, voltage, and fan speed.
- The graph scrolls in real time. You can expand individual rows or resize the window to see more data at once.
This view is useful for diagnosing thermal throttling, confirming your overclock is holding, or checking whether your GPU is reaching its power limit during a game.

