Windows 11 displays the “One of your disks is at risk (SMART event)” notification when your drive’s built-in monitoring system detects signs of potential failure. The message usually comes from Intel Rapid Storage Technology or Intel Optane Memory and Storage Management, and it reads:
One of your disks is at risk (SMART event). Please open the Intel Rapid Storage Technology Application for details.
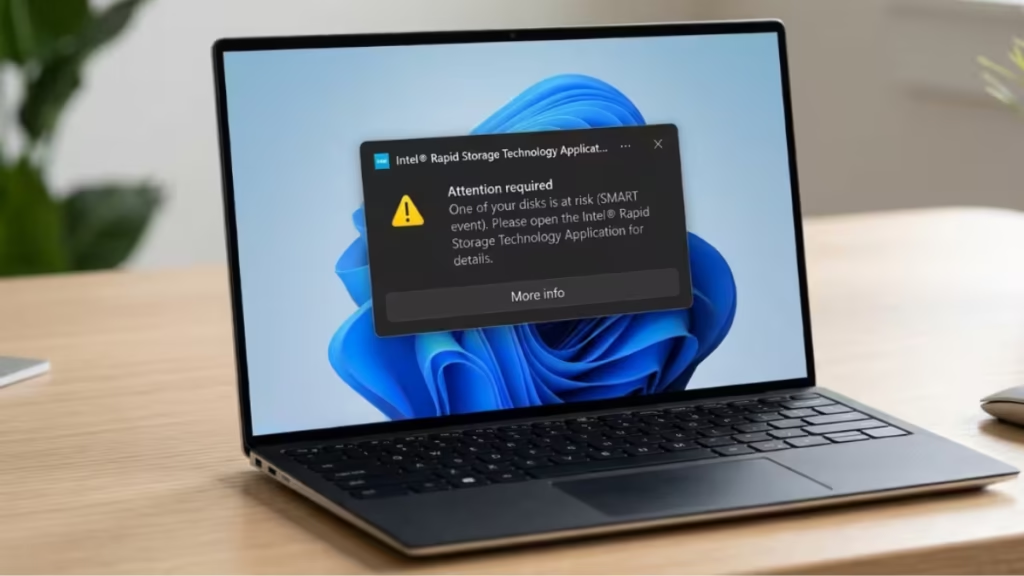
This warning requires immediate attention. Back up all critical data on the affected drive before you attempt any of the fixes below.
What Is a SMART Event?
SMART stands for Self-Monitoring, Analysis, and Reporting Technology. Every modern HDD, SSD, and eMMC drive includes SMART as a built-in diagnostic layer. It continuously tracks performance attributes such as read/write error rates, spin-up time, operating temperature, and reallocated sectors.
When any attribute crosses a predefined threshold, SMART triggers a warning. The warning does not mean the drive has already failed. It means the drive has predicted imminent failure, and you have a window of time to act.
Common causes of a SMART event include:
- Physical damage from drops or vibrations
- Bad sectors caused by corruption or wear
- Drive overheating due to blocked vents
- Outdated or corrupted firmware
- Abrupt power loss or voltage spikes
- Aging drive components
Fix 1: Check the SMART Status Immediately
Start by running a quick SMART status check using Command Prompt.
- Press Windows + S, type cmd, and click Run as administrator.
- Type the following command and press Enter:
wmic diskdrive get model, status- Look at the Status column in the output.
If the status shows OK, the SMART system has not flagged the drive as critically failed yet. Continue with the fixes below.
If the status shows Pred Fail or anything other than OK, the drive is actively reporting imminent failure. Stop using it for new data immediately, complete a full backup, and replace the drive as soon as possible.
Fix 2: Run CHKDSK to Check Disk Health
Logical file system errors or bad sectors can trigger SMART warnings. The CHKDSK utility scans the drive and repairs what it can.
- Open Command Prompt as an administrator.
- Run the following command, replacing C: with the affected drive letter if needed:
chkdsk C: /f /r- If Windows asks to schedule the scan on the next restart, type Y and press Enter, then restart your PC.
- Let the scan complete fully. It can take 30 minutes or longer on larger drives.
If CHKDSK finds and repairs errors, your drive may return to normal operation. If it reports errors it cannot fix, treat the drive as failing and prioritize replacing it.
Fix 3: Update Intel Rapid Storage Technology or Intel Optane App
A corrupted or outdated version of Intel Rapid Storage Technology (Intel RST) or Intel Optane Memory and Storage Management can generate false SMART alerts. Updating the software resolves these software-side triggers.
- Visit the Intel Download Center.
- Search for Intel Rapid Storage Technology or Intel Optane Memory and Storage Management, depending on which application your PC uses.
- Download the latest version compatible with your Windows 11 system.
- Run the installer and follow the on-screen steps.
- Restart your PC after the installation completes.
If the application still does not open after the update, uninstall the existing version first through Settings > Apps, then perform a clean install.
Fix 4: Check Device Manager for Drive Errors
Device Manager shows whether Windows recognizes your drive properly. A yellow warning triangle next to a disk entry points to a driver conflict or recognition failure.
- Press Windows + X and click Device Manager.
- Expand Disk drives and Storage controllers.
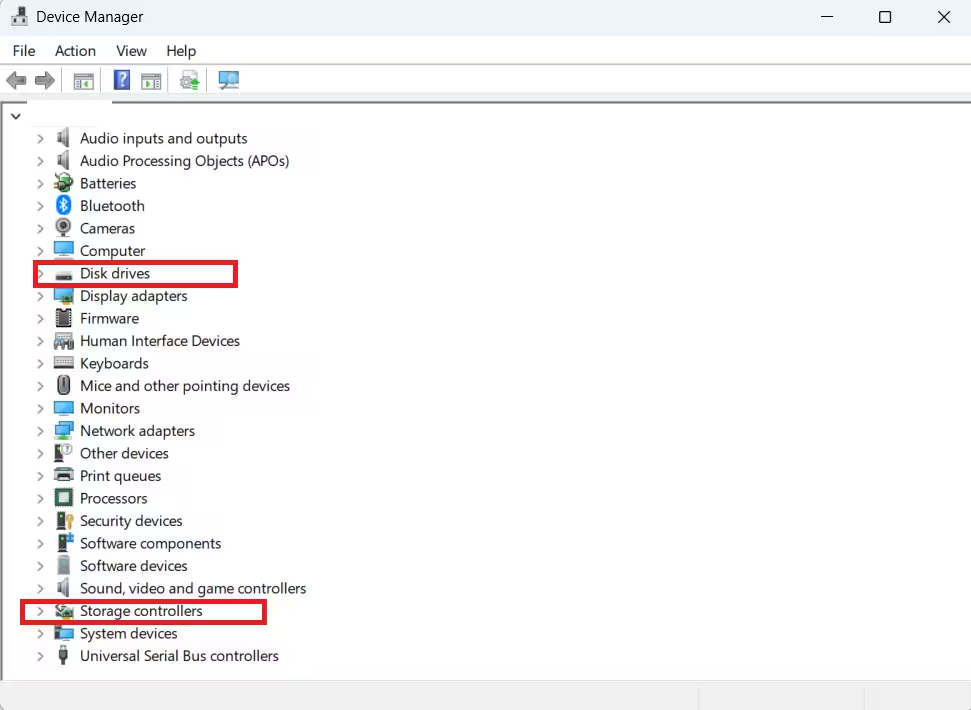
- Look for any device with a yellow triangle or exclamation mark.
- Right-click the flagged device and select Uninstall device.
- Restart your PC. Windows reinstalls the driver automatically on the next boot.
This fix works when the SMART alert stems from Windows failing to communicate with the drive correctly rather than actual hardware degradation.
Fix 5: Update Your BIOS
The BIOS manages communication between your hardware and Windows. An outdated or corrupted BIOS can misread drive health data and trigger false SMART warnings.
- Find your PC’s model number (check the label on the bottom of your laptop or the back of your desktop).
- Visit your manufacturer’s support site. For Acer, go to Acer Support. For HP, go to HP Support. For Dell, go to Dell Support.
- Search for your model and navigate to the Drivers and Downloads section.
- Download the latest BIOS update and follow your manufacturer’s installation instructions carefully.
Never interrupt a BIOS update. Keep your laptop plugged in throughout the process.
Fix 6: Run Your Manufacturer’s Diagnostic App
Most major manufacturers provide a built-in or downloadable diagnostic tool that runs a full hardware scan on your drive. These tools give more detailed SMART data than Windows built-in utilities.
| Manufacturer | Diagnostic Tool |
|---|---|
| Acer | Acer Care Center |
| HP | HP PC Hardware Diagnostics |
| Dell | Dell SupportAssist |
| Lenovo | Lenovo Vantage |
| ASUS | MyASUS |
| MSI | MSI Center |
Run the storage or hard drive diagnostic test from the relevant app. The tool reports specific SMART attribute failures and recommends next steps based on the results.
When to Replace the Drive
No fix resolves a SMART warning caused by genuine physical degradation. If CHKDSK cannot repair errors, the SMART status shows Pred Fail, or your manufacturer’s diagnostic tool marks the drive as failing, replace the drive.
For a laptop under warranty (such as an Acer Predator purchased in late 2024), contact the manufacturer’s support team. A SMART failure on a drive less than one year old typically qualifies as a warranty replacement.
Steps to take before the drive fails completely:
- Back up all data to an external drive or cloud storage immediately.
- Contact your manufacturer’s support and reference the SMART event notification.
- Request a diagnostic appointment or warranty replacement.
- Avoid writing large amounts of new data to the failing drive.
The “One of your disks is at risk (SMART event)” warning is a serious alert that your drive may be approaching failure. Run the SMART status check and CHKDSK first, then update Intel RST and check Device Manager for driver errors. If the drive is under warranty, contact your manufacturer immediately. Above all, back up your data before anything else.

