Windows 11 sometimes refuses to connect to SMB shares that work perfectly on other devices. You see “Windows cannot access \share” or, from the command line, System Error 53: Network path not found, even when a Mac, iPhone, or Windows 10 machine connects to the same share without any trouble.
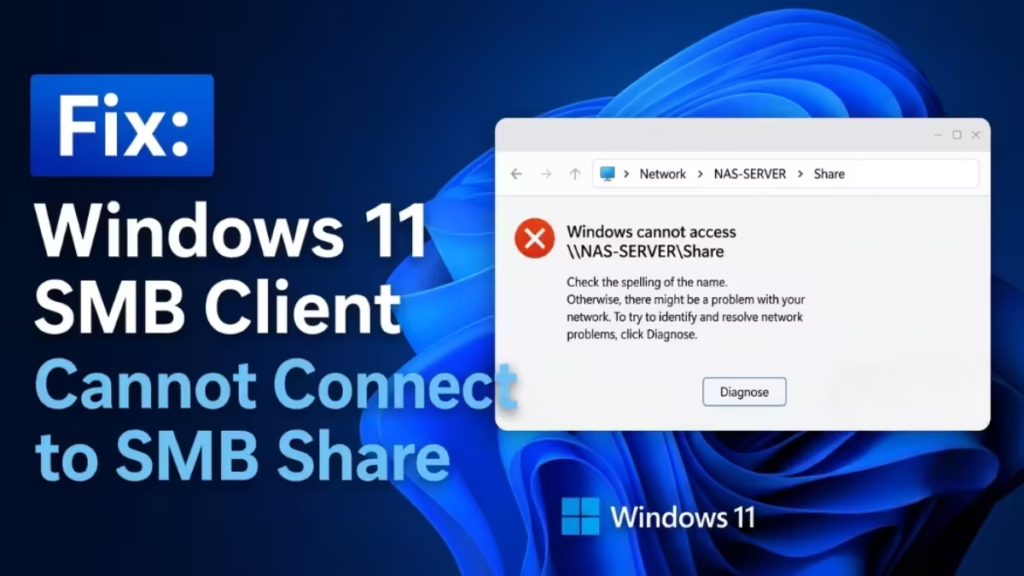
Windows 11 enforces stricter SMB security than previous versions. By default, it requires SMB signing, blocks guest access, and turns off SMB 1.0. If your share host (an old NAS, TrueNAS setup, or similar device) does not meet these requirements, the SMB handshake fails. This shows up as System Error 53 because Windows stops the connection before it fully resolves the path. Using an IP address instead of a hostname does not bypass these security checks.
Fix 1: Disable the SMB Signing Requirement on Windows 11
indows 11 requires SMB signing by default. If your share host does not support signing, the connection fails before it establishes. Disabling this requirement on the Windows 11 client tells it to accept unsigned SMB traffic from the host.
Open PowerShell as Administrator (press Win + R, type powershell, then press Ctrl + Shift + Enter) and run:
Set-SmbClientConfiguration -RequireSecuritySignature $false
Press Y and Enter when prompted. Restart your PC and test the connection using \\hostname or \\IP.
Fix 2: Enable Insecure Guest Logons via Registry
Many SMB shares allow guest or anonymous access. Windows 11 blocks this by default. Adding the AllowInsecureGuestAuth registry key permits those guest connections to proceed.
- Press Win + R, type
regedit, and press Enter. - Navigate to:
HKEY_LOCAL_MACHINE\SYSTEM\CurrentControlSet\Services\LanmanWorkstation\Parameters - Right-click the right pane and select New > DWORD (32-bit) Value.
- Name it
AllowInsecureGuestAuthand set its value to1. - Close Registry Editor and restart your PC.
- Try accessing the SMB share again.
Fix 3: Clear Stored Credentials in Credential Manager
Windows caches old or corrupted credentials for network shares. These stale entries conflict with a fresh authentication attempt and produce Error 53. Clearing them forces Windows to prompt for new credentials on the next connection.
- Press Win + S, type
Credential Manager, and open it. - Click Windows Credentials.
- Find any entries related to your SMB server (by hostname, IP, or FQDN).
- Click each entry and select Remove.
- Restart your PC and try connecting again. Windows will prompt you for fresh credentials.
Fix 4: Configure SMB Signing on the Share Host (Server-Side Fix)
If your share host supports signing but has it set incorrectly, Fix 1 alone will not be enough. You need to align the signing configuration on both sides. This example uses TrueNAS, but the principle applies to any NAS with an SMB settings panel.
- Log in to your TrueNAS web interface.
- Go to Services > SMB and click the edit (pencil) icon.
- Confirm that Enable SMB1 support is unchecked.
- Click Advanced Settings.
- Set Server Signing Mode to Required to match Windows 11’s default requirement. If you already disabled signing on the client in Fix 1, set this to Disabled instead to match.
- Set Client Signing Mode to Preferred or Required.
- Click Save, then toggle the SMB service off and back on to restart it.
- Test the connection from Windows 11 using
\\truenas.lanor the server IP.
For other NAS brands, look for an SMB or CIFS settings panel and find the signing or security mode option.
Fix 5: Enable SMBv2 and SMBv3 if Disabled
A security update or manual change may have disabled SMBv2 or SMBv3 on your Windows 11 machine. Check and re-enable them with these PowerShell commands.
Open PowerShell as Administrator and run:
Get-SmbServerConfiguration | Select EnableSMB2ProtocolIf the result shows False, run:
Set-SmbServerConfiguration -EnableSMB2Protocol $true -ForceRestart your PC and test the connection.
Fix 6: Enable SMB 1.0 for Older NAS Devices (Last Resort)
If your NAS or storage device only supports SMBv1 (common on very old devices or router-attached storage), Windows 11 will refuse to connect because it disables SMBv1 by default. Enable it only if you trust the device and have no other option.
- Press Win + S, type
Turn Windows features on or off, and open it. - Expand SMB 1.0/CIFS File Sharing Support.
- Check SMB 1.0/CIFS Client.
- Click OK and restart when prompted.
Security note: SMBv1 is vulnerable to exploits including EternalBlue (used by WannaCry). Enable it only on isolated or fully trusted networks, and remove it once you confirm the issue or upgrade the device firmware.
Fix 7: Adjust LAN Manager Authentication Level
Windows 11 defaults to NTLMv2. Some older NAS devices or servers only accept NTLMv1 or LAN Manager responses. Lowering the authentication level resolves that mismatch.
Group Policy method (Pro and Enterprise editions):
- Press Win + R, type
gpedit.msc, and press Enter. - Go to: Computer Configuration > Windows Settings > Security Settings > Local Policies > Security Options
- Find Network security: LAN Manager authentication level.
- Set it to Send LM and NTLM responses.
- Click OK and restart.
Registry method (Home edition):
Open Command Prompt as Administrator and run:
reg add "HKLM\SYSTEM\CurrentControlSet\Control\Lsa" /v LmCompatibilityLevel /t REG_DWORD /d 1 /fRestart after applying.
Why Can Mac and Windows 10 Connect But Not Windows 11?
Windows 11 enforces stricter SMB security defaults than macOS or Windows 10. It requires SMB signing, blocks guest access, and disables SMBv1 out of the box. Older share hosts often lack support for these modern requirements. Your Mac and Windows 10 devices tolerate the host’s older settings, but Windows 11 refuses the insecure handshake. The fixes above, starting with disabling SMB signing or enabling signing on the host, resolve this gap.

