The CPU Over Temperature Error appears on your screen before Windows loads, usually followed by the message “Press F1 to Run SETUP.” This is your motherboard’s thermal protection system stopping the boot process because your CPU temperature has crossed a safe threshold. The error is serious but fixable in most cases.
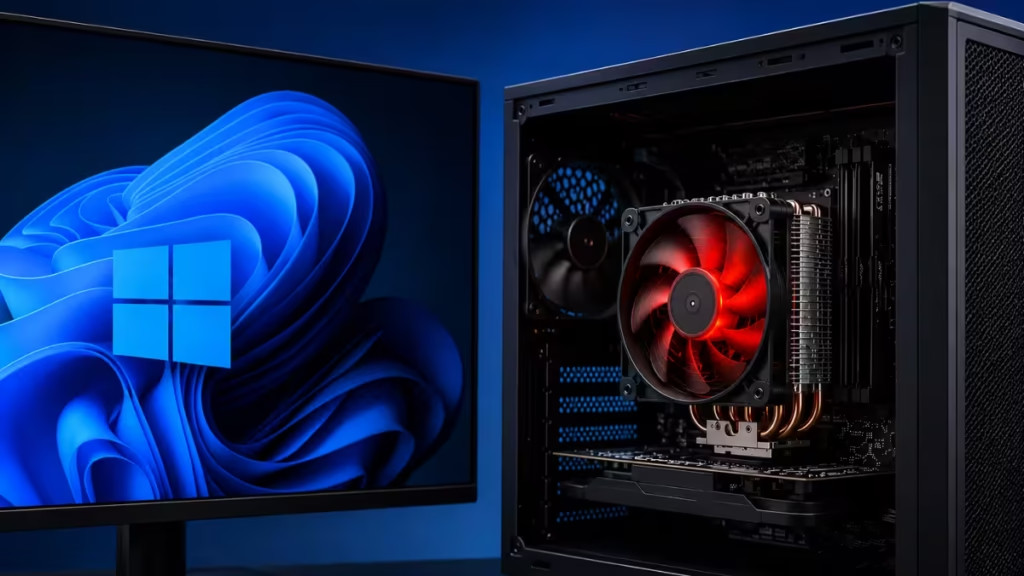
This guide walks you through every cause and every fix, starting with the quickest checks and moving toward the more involved hardware steps.
What Causes CPU Over Temperature Error
Before jumping into fixes, it helps to know what triggers this error:
- Clogged or failing CPU fan: Dust buildup slows or stops the fan, cutting airflow to the heatsink.
- Dried or missing thermal paste: Thermal paste transfers heat from the CPU to the heatsink. Once it dries out, heat builds up fast.
- Loose CPU cooler: A cooler that is not seated firmly leaves air gaps and reduces heat transfer.
- Overclocking: Running the CPU above its rated speed generates more heat than the stock cooler can handle.
- Poor case airflow: A cramped or dusty case traps hot air around the CPU.
- Ambient temperature: A hot room raises baseline CPU temps before any load is applied.
If your system throws this error after a long gaming or rendering session, heat buildup from usage is the most likely cause. If the error appears after the PC has been sitting idle or switched off for hours, a hardware problem is more likely.
How to Fix CPU Over Temperature Error
Work through these steps in order. Most users resolve the issue at steps 1 through 3.
Step 1: Power Down and Let the CPU Cool
Do not press F1 and continue into Windows. Shut the system down completely and unplug the power cable. Wait at least 15 to 20 minutes before doing anything else.
A CPU running above safe temperature during this error is already under stress. Booting into Windows and continuing to run workloads can degrade the chip faster. Let it cool before troubleshooting.
Step 2: Check BIOS for Temperature and Fan Readings
When you next power on, press F1 or Delete (depending on your motherboard) to enter BIOS Setup.
Look for two things:
- CPU temperature: Most motherboards show this on the main EZ Mode screen. A temperature displayed in red (often 85°C or higher) confirms the overheating is real, not a sensor glitch.
- CPU fan speed: If the fan speed shows as N/A or 0 RPM, the cooler fan is not spinning or is not detected by the motherboard.
If the temperature reads normal and the fan speed reads normal, the error may have been a one-time heat spike. Monitor temperatures for a few days using a tool like HWMonitor or Core Temp after booting.
If the readings confirm a problem, continue to the next steps.
Step 3: Check the CPU Fan Header Connection
Power the system down and open the case. Locate the CPU fan cable and confirm it is firmly plugged into the CPU_FAN header on the motherboard. This is a small 4-pin connector near the CPU socket.
A partially seated or disconnected cable is one of the most common causes of this error, especially after moving the PC or cleaning the inside. Reseat the cable, press it in until it clicks, and boot again to check the BIOS fan reading.
If you mistakenly plugged the CPU cooler into a CHA_FAN or SYS_FAN header, the motherboard may not detect fan speed correctly, which can also trigger the error.
Step 4: Clean Dust From the CPU Cooler and Case
Dust is the most common long-term cause of CPU overheating. Even a moderate layer of dust on the heatsink fins blocks airflow significantly.
For desktops:
- Power off and unplug the system.
- Use a can of compressed air to blow dust out of the CPU heatsink fins, fan blades, and surrounding vents. Hold the can 6 to 8 inches away.
- Hold the fan blades still with a pencil or your finger while blasting dust so the fan does not spin from the airflow and generate a voltage spike.
- Blow dust out of case fan grills and the power supply vent.
For laptops:
- Power off and remove the charger.
- Spray short bursts of compressed air into the exhaust vents on the sides or rear.
- Avoid using a vacuum cleaner directly on vents, as static discharge can damage components.
After cleaning, boot into BIOS and check whether temperatures dropped.
Step 5: Reseat and Inspect the CPU Cooler
A cooler that has shifted even slightly can leave part of the CPU die without proper contact.
- Power off and unplug the system.
- Remove the CPU cooler by unscrewing the four mounting screws or releasing the clips, depending on the cooler type.
- Check the underside of the heatsink and the top of the CPU for the thermal paste condition. If the paste has dried into a hard, cracked layer, it has lost effectiveness.
- Reseat the cooler and tighten the mounting screws evenly in a cross pattern (top-left, bottom-right, top-right, bottom-left) to apply even pressure across the CPU.
If the paste looks fine and the cooler was firmly seated, the problem is likely elsewhere.
Step 6: Reapply Thermal Paste
This step is required if the existing thermal paste has dried out, hardened, cracked, or separated. Thermal paste typically needs replacing every 3 to 5 years under normal use, sooner if the system runs hot consistently.
What you need:
- Isopropyl alcohol (90% or higher)
- Lint-free cloth or coffee filter
- Fresh thermal paste (Arctic MX-4, Thermal Grizzly Kryonaut, or similar)
Steps:
- Remove the CPU cooler.
- Use the isopropyl alcohol and cloth to wipe the old paste completely off both the CPU heat spreader and the heatsink base. Work in small circles until no residue remains.
- Apply a small pea-sized dot of fresh thermal paste to the center of the CPU. Do not spread it manually. The pressure from the cooler will spread it evenly.
- Reattach the cooler and tighten mounting screws in a cross pattern.
After reapplying paste, CPU temperatures in BIOS should drop noticeably compared to before.
Step 7: Disable Overclocking or Reset BIOS to Default
If you previously overclocked the CPU, the increased voltage and frequency generate extra heat. If your cooling setup cannot handle the added thermal load, the system will trigger the CPU Over Temperature Error.
To revert to stock settings:
- Enter BIOS Setup (press Delete, F2, or F1 on boot depending on your board).
- Look for a Load Optimized Defaults or Restore Default Settings option. It is usually available in the Exit menu or accessible via a key shortcut shown at the bottom of the screen.
- Save and exit.
If you want to continue overclocking but need to manage temperatures better, consider upgrading to a higher-end air cooler or a 240mm AIO liquid cooler. If you are interested in Windows-level CPU performance tuning without overclocking risks, see how Low Latency Profile (CPU Boost) on Windows 11 works as a safer alternative.
Step 8: Improve Case Airflow
Even with a working cooler, poor case airflow traps heat. Check the following:
- Intake fans at the front or bottom should draw cool air in. Exhaust fans at the rear and top should push hot air out.
- Cable management inside the case should not block airflow paths between the front intakes and the CPU area.
- The PC should sit in a location with at least 6 inches of clearance on all sides.
- The room temperature should be below 35°C. If the ambient temperature is high, CPU idle temperatures will also be higher.
Adding one or two additional case fans can reduce CPU temperatures by 5 to 10°C in a system that runs consistently hot.
Step 9: Clear CMOS
If the error persists after physical fixes, the BIOS may be holding incorrect settings that affect voltage or power limits. Clearing CMOS resets the BIOS to factory defaults.
Method 1 (jumper):
- Power off and unplug the system.
- Locate the CMOS jumper on the motherboard, usually labeled CLRTC or JBAT1 near the CMOS battery.
- Move the jumper from pins 1-2 to pins 2-3 for 5 to 10 seconds, then move it back.
- Power on the system.
Method 2 (battery removal):
- Power off and unplug the system.
- Remove the round silver CMOS battery from its socket on the motherboard.
- Wait 60 seconds, then reinsert the battery.
- Power on the system.
After clearing CMOS, re-enter BIOS and reconfigure any custom settings such as XMP memory profiles and fan curves.
Step 10: Replace the CPU Cooler
If you have cleaned dust, reapplied thermal paste, reseated the cooler, and reset the BIOS, but temperatures remain high, the cooler itself may have failed. Fan bearings wear out over time, reducing airflow below what the CPU needs.
Signs of a failing cooler:
- Fan makes grinding or rattling noise.
- Fan speed in BIOS fluctuates randomly or reads 0 RPM despite the fan appearing to spin.
- Temperatures remain high even at idle after all other fixes.
Replace the cooler with a model rated for your CPU’s TDP (thermal design power). Check your CPU specs and choose a cooler with a TDP rating at least equal to or higher than your CPU’s rated TDP.
Monitoring CPU Temperatures After the Fix
After completing your fixes, boot into Windows and verify temperatures are within a safe range. Healthy CPU temperatures under idle and load are:
| State | Safe Range |
|---|---|
| Idle | 30°C to 50°C |
| Light load (browsing, office) | 50°C to 65°C |
| Heavy load (gaming, rendering) | 65°C to 85°C |
| Danger zone | Above 90°C consistently |
Recommended free tools:
- HWMonitor: Tracks real-time temperatures, fan speeds, and voltages for all components.
- Core Temp: Shows per-core CPU temperatures with load percentages.
- HWiNFO64: More detailed sensor data including power draw and thermal junction readings.
If your CPU temperatures stay above 90°C under normal use after all fixes, the CPU itself may have sustained damage from prolonged overheating, and professional inspection is the next step.
CPU Over Temperature Error With Normal Temperatures: What It Means
In rare cases, the CPU Over Temperature Error appears even when the CPU is physically cool. This can happen when:
- The CMOS battery is dead, causing the BIOS to lose settings or misread sensor data.
- A BIOS update changed the temperature threshold.
- The CPU temperature sensor is faulty.
If temperatures in BIOS and monitoring software look completely normal (below 60°C at idle), and the error appeared once then stopped, a sensor glitch or dying CMOS battery is a more likely explanation than actual overheating. Replacing the CMOS battery costs under $5 and is worth trying before assuming a hardware failure.
Other High CPU Issues on Windows
If your system boots normally but Windows shows high CPU usage after, a process like MSEdgeWebView2.exe or svchost.exe may be the cause. Use the Error Code Lookup Tool to find guides for any specific error codes your system throws alongside or after a CPU temperature warning.

