Upgrading from Windows 11 Home to Pro should be straightforward. You enter a valid product key, the installer runs, and you get access to BitLocker, Remote Desktop, and domain join features. But many users hit a wall where the upgrade stalls, loops, or throws error 0xc004f050 even with a genuine key.
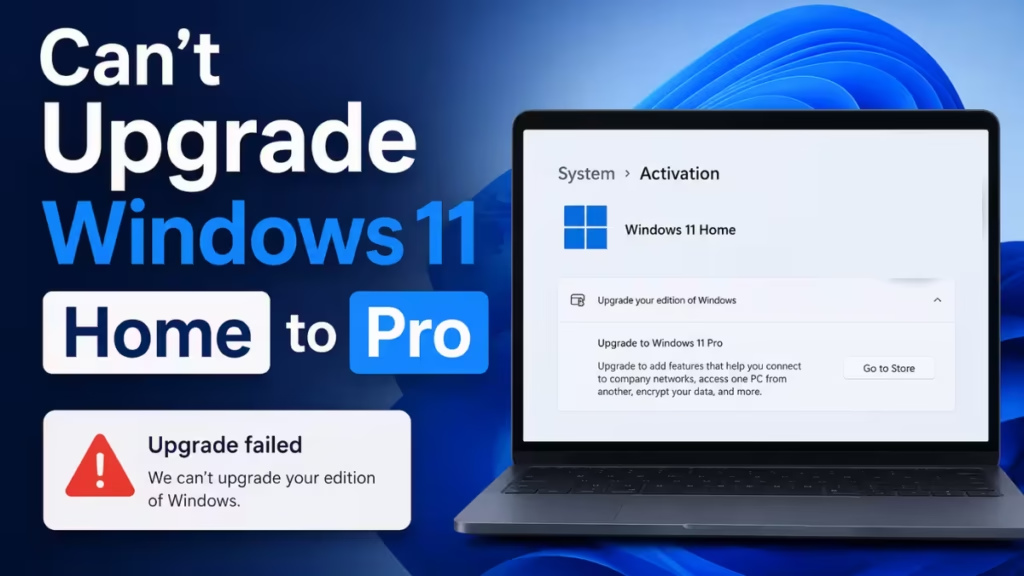
This guide covers every fix for this problem, including the offline generic key method that works when the standard upgrade path refuses to cooperate.
Why Windows 11 Home Refuses to Upgrade to Pro
Before applying fixes, it helps to understand what actually blocks the upgrade:
- OEM Home lock: Some manufacturers digitally link the Windows 11 Home key to your device’s firmware. The system keeps reverting to that OEM key during activation.
- Single Language edition: If your PC shipped with Windows 11 Home Single Language, you can only upgrade to Pro Single Language, not standard Pro.
- Corrupted Microsoft Store cache: A corrupted cache prevents the Store-based upgrade from completing.
- Damaged system files: Corrupted Windows files block the edition change installer.
- TPM or hardware mismatch: Windows 11 Pro requires TPM 2.0, Secure Boot, and a supported CPU. Unsupported hardware causes the upgrade to fail silently.
Fix 1: Confirm Your Edition and Activation State First
Open Settings > System > Activation and check two things:
- The edition displayed next to the Windows logo (Home, Home Single Language, etc.)
- The activation state (Active or Not activated)
Your current Windows 11 Home edition must be activated before an edition upgrade works. If it shows as not activated, activate it first through the Microsoft Store or with your OEM key.
Also check whether you have Home Single Language. Press Win + R, type winver, and press Enter. If the edition says Single Language, you need a Pro Single Language key, not a standard Pro key.
Fix 2: Check That Your PC Meets Windows 11 Pro Hardware Requirements
Windows 11 Pro is not just a software unlock. Features like BitLocker require TPM 2.0 at the hardware level. If your PC does not meet the requirements, the upgrade will fail every time.
Minimum requirements for Windows 11 Pro:
| Component | Requirement |
|---|---|
| Processor | 1 GHz or faster, 2+ cores, 64-bit |
| RAM | 4 GB minimum |
| Storage | 64 GB minimum |
| TPM | TPM 2.0 |
| Firmware | UEFI with Secure Boot enabled |
| Graphics | DirectX 12 compatible |
| Display | HD (720p) or higher |
To check TPM status, press Win + R, type tpm.msc, and press Enter. The TPM Management console shows whether TPM 2.0 is present and ready.
Fix 3: Use the Generic Key Offline (Best Fix for OEM-Locked Devices)
This is the most reliable fix when a valid Pro key keeps getting rejected. The trick is to disconnect from the internet first so Windows cannot contact Microsoft’s activation servers and revert to the OEM key.
Step 1: Turn off Wi-Fi or unplug your Ethernet cable.
Step 2: Open Settings > System > Activation.
Step 3: Click Change next to Change product key.
Step 4: Enter this Microsoft-provided generic evaluation key:
VK7JG-NPHTM-C97JM-9MPGT-3V66TStep 5: Click Next and let the upgrade to Pro complete. Your PC may restart.
Step 6: After the upgrade finishes, reconnect to the internet. Go back to Settings > System > Activation and enter your purchased Pro product key to activate.
Important: The generic key upgrades the edition but does not activate it. You must enter your real Pro key after the edition switch completes.
Fix 4: Release the Current Key with SLMGR Before Upgrading
If Fix 3 does not work, the OEM key may still be embedded in the system. Use slmgr to release it before entering the generic key.
Step 1: Open Command Prompt as administrator. Press Win + S, type cmd, right-click Command Prompt, and select Run as administrator.
Step 2: Run this command to uninstall the current product key:
slmgr /upkStep 3: Run this command to clear the key from the registry:
slmgr /cpkyStep 4: Disconnect from the internet, then follow Fix 3 to enter the generic key and complete the edition upgrade.
Step 5: Reconnect and activate with your purchased Pro key:
slmgr /ipk XXXXX-XXXXX-XXXXX-XXXXX-XXXXXReplace the X’s with your actual Pro product key.
Fix 5: Clear the Microsoft Store Cache
If you purchased Windows 11 Pro through the Microsoft Store and the upgrade fails, a corrupted Store cache is likely blocking it.
Step 1: Open Command Prompt as administrator.
Step 2: Run:
wsreset.exeThe command window closes and no status appears. Wait about 30 seconds. The Microsoft Store opens automatically when the cache clears successfully.
Step 3: Try the upgrade again through Settings > System > Activation > Upgrade your edition of Windows > Open Store.
Fix 6: Run DISM and SFC to Repair System Files
Corrupted system files or a damaged Windows image can block the edition upgrade installer from running correctly.
Step 1: Open Command Prompt as administrator.
Step 2: Run the DISM scan to repair the Windows image:
DISM /Online /Cleanup-Image /RestoreHealthThis process takes 10 to 20 minutes. Do not close the window.
Step 3: After DISM finishes, run SFC to repair system files:
sfc /scannowStep 4: Restart your PC and attempt the upgrade again through Settings > System > Activation.
Fix 7: Force Pro Edition with a Clean Install Using ei.cfg
If every in-place upgrade method has failed and your device is OEM-locked to Home, a clean install with a Pro edition override file is the most reliable path. This method keeps you from accidentally reinstalling Home again.
Step 1: Download the Windows 11 Media Creation Tool from Microsoft’s official download page.
Step 2: Run the tool and create a bootable USB drive (8 GB minimum).
Step 3: Open Notepad on your current PC and paste exactly:
[EditionID]
Professional
[Channel]
Retail
[VL]
0
Step 4: Go to File > Save As, name the file ei.cfg, and set Save as type to All Files. Save it to your desktop.
Step 5: Open the bootable USB drive in File Explorer. Navigate to the Sources folder and paste the ei.cfg file inside it.
Step 6: Boot from the USB drive and install Windows 11 Pro. The installer reads the ei.cfg file and defaults to Pro instead of Home.
Step 7: When prompted for a product key, enter your purchased Windows 11 Pro key.
Note: Back up all your files before a clean install. This method wipes your current installation.
Most failed upgrades come down to three things: an OEM-locked key, a corrupted Store cache, or damaged system files. Work through the fixes in order and the generic key offline method alone resolves the problem for most users. If nothing else works, the ei.cfg clean install puts you on Pro with no activation fight.

