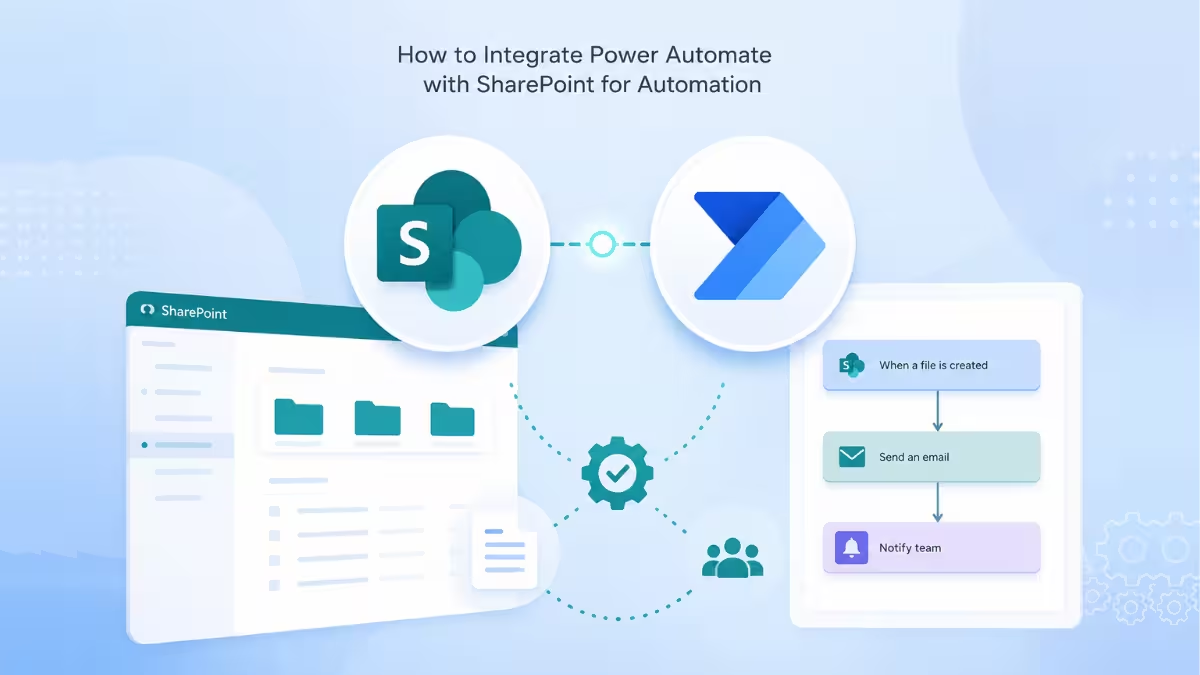
Power Automate is built to work closely with SharePoint, so you can replace manual approvals, notifications, and list updates with flows that run on their own. A flow is simply an automated task that runs when something specific happens, like a new file being added. Microsoft ships more than 100 SharePoint templates for common scenarios, but you can also connect the two from scratch and design a workflow around your own SharePoint lists and libraries. This guide covers what you can automate, then walks through two different ways to build a working flow.
What You Can Automate Between SharePoint and Power Automate
Before building anything, it helps to know where SharePoint automation actually gets used in practice.
- Approval flows: Route a document to a manager for sign off, or send a finished file to a team for review before it gets published.
- File and list management: Move a file automatically once it is approved, or create a new list item when something happens in another app. You can also pull items from a list or control who has access to specific files.
- Migrating classic workflows: Organizations still running old SharePoint Designer workflows can rebuild them as Power Automate flows. Microsoft now treats Power Automate as the standard replacement for those older tools.
Connect Power Automate to Your SharePoint Site
Every flow, no matter how simple, needs this connection in place first.
- Go to make.powerautomate.com and sign in with your Microsoft 365 account.
- Select Connections from the left menu, then click New connection.
- Search for SharePoint and select the connector.
- Sign in again if Power Automate prompts you to.
- Approve the permissions Power Automate asks for.
Once this connection is active, every flow you build afterward can read from and write to your SharePoint sites without asking for access again.
Build a Simple Flow with a Manual Trigger
With the connection in place, you’re ready to build your first flow. This method works well for turning a SharePoint list into a form people fill out on demand, such as an IT equipment request or a feedback form.
- In SharePoint, create a Blank List to hold the submitted data.
- Add columns to the list that match what you want to collect, such as Title, Requester Name, and Request Details.
- In Power Automate, select Create.
- Choose Instant cloud flow.
- Name the flow and select Manually trigger a flow as the starting point.
- Add input fields to the trigger that match your SharePoint list columns.
- Click New step and search for the SharePoint “Create item” action.
- Select your site and list.
- Map each input field to its matching SharePoint column using the Dynamic content panel.
This setup writes data straight into your SharePoint list the moment someone submits the form, which removes manual data entry entirely.
Build a Flow That Triggers on SharePoint Changes
This method fits scenarios where you want the flow to react automatically, without anyone opening it first.
- Select Create.
- Choose Automated cloud flow.
- Give the flow a clear name.
- Choose a SharePoint trigger, such as When an item is created or When a file is modified.
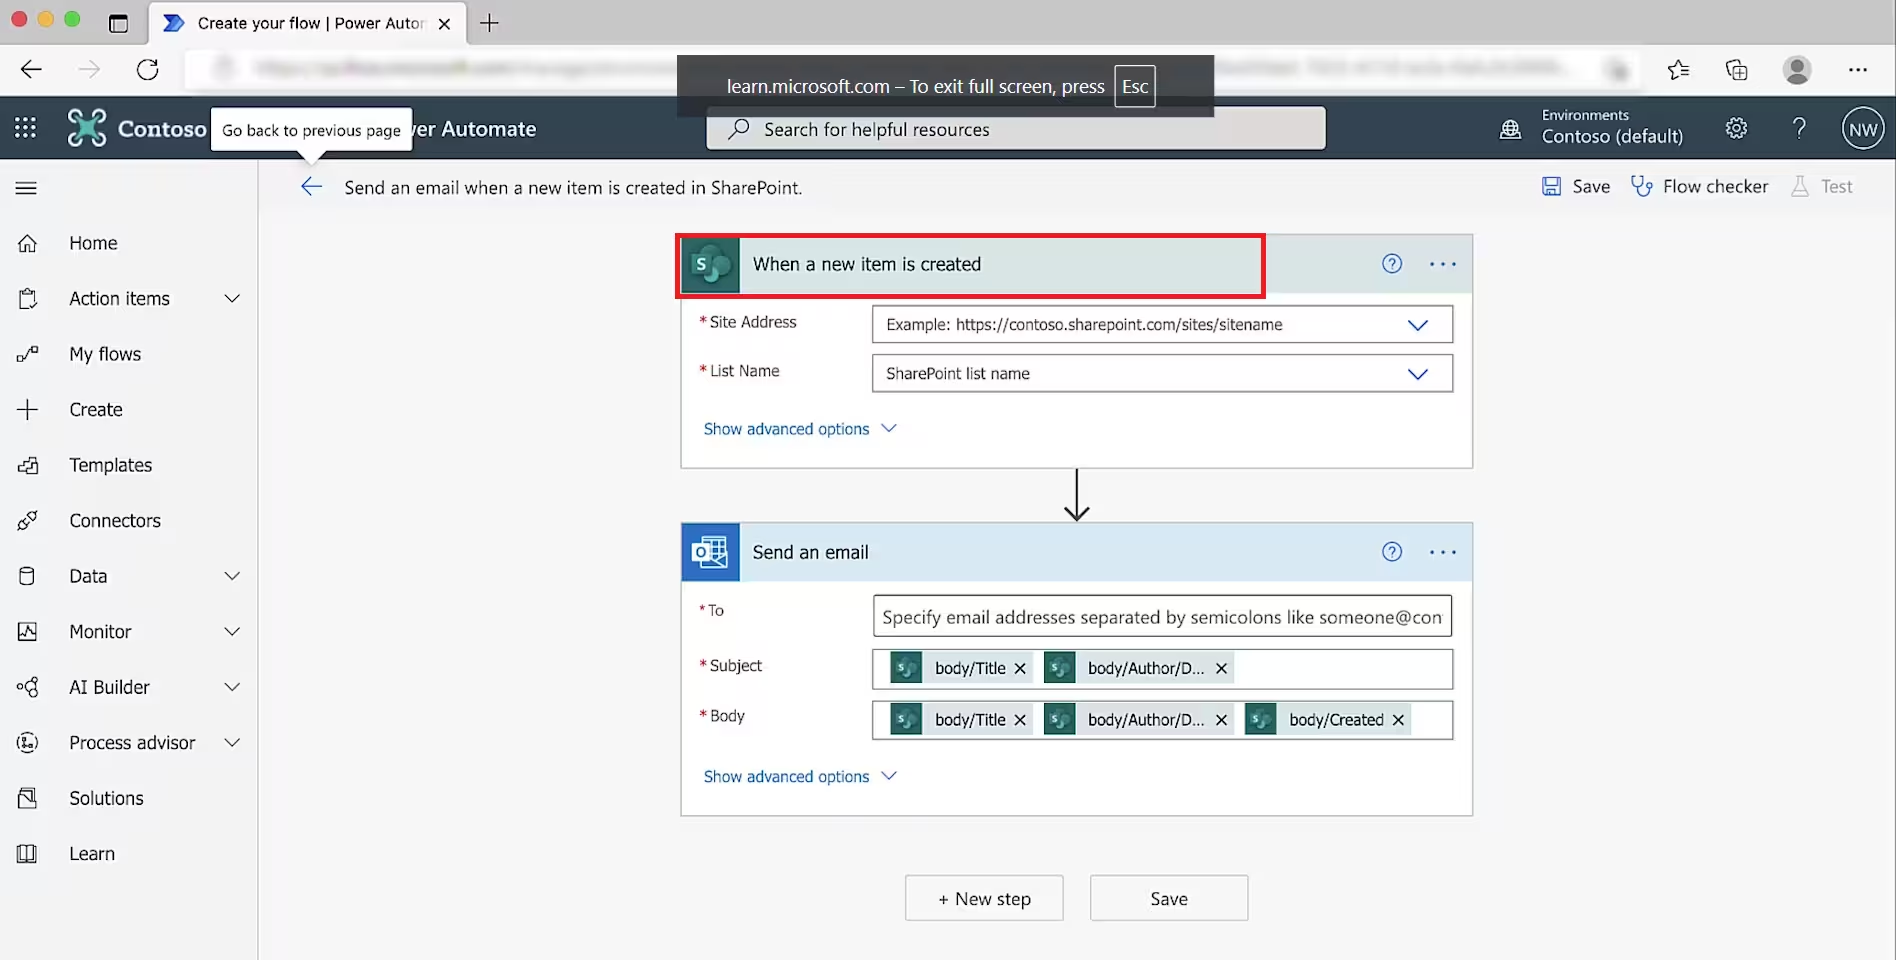
- Select the SharePoint site and the specific list or library the trigger should watch.
- Click New step and add one or more actions, such as sending an email, posting to Microsoft Teams, updating an item, or creating a Planner task.
- Use dynamic content, like Title, Created By, or Due Date, so the action pulls real details from the item that triggered it.
- Add a condition if the flow should behave differently depending on the data, such as routing approved items one way and everything else another way.
For example, a flow like this can watch a project tracking list and notify a channel in Teams the moment someone logs a new task, without anyone touching Power Automate directly.
Set Up an Approval Flow
Both build methods above can lead into an approval step, and it deserves its own walkthrough since document approval is one of the most common reasons teams connect these two tools together.
- Add the Start and wait for an approval action to your flow.
- Choose the approval type, such as approve or reject by a single person.
- Enter the approver’s email address and include the document details they need to make a decision.
- Add separate follow-up actions for approved and rejected outcomes.
This replaces email chains and manual follow-ups with a structured approval step the approver can act on from Outlook or Teams.
SharePoint Triggers and Actions Available in Power Automate
Once you understand the two build methods above, it helps to know the full set of building blocks you can use to expand on them. A trigger starts a flow, and an action is a step the flow performs after it starts.
SharePoint offers several triggers that start a flow when something changes in a list or library. Power Automate keeps a full list of SharePoint triggers if you want to see every option. After a flow starts, you get access to more than 40 SharePoint actions. These let you update lists, move files, and manage who has access to specific content. Advanced users can also send direct requests to SharePoint for tasks the standard actions do not cover.
Test, Monitor, and Share the Workflow
A flow that works once in testing still needs regular checks once it’s live.
- Click Test.
- Choose Manually.
- Create or edit a SharePoint item to trigger the flow.
- Watch each step run and confirm nothing fails.
- Open Run History periodically to review successful runs, failed runs, and any error messages attached to them.
- Select Share on the flow to add teammates who should be able to edit or manage it, so the automation doesn’t depend on one person.
Review the flow again whenever your SharePoint list structure changes, an approval step needs updating, or a team member responsible for it moves on.
Authentication Requirements for SharePoint and Power Automate
If teammates report errors after you share a flow, the cause is often not the flow itself. This section is mainly for IT admins, since it covers a setting that can quietly stop other people’s flows from working.
When someone opens a flow from a SharePoint list, SharePoint has to confirm that person’s identity with Power Automate in the background. This is called a token exchange, and it happens automatically every time. If your organization requires extra security steps to sign in, such as multi factor authentication or checking that a device meets certain requirements, those rules are called Conditional Access policies.
If you use Conditional Access policies, apply the same rules to both SharePoint and Power Automate. In your policy settings, target either the Office 365 app or All cloud apps, and make sure both services use the same rule. If SharePoint and Power Automate use different rules, people will see an authentication error the moment they try to open a flow from a SharePoint list. If you need to target individual apps instead of all cloud apps at once, include the Power Automate service alongside SharePoint in that policy, a detail Microsoft covers in its Conditional Access guidance for Power Automate.
Frequently Asked Questions
Can you automate workflows in SharePoint without writing code?
Yes. Power Automate connects to SharePoint lists and libraries visually, so anyone with edit permissions on the site can build triggers and actions without writing code.
What replaced classic SharePoint workflows?
Power Automate is Microsoft’s official replacement for legacy SharePoint Designer and InfoPath workflows. It handles the same core actions, like creating items and routing approvals, while adding connectors well beyond SharePoint.
Do I need a separate license to use Power Automate with SharePoint?
Most Microsoft 365 business plans include enough Power Automate access to build standard SharePoint flows. Premium connectors and higher monthly run limits require a separate Power Automate license.
Why does my flow show an authentication error when opened from SharePoint?
This usually happens when your organization’s sign-in security rules, called Conditional Access policies, apply different requirements to SharePoint and Power Automate. Applying the same rule to both, such as targeting all cloud apps, typically resolves it.

