LM Studio lets you run large language models locally on your machine without sending data to any cloud service. When you connect it to VS Code, you get AI code assistance powered entirely by your own hardware. This guide walks you through the exact steps to set that up.
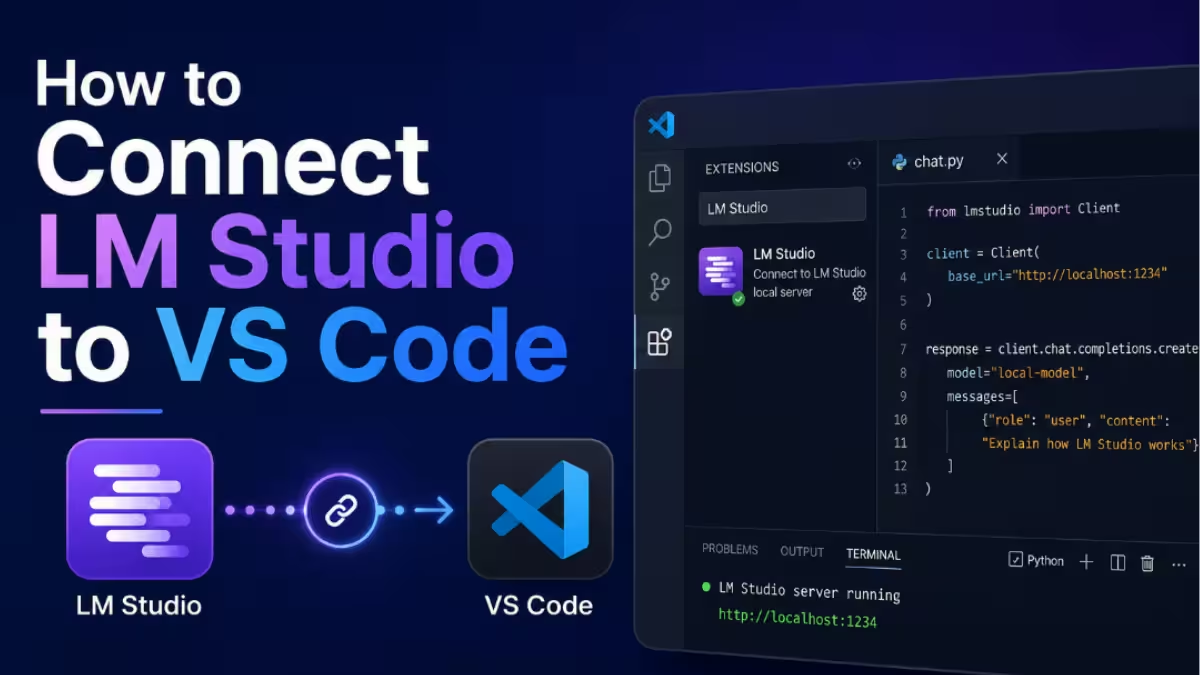
What You Need Before Starting
Before you begin, make sure you have these installed and ready:
- LM Studio (version 0.2.x or later) downloaded from lmstudio.ai
- VS Code (version 1.80 or later)
- A downloaded model inside LM Studio (such as Mistral 7B, CodeLlama, or Phi-3)
- The Continue extension for VS Code (free and open source)
LM Studio exposes a local OpenAI-compatible REST API. Continue reads from that API endpoint, which is how the two tools talk to each other.
Step 1: Load a Model in LM Studio
Open LM Studio and go to the My Models tab. Select the model you want to use for coding assistance. Click Load to load it into memory.
Once the model loads, switch to the Local Server tab (the icon looks like a plug on the left sidebar). You will see the server status showing as stopped.
Click Start Server. LM Studio starts a local API server, typically at:
http://localhost:1234You can confirm the server is running when the status indicator turns green and shows the active port number.
Step 2: Install the Continue Extension in VS Code
Open VS Code and go to the Extensions panel (Ctrl+Shift+X on Windows/Linux, Cmd+Shift+X on Mac). Search for Continue and install the extension published by Continue.dev.
After installation, a Continue icon appears in the left activity bar. Click it to open the Continue sidebar.
Step 3: Configure Continue to Use LM Studio
Continue gives you two ways to connect to LM Studio. Use the GUI method first since it is faster. Fall back to the manual config.json method only if the GUI does not work for your setup.
Method 1: GUI (Recommended for Most Users)
Open the Continue sidebar and look for the model selector at the bottom of the panel. Click the Select model dropdown and choose Add chat model. A provider selection screen appears.
Click the Provider dropdown and select LM Studio from the list. Leave the Model field set to Autodetect. Continue will detect whichever model is currently loaded and running in LM Studio automatically. Click Connect.
Save the configuration and reload VS Code. Continue now points to your local LM Studio server.
Method 2: Manual config.json Edit (Advanced)
If the GUI method is unavailable in your version of Continue, open the configuration file directly. Press Ctrl+Shift+P and run Continue: Open config.json, or click the settings gear icon inside the Continue sidebar.
Find the models array and add your LM Studio model as a new entry:
{
  "models": [
    {
      "title": "LM Studio",
      "provider": "lmstudio",
      "model": "AUTODETECT"
    }
  ]
}
Using "model": "AUTODETECT" tells Continue to automatically pick up whichever model is currently loaded in LM Studio. If you prefer to target a specific model, replace AUTODETECT with the exact model name shown in LM Studio, for example:
"model": "mistral-7b-instruct-v0.3"Save the file. Continue reloads the configuration automatically.
Step 4: Set the API Base URL (If Needed)
If Continue does not detect LM Studio automatically, you can set the base URL manually in config.json:
{
  "models": [
    {
      "title": "LM Studio",
      "provider": "openai",
      "model": "local-model",
      "apiBase": "http://localhost:1234/v1",
      "apiKey": "lm-studio"
    }
  ]
}
The apiKey value can be any non-empty string since LM Studio does not enforce authentication locally. Using "lm-studio" is a common placeholder that works fine.
Step 5: Test the Connection
Go back to the Continue sidebar in VS Code. Type a prompt in the chat box, for example:
Explain what this function doesOr highlight a block of code in your editor, right-click, and choose Ask Continue to send it directly to your local model.
If the model responds inside the Continue panel, the connection is working correctly.
Step 6: Enable Autocomplete (Optional)
Continue also supports inline tab autocomplete powered by LM Studio. To enable it, open config.json and add a tabAutocompleteModel block:
{
  "tabAutocompleteModel": {
    "title": "LM Studio Autocomplete",
    "provider": "lmstudio",
    "model": "AUTODETECT"
  }
}
For autocomplete, smaller and faster models work better than large instruction-tuned ones. Models like CodeLlama 7B or DeepSeek Coder 1.3B give low-latency suggestions without saturating your CPU or GPU.
After saving, tab autocomplete activates in your editor. When you pause while typing code, Continue sends the surrounding context to LM Studio and displays a grey inline suggestion. Press Tab to accept it.
How to Switch LM Studio Models in VS Code Without Editing Config
You do not need to edit config.json every time you want to use a different model. Just load a new model inside LM Studio and make sure the server is still running. If you set "model": "AUTODETECT" in Continue, it picks up the newly loaded model on the next prompt automatically.
This makes it easy to switch between a fast small model for autocomplete and a larger model for chat explanations without touching your VS Code settings.
Troubleshoot LM Studio and VS Code Connection Problems
1. Continue shows “No model loaded” or times out: Check that LM Studio’s local server is running. Open LM Studio, go to the Local Server tab, and confirm the status is green. If it stopped, click Start Server again.
2. Responses are very slow :The model may be too large for your hardware. Try a smaller quantized model such as a Q4 variant. You can also reduce the context length inside LM Studio under server settings to improve response speed.
3. Port conflict error: If port 1234 is already in use by another application, change the port inside LM Studio under Local Server settings. Then update the apiBase URL in Continue’s config.json to match the new port number.
4. Autocomplete does not trigger: Make sure the tabAutocompleteModel block is correctly added to config.json and that the file was saved. Also confirm that tab autocomplete is enabled in Continue settings (look for the autocomplete toggle in the Continue sidebar footer).
Related LM Studio Guides
- How to Fix Gemma 4 GGUF “Failed to Load Model” Error in LM Studio on macOS
- How to Fix Gemma4 Not Supported Error and mlx_vlm.models.gemma4 Missing
- VS Code 1.122: Offline AI Support, Device Emulation, and What Is New
VS Code Guides

