You forgot your iPhone passcode. Now the screen shows “iPhone Unavailable” or “iPhone is Disabled.” There is no backdoor or shortcut. Apple does not provide a passcode bypass. The only path back in is erasing the device and restoring it.
This guide covers every working method, step by step.
What Happens When You Enter the Wrong Passcode Too Many Times
After six failed attempts, iPhone locks you out with a timer. After ten wrong attempts, it wipes itself if the Erase Data setting is on. If it is off, you see “iPhone Unavailable” with a countdown that keeps growing.
You cannot guess your way past this. You must erase and restore.
Method 1: Erase With iCloud (No Computer Needed)
This works if your iPhone is online, Find My is turned on, and you know your Apple ID password.
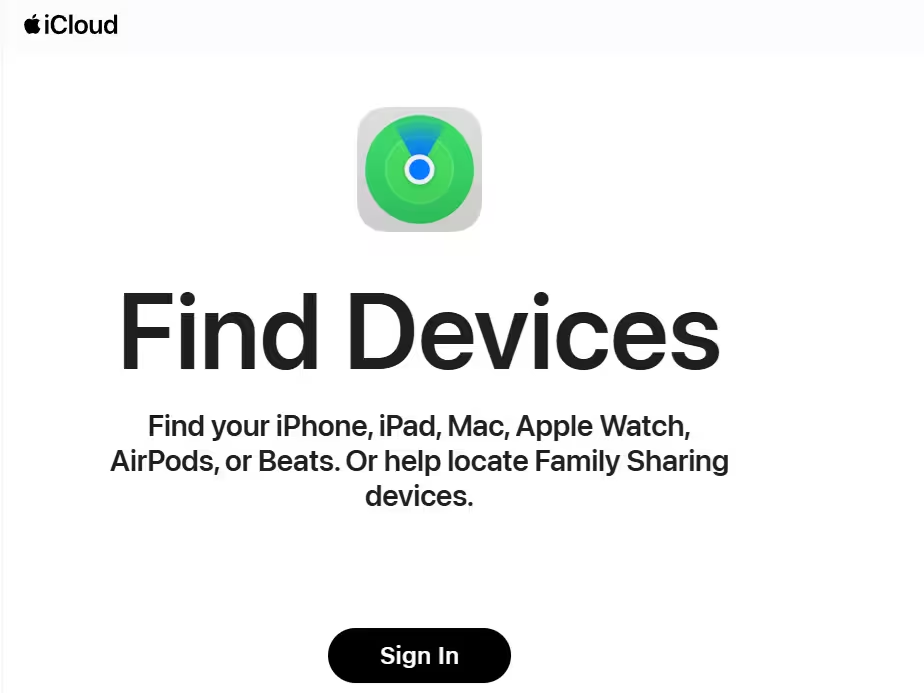
- Open a browser on any device and go to icloud.com/find.
- Sign in with your Apple ID.
- Click All Devices and select your locked iPhone.
- Click Erase This iPhone and confirm.
iCloud sends a remote wipe command. Your iPhone restarts to the Hello screen. You can then restore from an iCloud backup during setup and recover your data.
If you do not know your Apple ID password, reset it first before attempting this method.
Method 2: Erase With the Find My App
If you have another iPhone, iPad, or Mac signed in with your Apple ID, use the Find My app directly.
- Open Find My on the other Apple device.
- Tap the Devices tab and select your locked iPhone.
- Scroll down and tap Erase This Device.
- Confirm when prompted.
The result is the same as the iCloud website method. The device wipes and restarts clean.
Method 3: Recovery Mode With a Mac (Finder)
Use this method when iCloud is not an option or Find My was not enabled on the device.
Step 1: Turn Off Your iPhone
Unplug your iPhone from everything first.
- iPhone 8 or later with Face ID: Hold the Side button and Volume Down until the power slider appears. Drag it.
- iPhone 7 / 7 Plus: Hold the Side button until the slider appears. Drag it.
- iPhone 6s or older: Hold the Top or Side button until the slider appears. Drag it.
Wait a full minute after the screen goes black.
Step 2: Put Your iPhone Into Recovery Mode
Connect the USB cable to your Mac first, then to your iPhone. Immediately press and hold the correct button for your model while connecting:
- iPhone 8 or later (Face ID models): Press Volume Up and release. Press Volume Down and release. Then hold the Side button.
- iPhone 7 / 7 Plus: Hold the Side button and Volume Down at the same time.
- iPhone 6s or older: Hold the Home button and the Side (or Top) button at the same time.
Keep holding until the recovery mode screen appears. It shows a cable and the Finder icon. If the Apple logo appears instead, your timing was off. Turn the iPhone off and try again from the start.
Step 3: Restore in Finder
- Open Finder on your Mac.
- Select your iPhone in the sidebar under Locations.
- Click Trust if a prompt appears.
- Click Restore when the dialog asks Restore or Update.
Finder downloads the latest iOS firmware and erases the device. If the download takes more than 15 minutes and your iPhone exits recovery mode on its own, wait for the download to finish, then turn off your iPhone and re-enter recovery mode before clicking Restore.
Method 4: Recovery Mode With a Windows PC (Apple Devices App)
The process is the same as the Mac method but uses the Apple Devices app instead of Finder. Install it from the Microsoft Store if you do not have it.
- Open Apple Devices on your PC.
- Put your iPhone into recovery mode using the same button steps in Method 3 above.
- Select your iPhone in the sidebar.
- Click Trust if prompted, then click General.
- Click Restore and follow the on-screen steps.
Method 5: Recovery Mode With iTunes (Older Windows PC)
If your PC runs Windows 8 or newer with iTunes installed instead of the Apple Devices app:
- Open iTunes.
- Put your iPhone into recovery mode using the steps in Method 3.
- iTunes will detect a device in recovery mode and show a Restore option.
- Click Restore to erase and reinstall iOS.
After the Restore: Get Your Data Back
When setup finishes, your iPhone shows the Hello screen.
- If you backed up to iCloud, sign in with your Apple ID during setup and choose Restore from iCloud Backup.
- If you backed up to your Mac or PC, connect the device after setup and restore from the local backup in Finder or iTunes.
- If you had no backup, your data is gone. You start fresh.
If You Bought a Second-Hand iPhone
A locked second-hand iPhone may show the Activation Lock screen instead of the standard passcode screen. That is a different problem. Recovery mode will not remove Activation Lock on its own. You need the previous owner’s Apple ID to clear it, or you follow the steps in this guide on how to remove Activation Lock without the previous owner.
Common Problems When You Unlock iPhone Without Passcode
1. iPhone does not appear in Finder or iTunes: Try a different USB cable. Use a direct port on the Mac or PC, not a hub. If the cable works for charging but the computer does not detect the iPhone, the cable does not carry data.
2. Apple logo keeps appearing instead of the recovery screen: Your button timing is off. Turn the iPhone fully off, wait 60 seconds, then try the button sequence again. You must start holding the button the instant the cable makes contact.
3. Download takes more than 15 minutes and the iPhone reboots: This is normal on slow connections. Let the firmware download finish in Finder or iTunes, then put the iPhone back into recovery mode before clicking Restore.
4. Restore fails partway through: Check that your Mac or PC is not running low on storage. The firmware file can be 6 to 8 GB. Also disable any VPN while the download runs.

