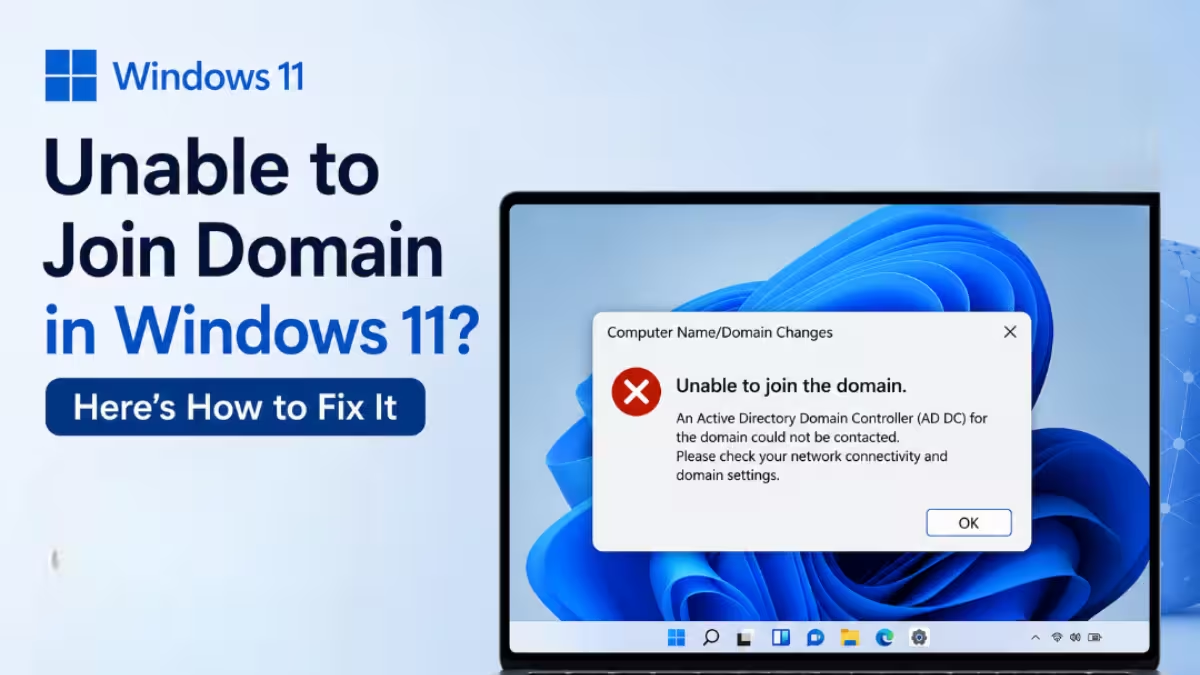
Joining a Windows 11 computer to a domain should take a few clicks, but many users hit vague errors like “An Active Directory Domain Controller for the domain could not be contacted” or “The specified domain either does not exist or could not be contacted.” These errors usually trace back to DNS misconfiguration, network connectivity issues, account permissions, or trust relationship problems. This guide walks through every fix that resolves the issue.
Why Windows 11 Fails to Join a Domain
Common reasons behind domain join failures include:
- The PC cannot resolve the domain controller through DNS
- The network adapter points to a public DNS server instead of the internal DNS server
- The computer’s clock differs from the domain controller’s clock by more than five minutes
- The user account lacks permission to add computers to the domain
- The computer name already exists in Active Directory
- A firewall or VPN blocks domain controller ports
- Windows 11 Home edition is in use, which cannot join a domain at all
Each of these triggers a different error message, so identifying the cause narrows down the fix quickly.
Confirm Windows 11 Edition Supports Domain Join
Windows 11 Home does not support joining a domain. Only Windows 11 Pro, Enterprise, and Education include this feature. Check the edition before troubleshooting further.
- Press Windows + R, type
winver, and press Enter - Look at the edition listed in the dialog box
If the PC runs Windows 11 Home, upgrade to Pro through Settings > System > Activation before attempting to join the domain.
Fix DNS Configuration
Most domain join failures come from incorrect DNS settings. The computer needs to point to the internal DNS server that hosts the Active Directory zone, not a public DNS server like 8.8.8.8.
- Open Settings > Network & Internet
- Select the active network connection (Ethernet or Wi-Fi)
- Click Edit next to DNS server assignment
- Set it to Manual
- Enter the IP address of the domain controller as the preferred DNS server
- Save the changes
After updating DNS, open Command Prompt and run ipconfig /flushdns to clear cached records. Then test resolution with nslookup yourdomain.com. If this command fails to return the domain controller’s IP address, the DNS entry is still wrong.
Verify Network Connectivity to the Domain Controller
The computer must reach the domain controller over the network before it can authenticate.
- Open Command Prompt as administrator
- Run
ping yourdomain.comto confirm basic connectivity - Run
nltest /dsgetdc:yourdomain.comto confirm the domain controller responds correctly
If the ping or nltest command times out, check the physical network connection, VPN status, and whether a firewall blocks the required ports. Active Directory needs ports 53, 88, 135, 389, 445, and 464 open between the client and the domain controller.
Sync the System Clock
Active Directory relies on Kerberos authentication, which fails if the client’s clock drifts more than five minutes from the domain controller’s clock.
- Go to Settings > Time & Language > Date & Time
- Turn on Set time automatically
- Click Sync now
If the PC is not yet on the domain network, manually set the correct time zone and time before attempting the join again.
For a more forceful sync, open Command Prompt as administrator and run w32tm /resync. This command forces an immediate time sync instead of waiting for the next scheduled interval.
Check Account Permissions
Joining a domain requires either a domain administrator account or a user account that has been delegated permission to add computers to the domain. A standard domain user account without this permission triggers an “Access is denied” error.
Confirm with your IT administrator that the account used during the join process has the Add workstations to domain right, or ask them to pre-stage the computer object in Active Directory.
Resolve Duplicate Computer Name Errors
If a computer with the same name already exists in Active Directory, the join fails with a conflict error.
- Open Settings > System > About
- Click Rename this PC
- Choose a unique name not already registered in Active Directory
- Restart the PC
- Retry the domain join
Alternatively, ask the domain administrator to delete the stale computer object from Active Directory Users and Computers before retrying with the original name.
Disable VPN and Third-Party Firewall Software Temporarily
VPN clients and third-party firewalls sometimes block the ports Active Directory needs for authentication. Disable any active VPN connection and temporarily turn off third-party firewall software, then retry the domain join. Re-enable both once the join succeeds.
Use the Correct Domain Join Steps
After confirming DNS, network access, time sync, and permissions, use one of the three methods below.
Method 1: Settings App
- Open Settings > Accounts > Access work or school
- Click Connect
- Select Join this device to a local Active Directory domain
- Type the full domain name (e.g.,
corp.company.com) and click Next - Enter credentials with permission to join the domain
- Restart the PC when prompted
Method 2: System Properties (Classic Method)
- Open Settings > System > About
- Click Domain or workgroup under Related Settings (or Advanced system settings on some builds)
- In the System Properties window, click Change next to “To rename this computer or change its domain or workgroup”
- Select Domain and type the full domain name
- Click OK and enter credentials with permission to join the domain
- Restart the PC when prompted
Method 3: PowerShell
If the GUI options fail or appear grayed out, PowerShell offers a reliable alternative.
- Open PowerShell as administrator
- Run the following command, replacing the domain name with your own:
Add-Computer -DomainName "corp.company.com" -Credential (Get-Credential) -Restart- Enter domain admin credentials when the prompt appears
- The PC restarts automatically once the join completes
Fix “Trust Relationship Between This Workstation and the Primary Domain Failed”
This error appears when a previously joined computer’s security relationship with the domain breaks, often after a system restore or a password reset on the computer account.
- Sign in locally using a local administrator account
- Open Settings > System > About > Domain or workgroup
- Click Change, switch the PC to a workgroup temporarily, and restart
- Rejoin the domain using the same steps above
- Restart again once the join completes
This resets the computer’s secure channel password and restores the trust relationship.
Check Group Policy and Security Filtering
In some managed environments, Group Policy Objects (GPOs) restrict which computers or users can join the domain. If every fix above fails, contact the domain administrator to confirm whether security filtering or a GPO blocks the join request for this specific computer or organizational unit.
Final Checklist
Run through this list before contacting IT support:
- Confirm Windows 11 Pro, Enterprise, or Education edition
- Set DNS to the internal domain controller address
- Confirm network connectivity with ping and nltest
- Sync the system clock
- Use an account with domain join permissions
- Rename the PC if a duplicate computer name exists
- Disable VPN and third-party firewalls temporarily
- Reset the computer’s secure channel if trust relationship errors appear
Most domain join failures in Windows 11 trace back to DNS or network misconfiguration. Working through this checklist in order resolves the vast majority of cases without needing to rebuild the machine.
Frequently Asked Questions
How do I manually join a domain in Windows 11?
Open Settings > Accounts > Access work or school, click Connect, then select Join this device to a local Active Directory domain. Enter the domain name and provide credentials with permission to add computers. Windows authenticates the request and prompts a restart once the join succeeds.
What are the three common causes of a failed domain connection?
Incorrect DNS settings that prevent the computer from locating the domain controller, time synchronization mismatches that break Kerberos authentication, and insufficient user permissions to add a new machine to the domain account for most failures. Checking the DNS server address, syncing the system clock, and verifying account privileges resolves these primary failure points.
Can Windows 11 Home join a domain?
No. Windows 11 Home does not include the domain join feature. Only Windows 11 Pro, Enterprise, and Education support joining a computer to an Active Directory domain.
Related Guides
- How to Configure Windows 11 Pro for Hybrid Work Teams (Remote Desktop, Dynamic Lock, Group Policy)
- Best Password Policy Software for Active Directory Security in 2026
- How to Fix Error Code 53003 in Microsoft Azure AD
- Windows Server 2016: KB5087537 Domain Controller Lookup Failure on 15-Character Hostnames

